This page:

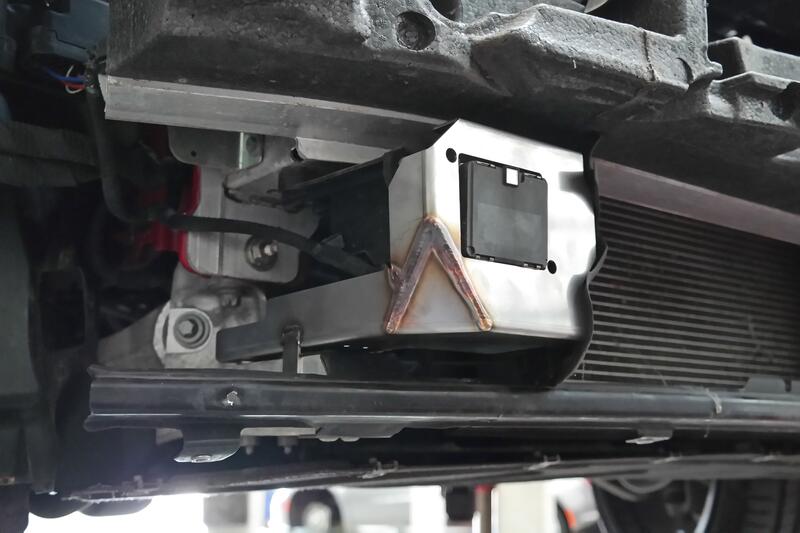
Fitting a Radar Anti Theft Armour Cage To A Giulia/Stelvio
A common trait on the Giulia and Stelvio is the ease of access to the radar in the front grille which enables thieves to unplug the connector which is part of the Can Bus line, connect the plug to a lap top and using software make your vehicle vulnerable.
This 'How To Guide' is based on a Giulia 2.0 Veloce (other models will vary)
Radar theft armour RadarArmorG
Workshop time: 1 hour
If you would like to book your car in with our workshop the price of this service for the Giulia 2.0/2.2 is £252.00 or the 2.9 £264.00
For the Stelvio please see our servicing page
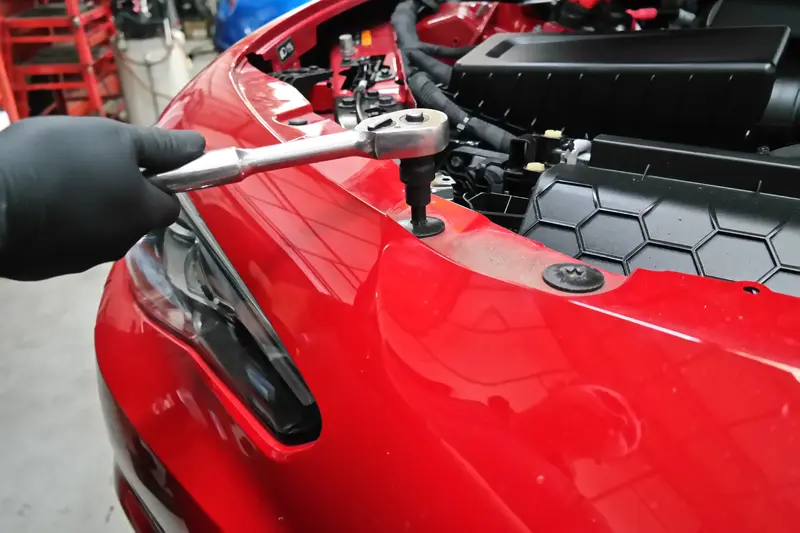 | Unscrew the 6x T55 screws along the top of the front bumper. |
|
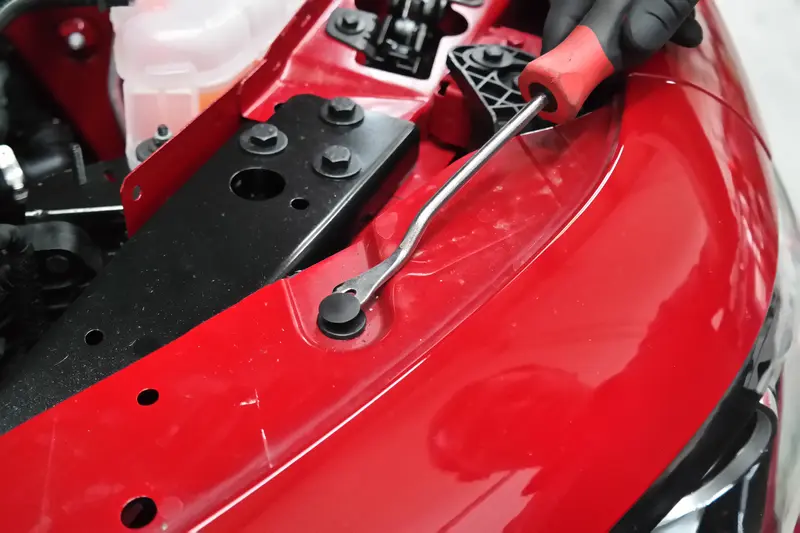 | Release the trim push clips, there's one at each end. |
|
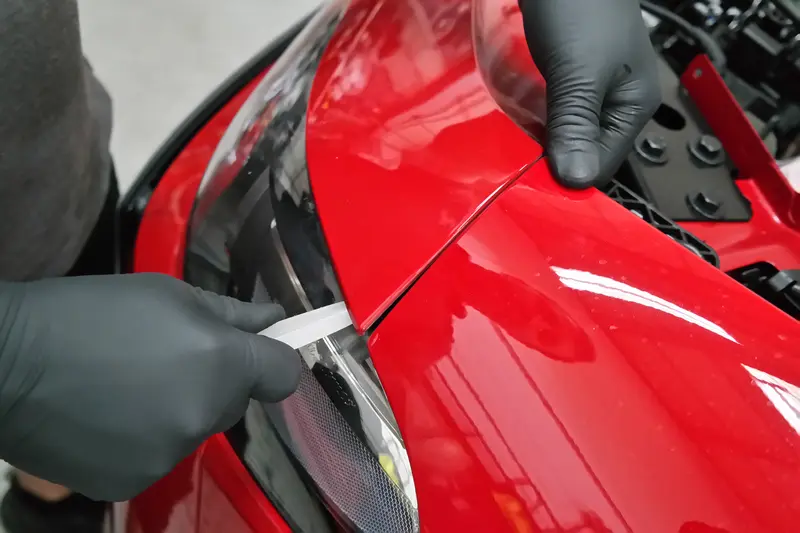 | Being very careful using a plastic trim removal tool, separate both the top corners of the bumper from the wings. |
|
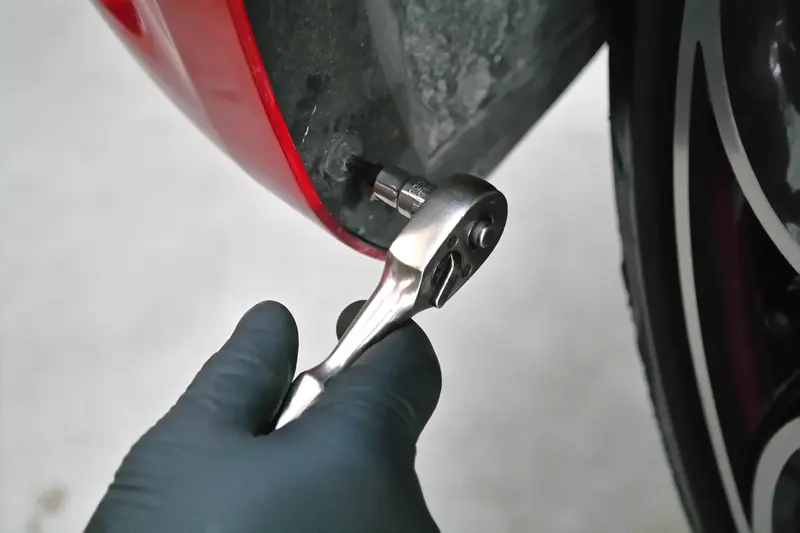 | On the front section of the left side wheel arch liner undo the 6x T25 screws. |
|
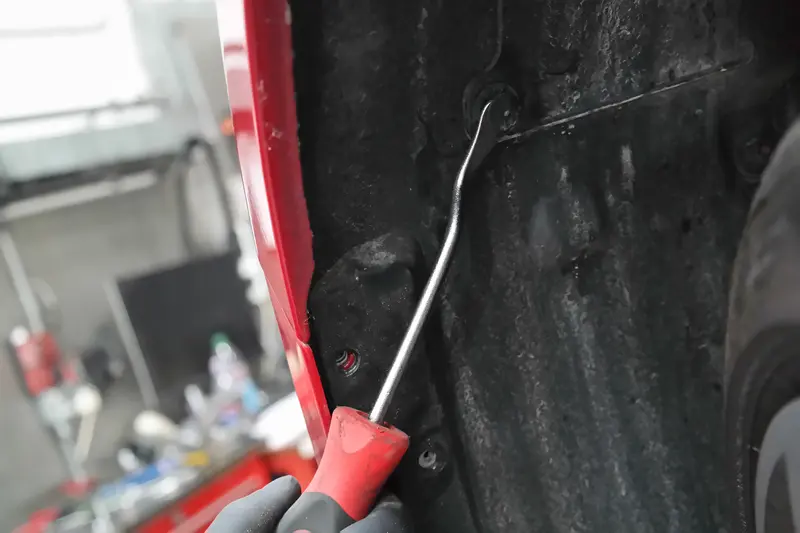 | There's 2x trim push clips to release. |
|
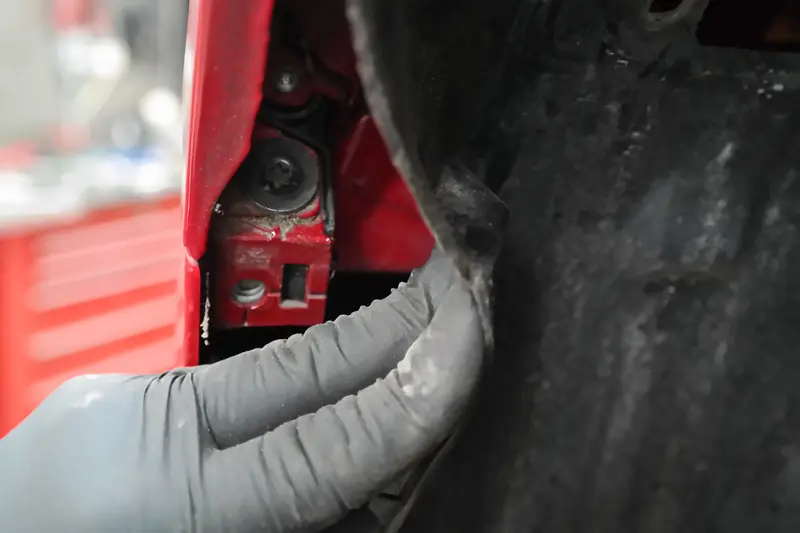 | You can now pull back the side of the liner to expose a T30 screw. |
|
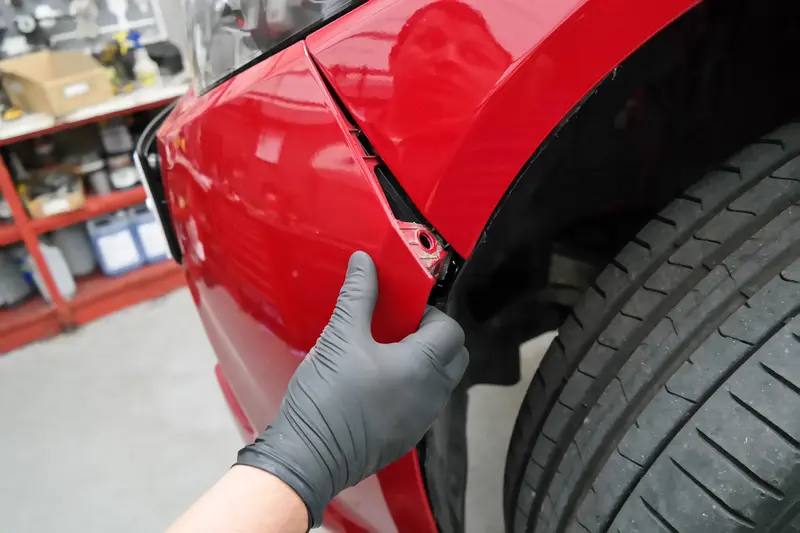 | Dismantle the right side in the same way then separate both the lower corners of the bumper from the wings. |
|
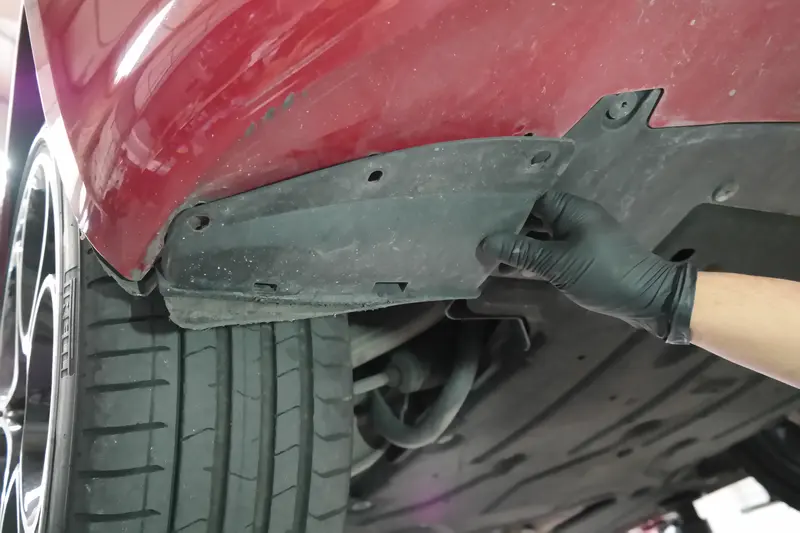 | On the underside of the right front corner some models have an extra cover to remove, if not then proceed to undo and remove the undertray fixings. |
|
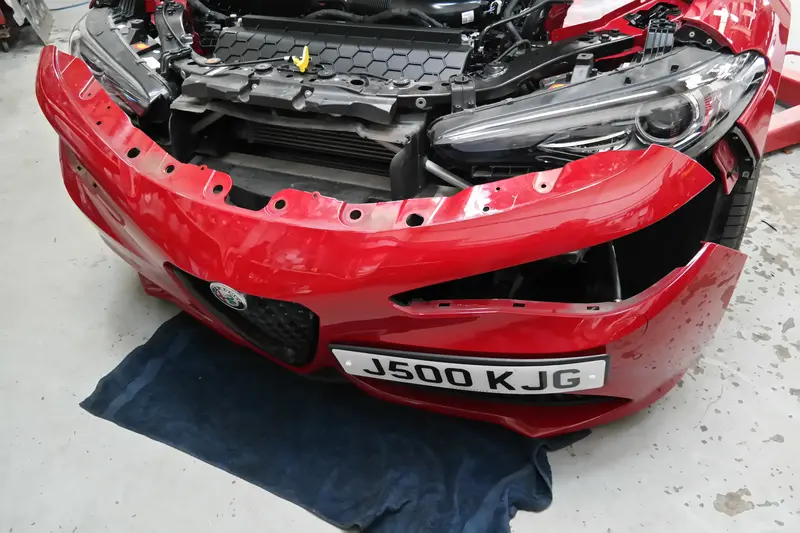 | Lay some cardboard or something suitable on the ground below the bumper, lift the bumper carefully off and lower it to the floor (bear in mind the washer pipe and electrical connector is still connected). |
|
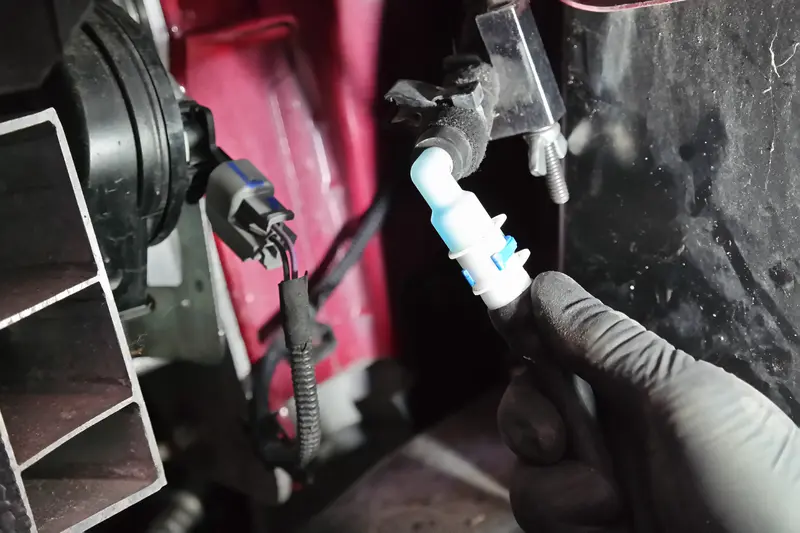 | Clamp the headlight washer hose at the left hand corner and disconnect the hose. |
|
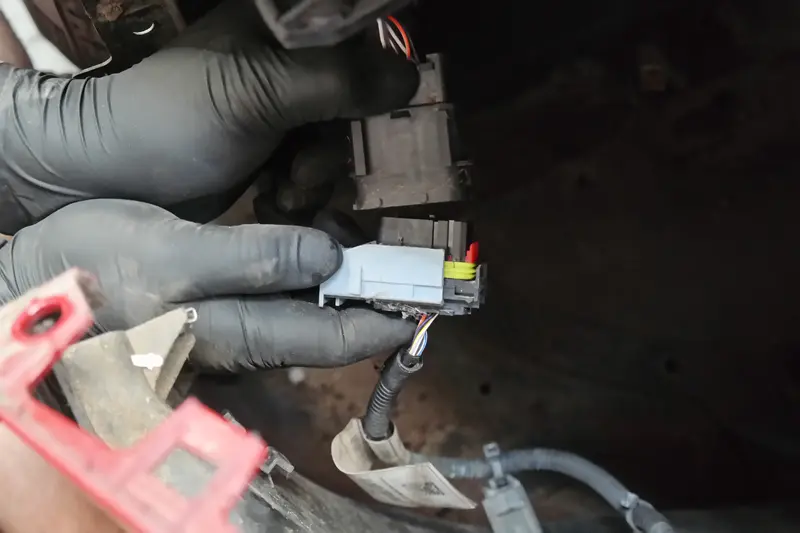 | Unplug the electrical connector at the right hand corner then fully remove the bumper. |
|
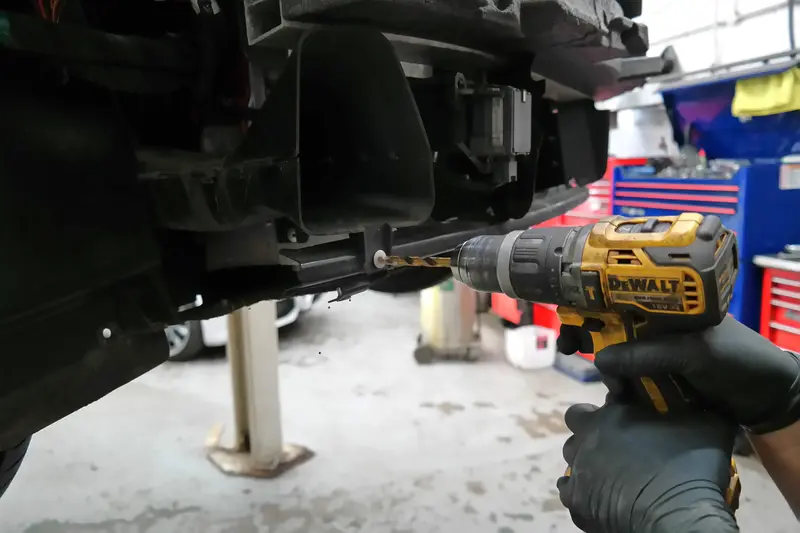 | Our model doesn't have fog lights as it has front brake ventilation so the right hand brake air duct needs removing. Drill out the 2x rivet heads with an 8mm drill bit then undo the T25 screw on the bracket of the duct. |
|
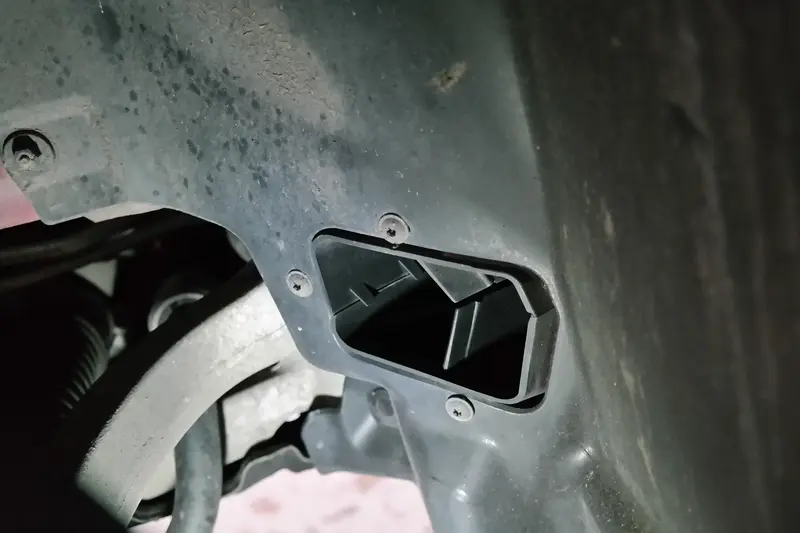 | There's 3x more T25 screws on the back of the air duct which you access through the wheel arch liner. |
|
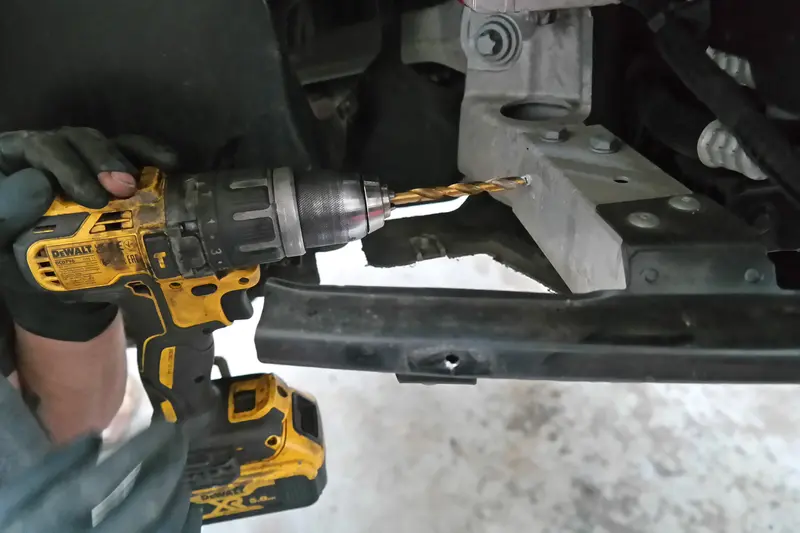 | You can try tapping out the remains of the rivets or drilling them out. |
|
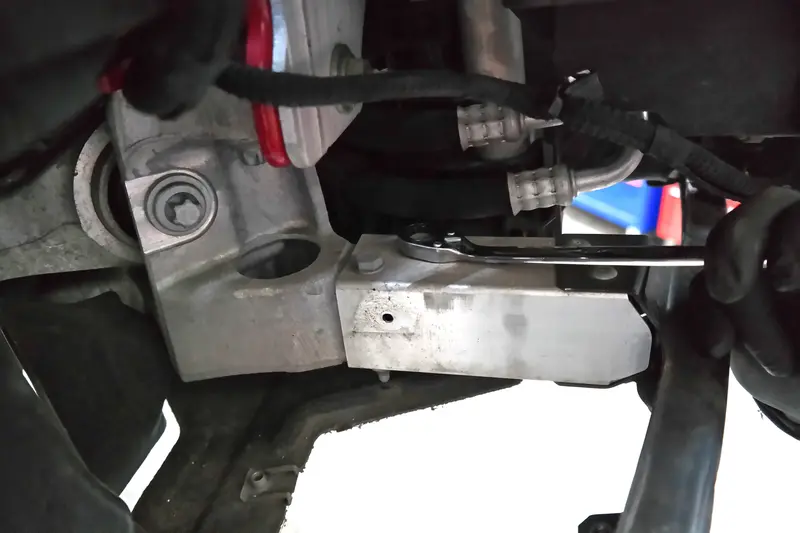 | Undo the 2x 13mm bolts to the lower bumper rail bracket. |
|
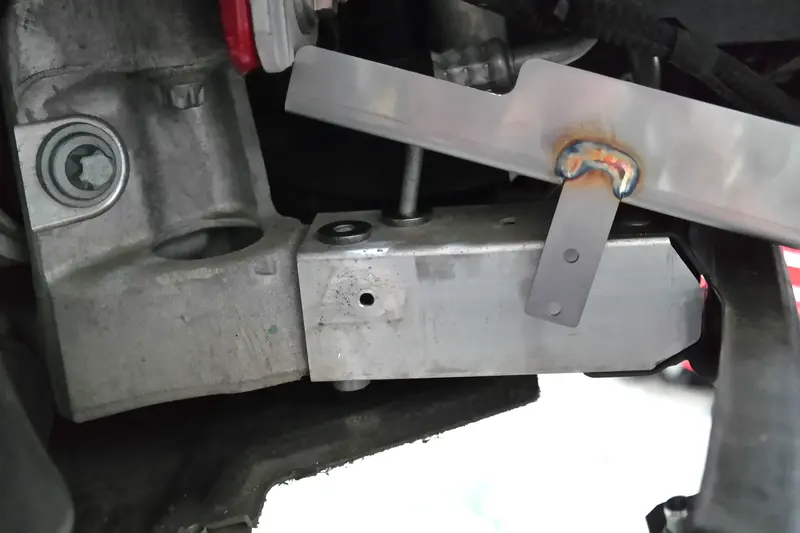 | Slide the cage into position placing the 2x large washers supplied from our kit underneath to space the cage from the bracket, then using our slightly longer bolts bolt the cage down. |
|
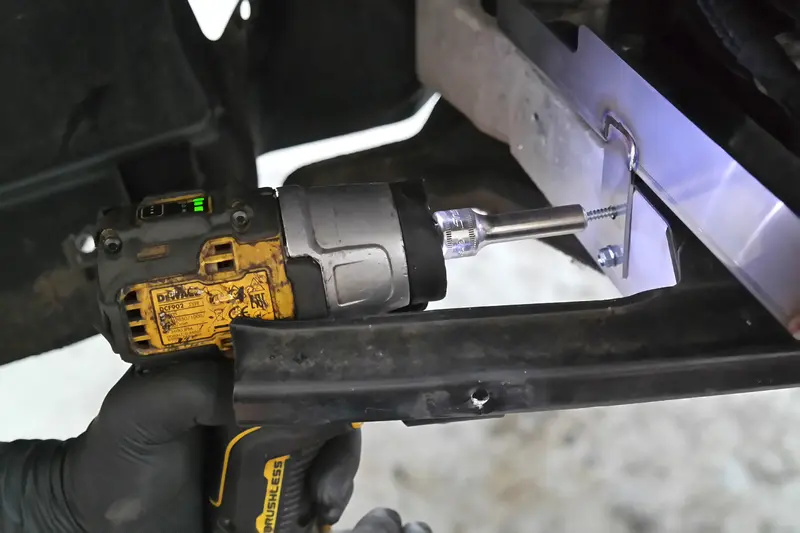 | Once the cage is bolted down use our 2x 7mm self tapping screws to secure the side bracket. |
|
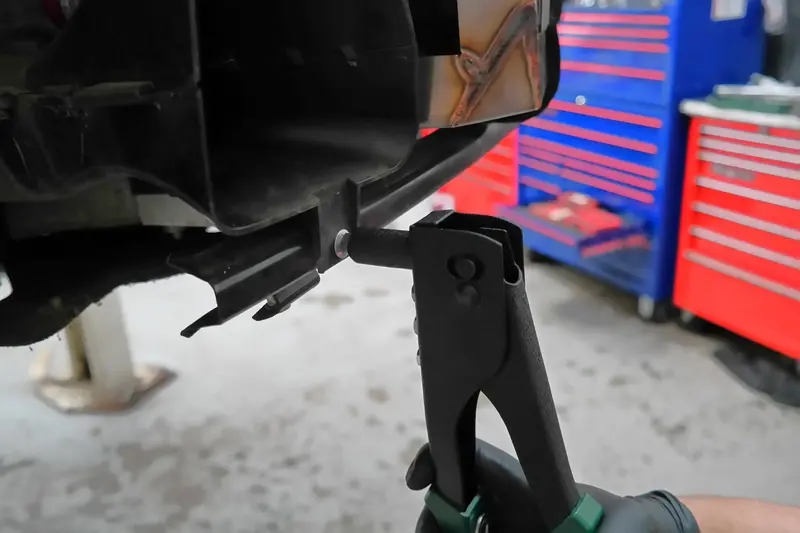 | Use the 2x 5mm large headed rivets to mount the air duct then refit everything as it should be. |
|
Related Links: Headlight replacement | Front Spoiler Splitter Actuator | Front brake pads and discs