This page:

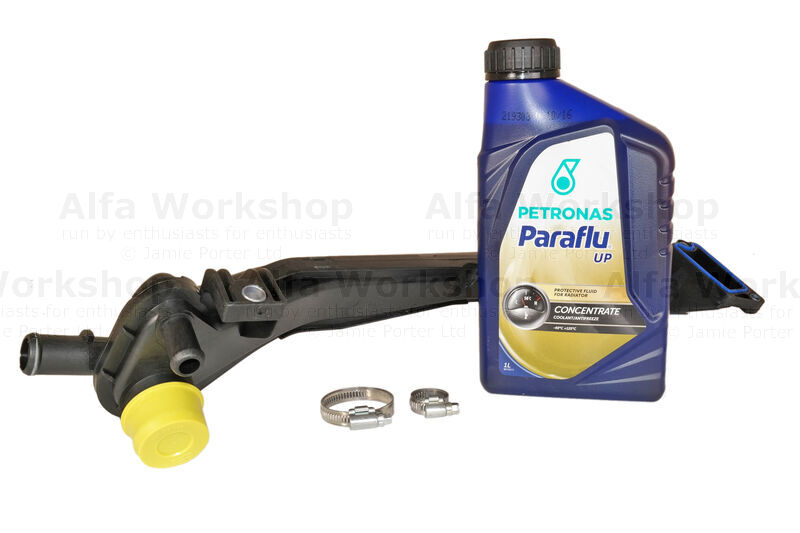
Removing The Rigid Coolant Pipe On A 2.0 JTS
The rigid coolant pipe is made of plastic and because it goes from high temperatures to below zero in winter, over a period of time it cracks. You will need to remove the air con compressor and bracket for this one.
Rigid coolant pipe 60676070, antifreeze and jubilee clips.
Workshop time: 1 hour 30 mins
If you would like to book yourself into the workshop the price of this service on a JTS is £386.00
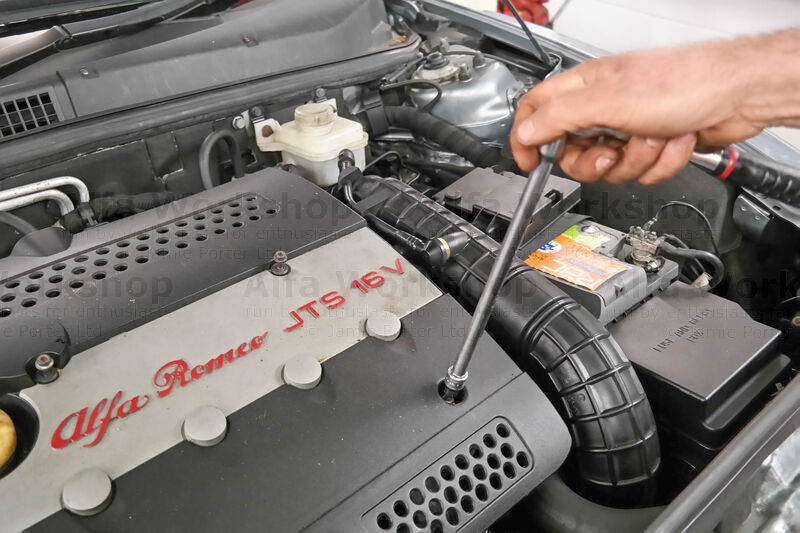 | Unscrew the four 5mm Allen key bolts on the engine cover. |
|
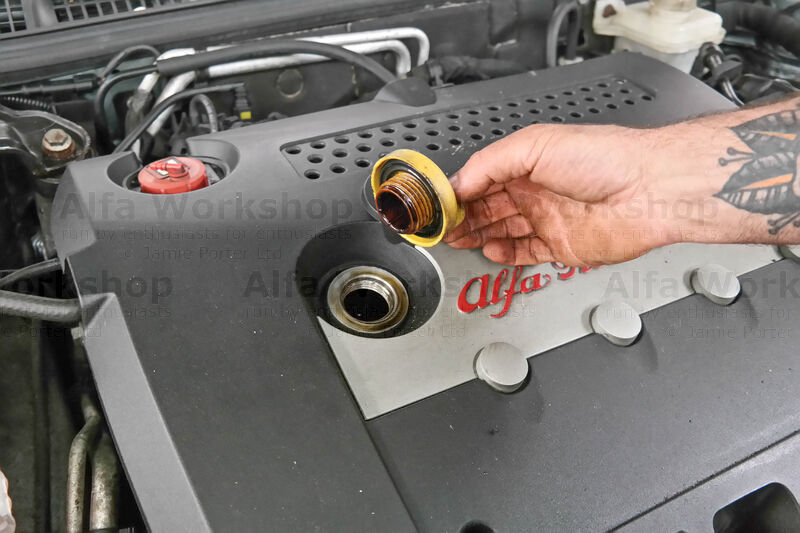 | Undo the oil filler cap and remove the engine cover. You can replace the filler cap at this point to prevent anything being dropped down there. |
|
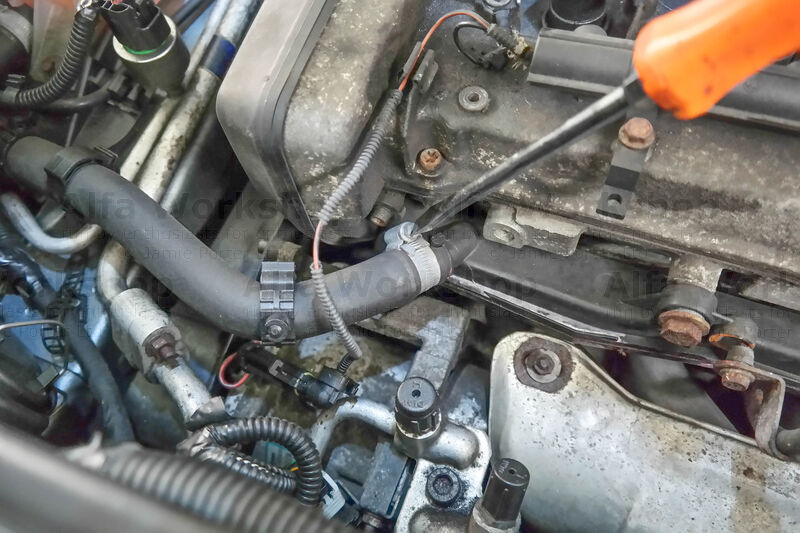
 | Undo the top of the flexi hose at the inlet manifold, |
|
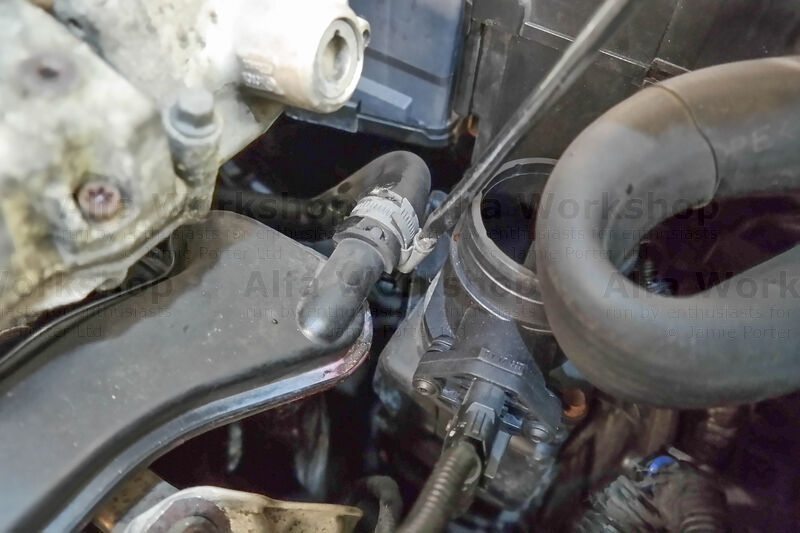
 | and the bottom to the air flow meter. |
|
 | Detach the top breather hose. |
|
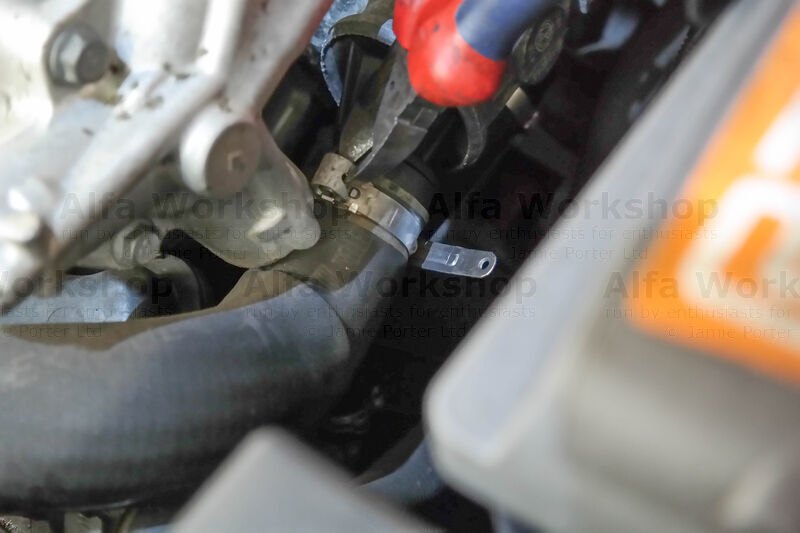 | Cut/remove the clip connecting the radiators top inlet hose to the thermostat. |
|
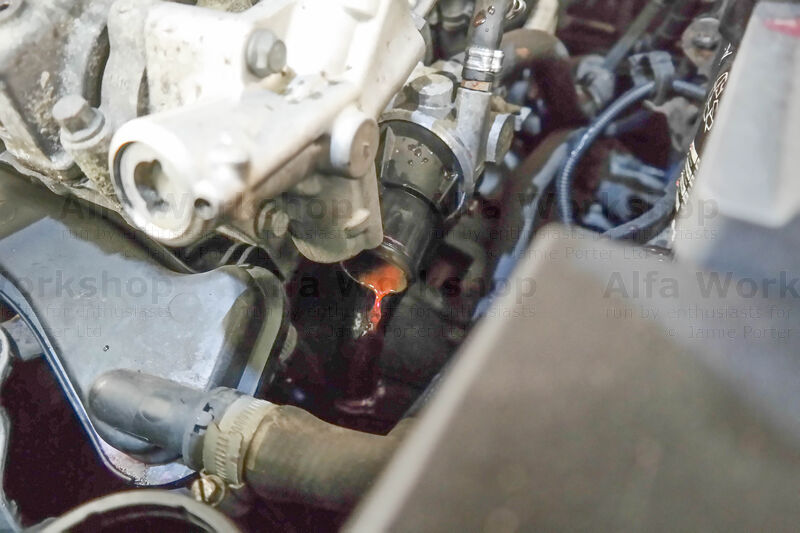 | Place a drain pan underneath the engine to catch the coolant when you pull this hose off. |
|
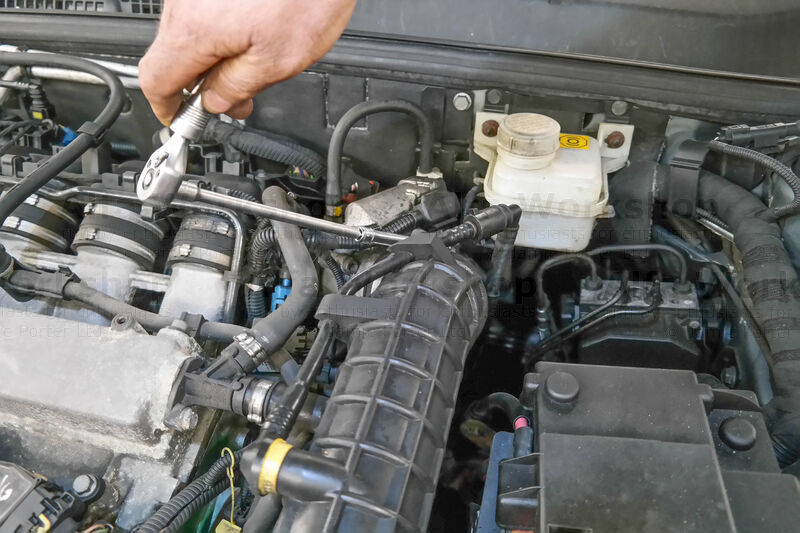
 | Undo the 10mm bolt for the wiring bracket, |
|
 | and the dipstick support bracket. |
|
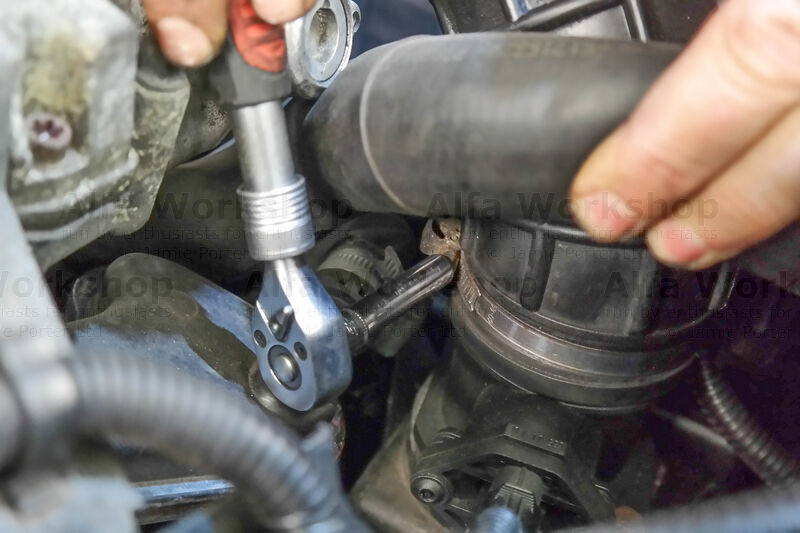
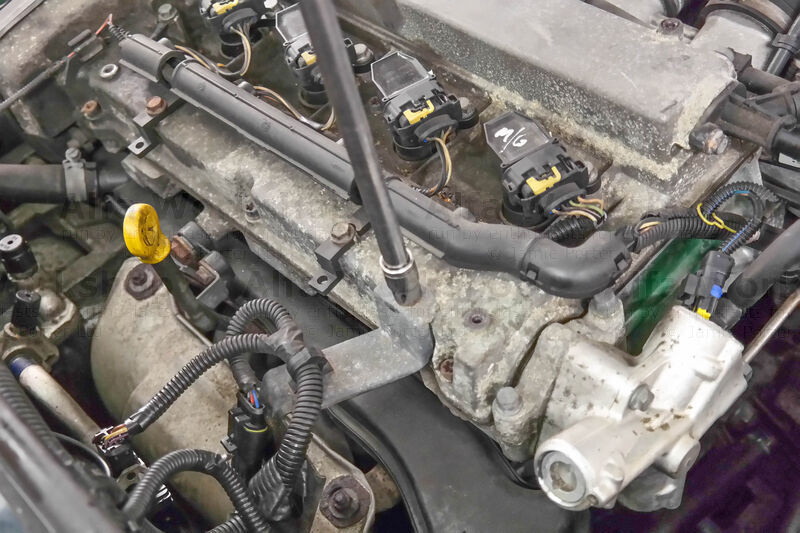
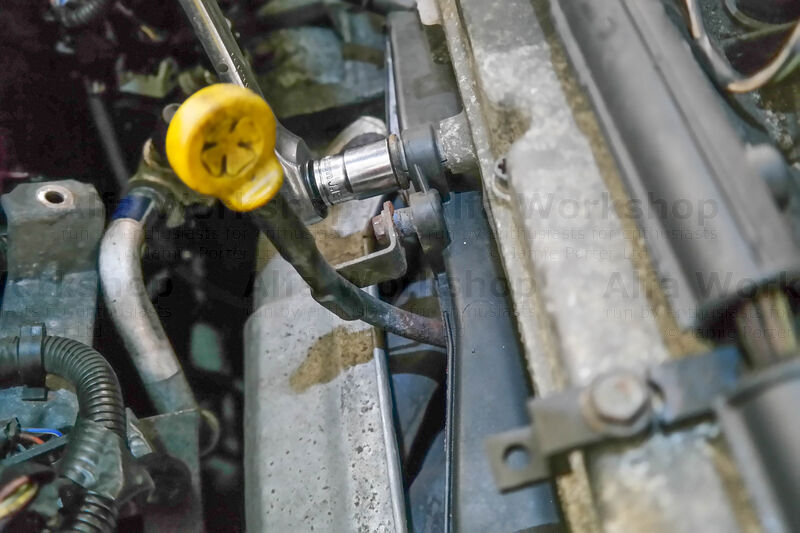
 | Disconnect the inlet hose to the rigid coolant rail, |
|
 | and then the outlet hose. |
|
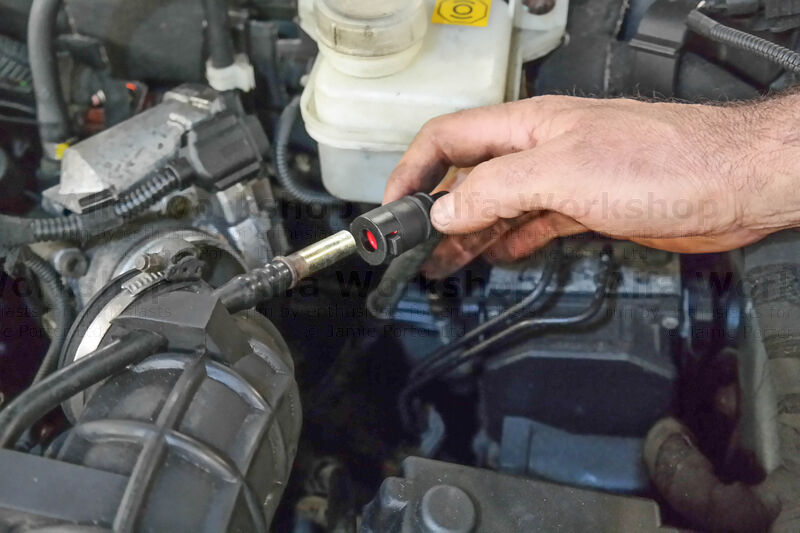
 | Take out the two bolts to the air flow meter to make access easier to the rigid pipe bottom hose later. |
|
 | Undo the rigid rail middle 15mm bolt. |
|
 | Unscrew the two 5mm Allen head bolts to the top side cover of the auxiliary belt, |
|
 | and the front 10mm bolt. |
|
 | Remove the right hand wheel. |
|
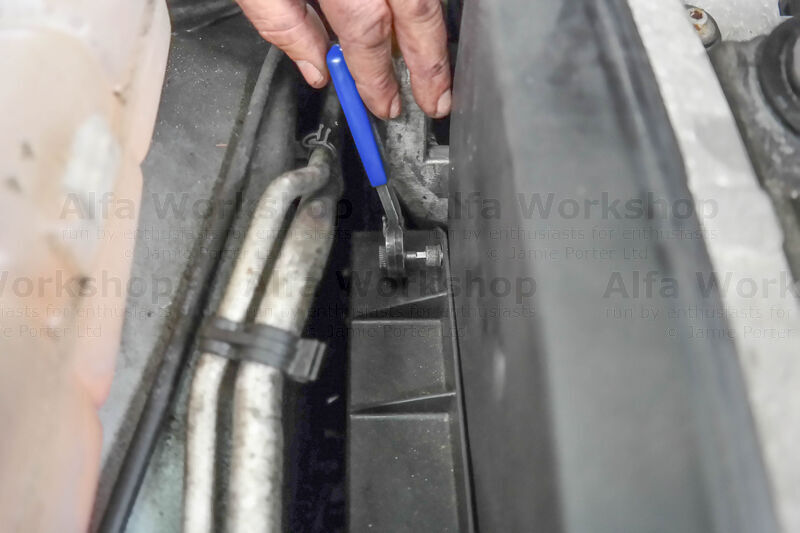
 | Unscrew the side cover in the wheel arch liner. |
|
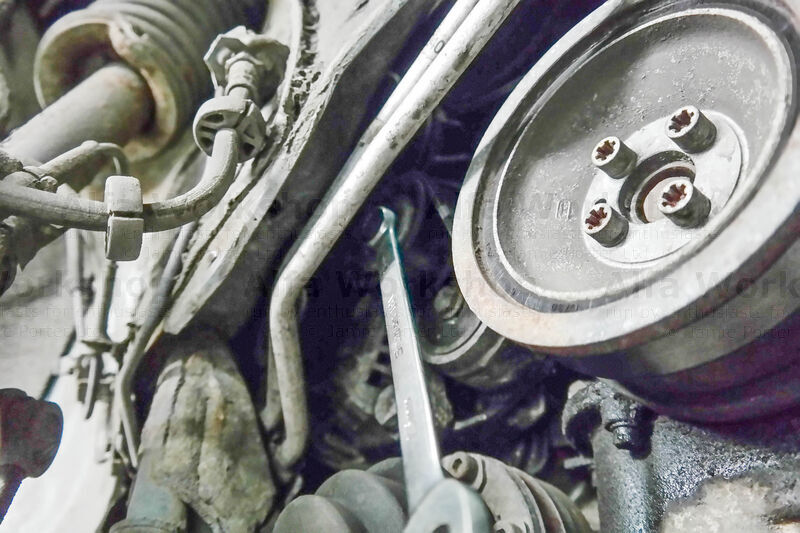 | Using a 15mm spanner on the bolt of the auxiliary tensioner pulley, pull/push the spanner in an anti clockwise direction (towards the front of the car) to release the tension on the belt, then carefully slip the belt off of the tensioner. |
|
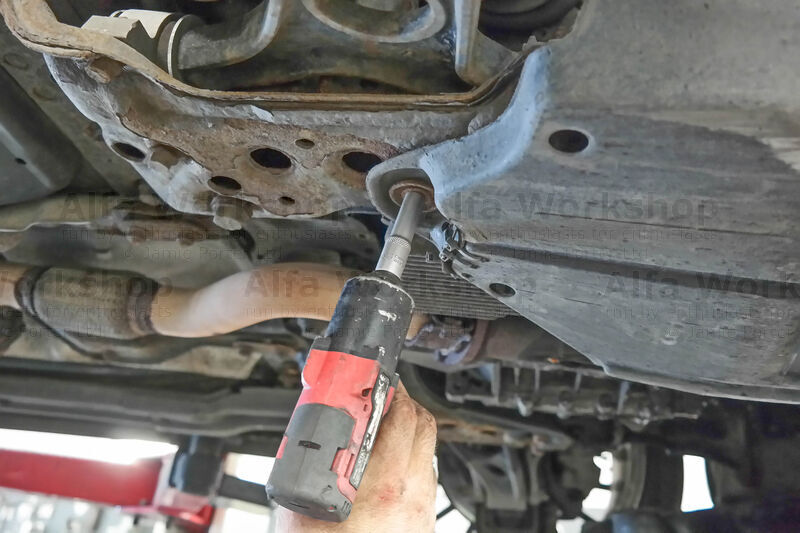 | Remove the undertray. |
|
 | Undo the two bottom 13mm bolts on the air con compressor. |
|
 | Take off the 10mm nut and bracket on the top stud of the compressor, |
|
 | then remove both studs. |
|
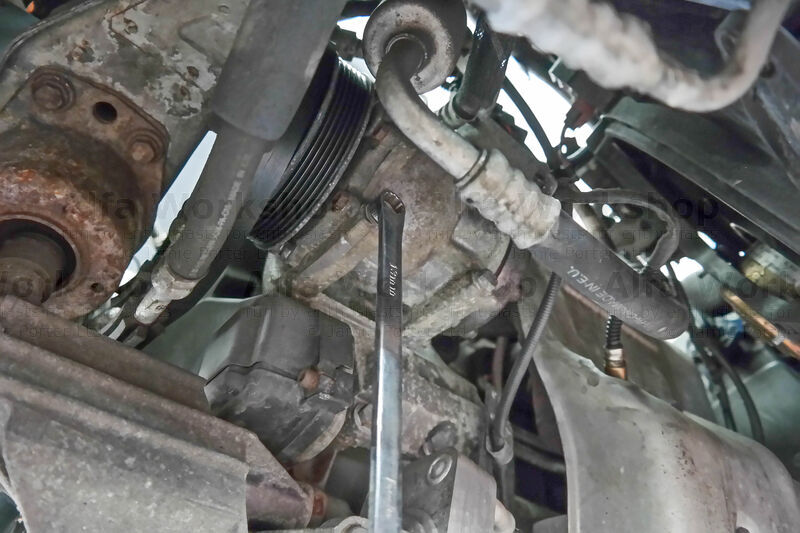
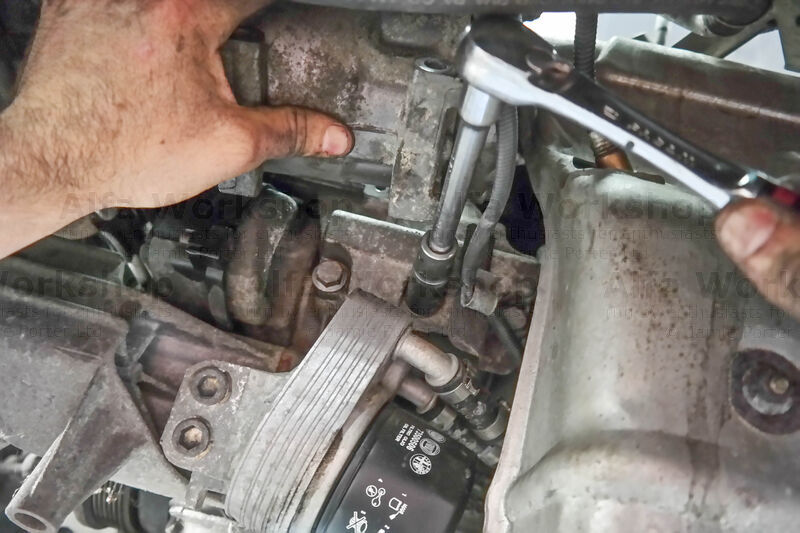
 | Undo the 15mm bolt in the middle of the compressor bracket, |
|
 | then the one under the exhaust manifold. |
|
 | Undo the three bottom bracket bolts in a row to release the part. |
|
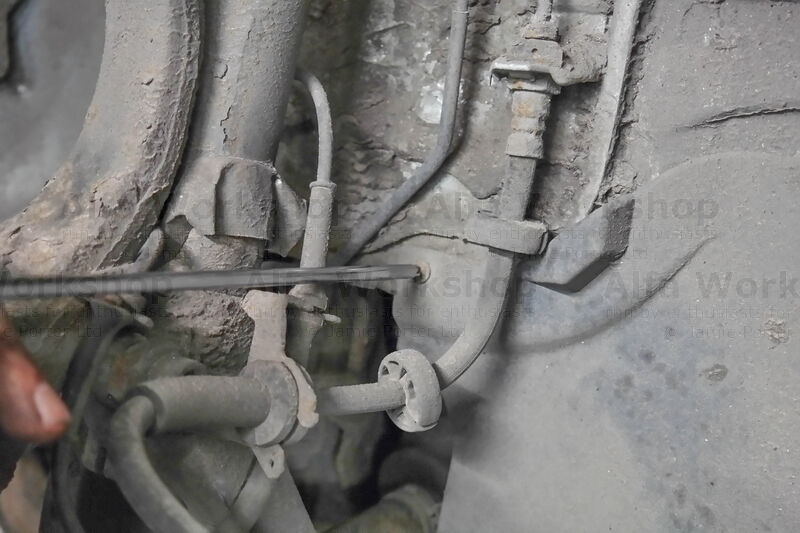
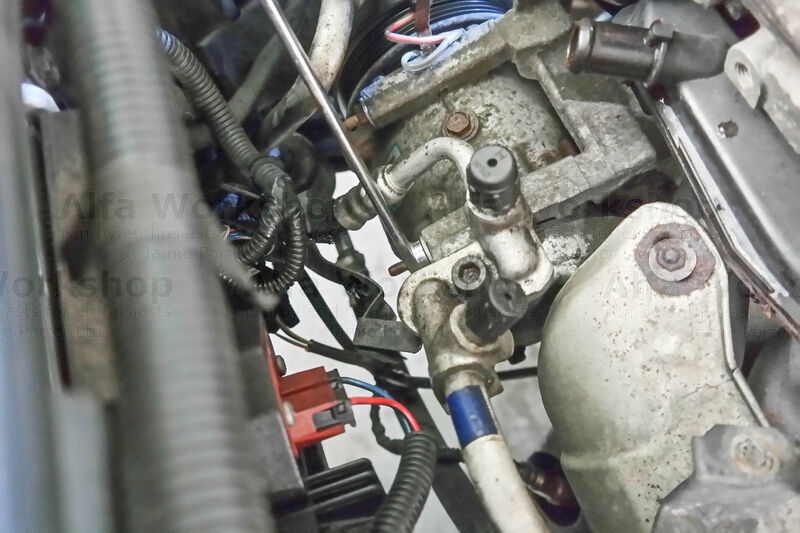
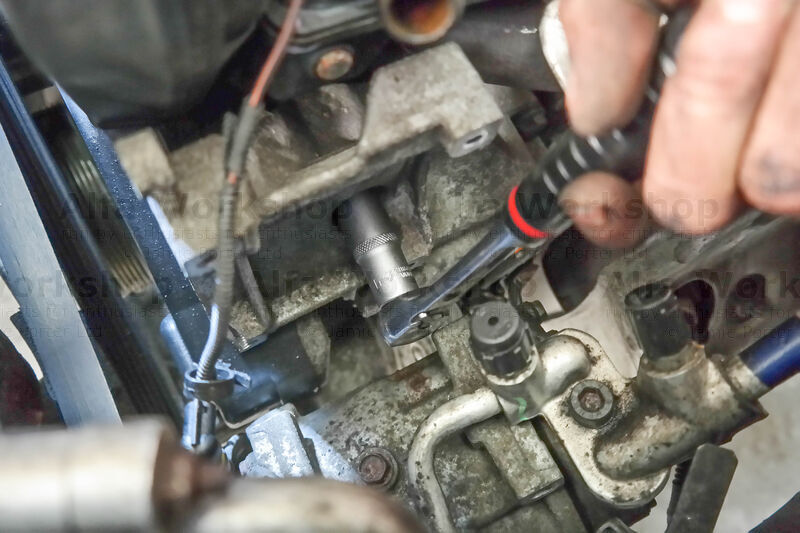
 | Undo the upper and lower 10mm bolts on the rigid coolant pipe, |
|
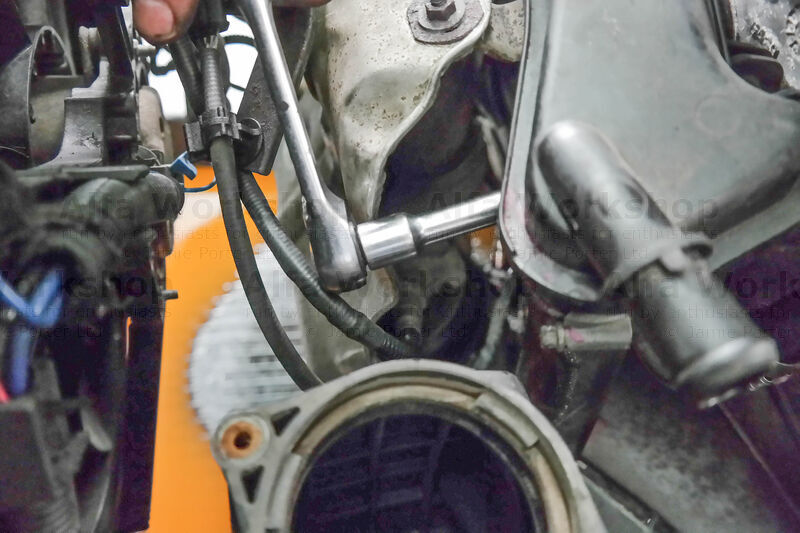 | then the last lower one at the other end. |
|
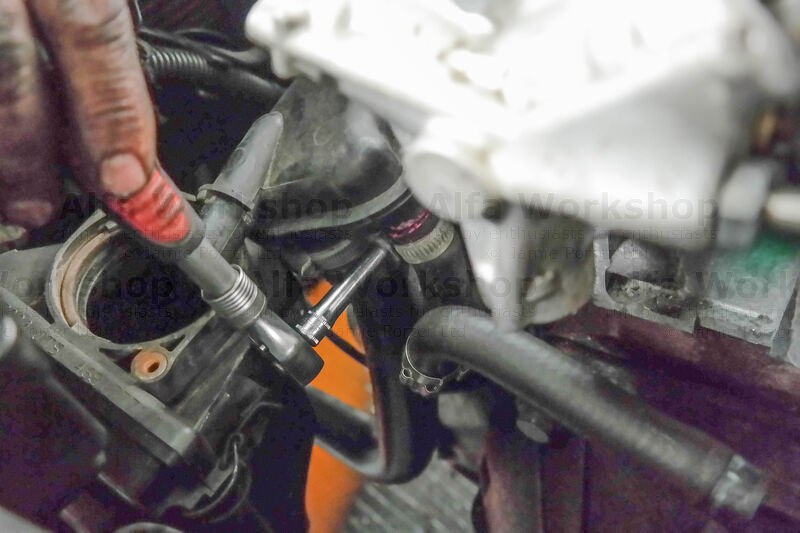 | Now you can release the last two hose clamps and the pipe is free! |
|