This page:

Replacing The Right Hand Interior Door Handle On A Giulietta
The interior door release handle isn't available from Alfa, they only supply the whole door card which is a bit pricey. To install an after market handle the plastic welds on the back of the door card need to be broken then glued back together (the after market handle is also strengthened at the weak point).
The left handle is part YY201 and the right YY200
Workshop time: 2 hours 30 mins
You can book your Giulietta into the workshop or just look for a quote for replacing the LEFT side handle or the RIGHT
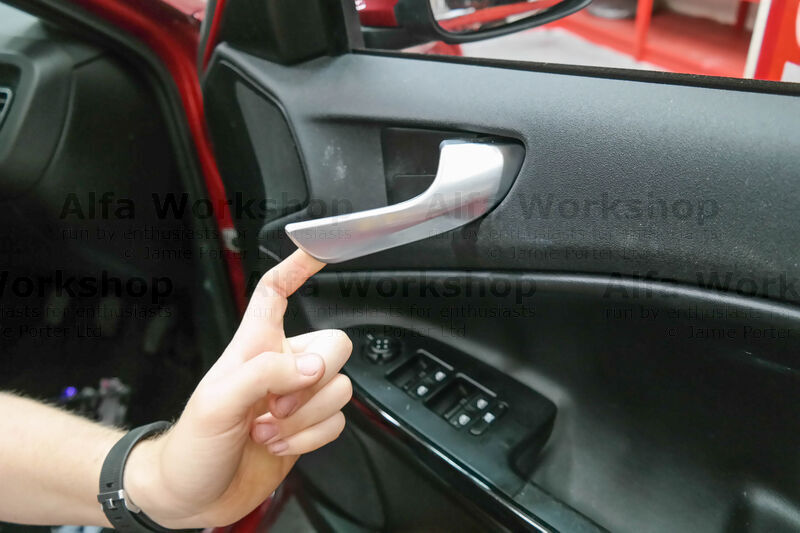
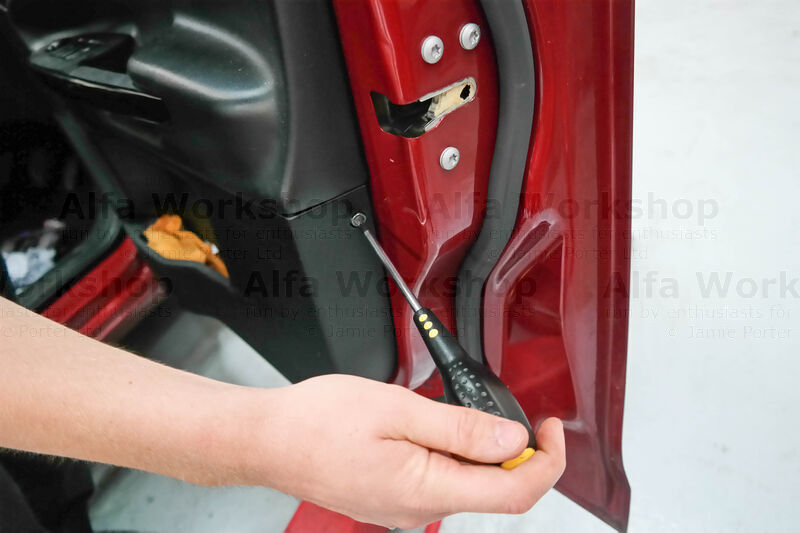
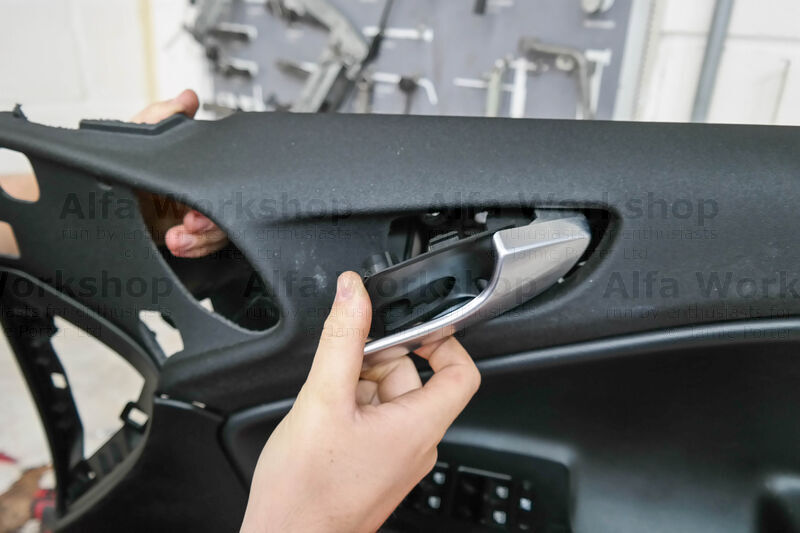
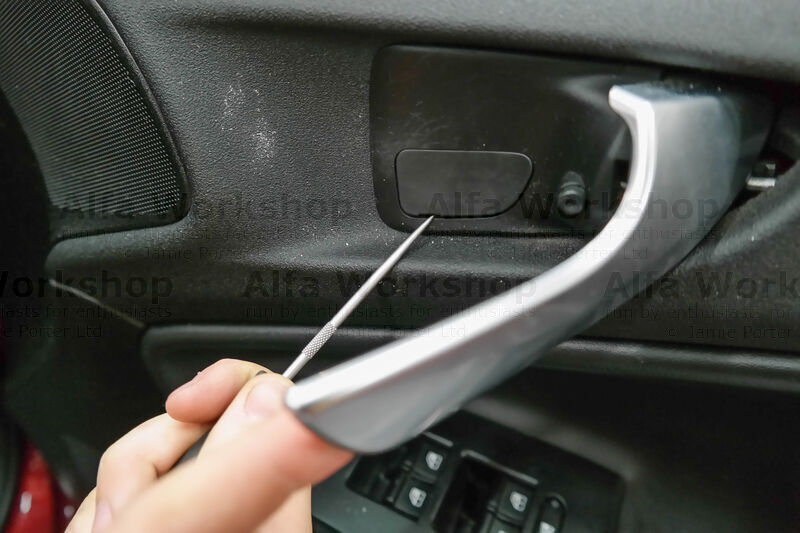 | Prise off the small cover behind the interior door handle. |
|
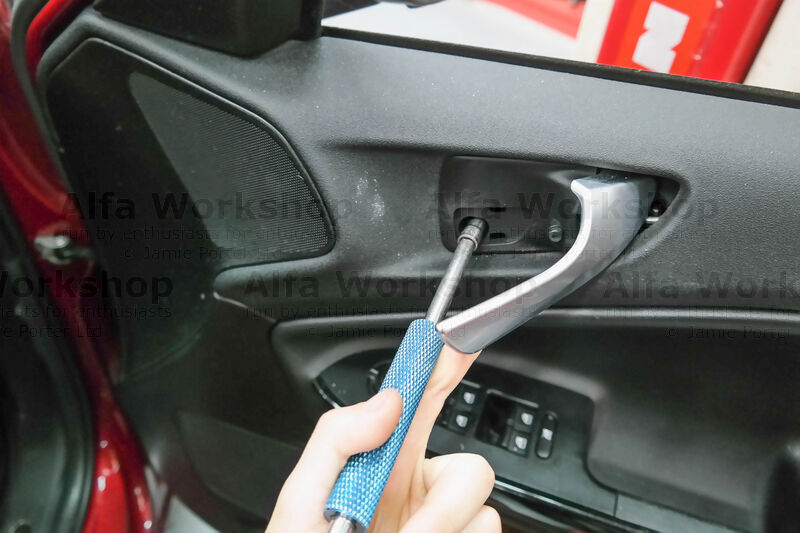 | Undo the 5mm allen bolt. |
|
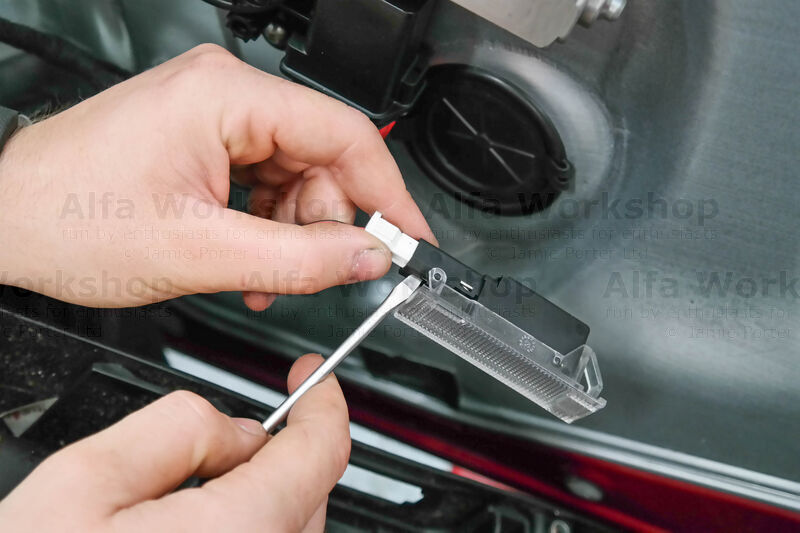
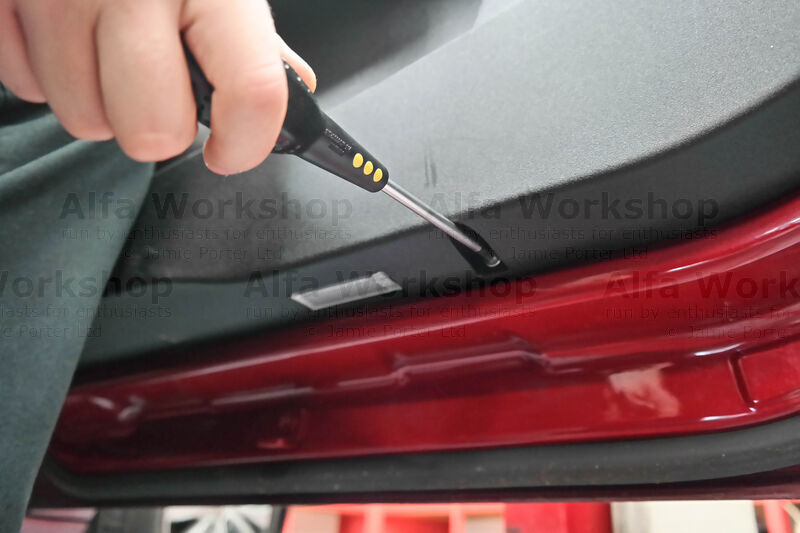 | Unscrew the Phillips screw to the right of the puddle light.... |
|
 | ...and the side of the bottom right hand corner on the door card. |
|
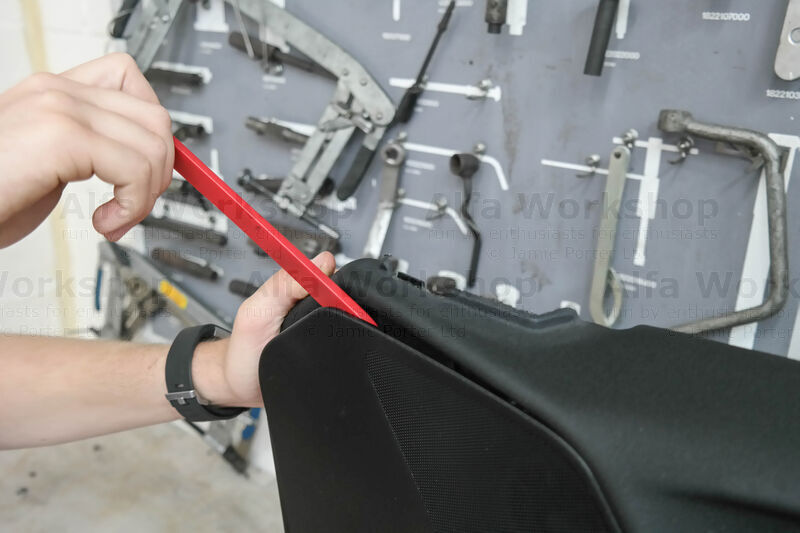
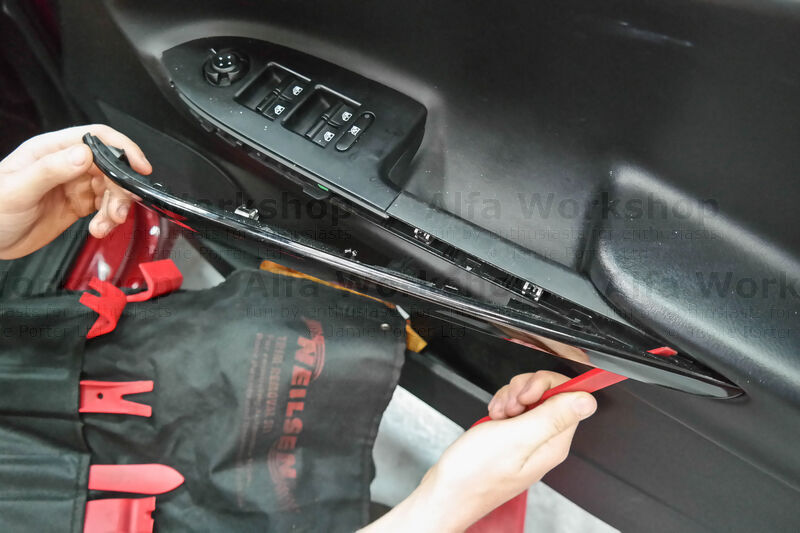 | Using a flat plastic tool prise off the side trim to the windows electric console. |
|
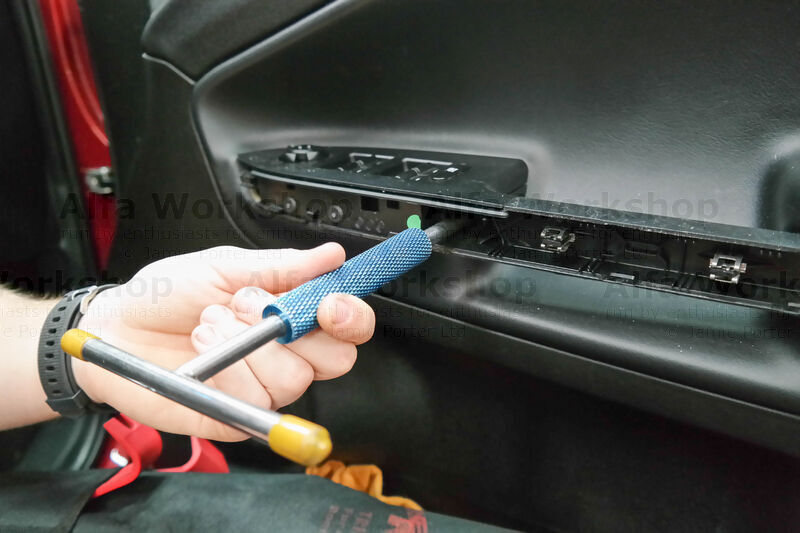 | Undo the x2 5mm allen bolt. |
|
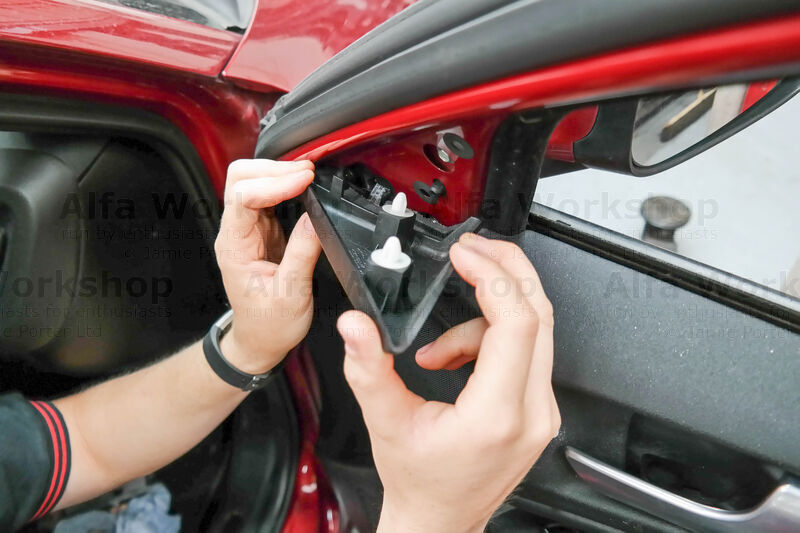 | Pull off the triangular mirror mount cover. |
|
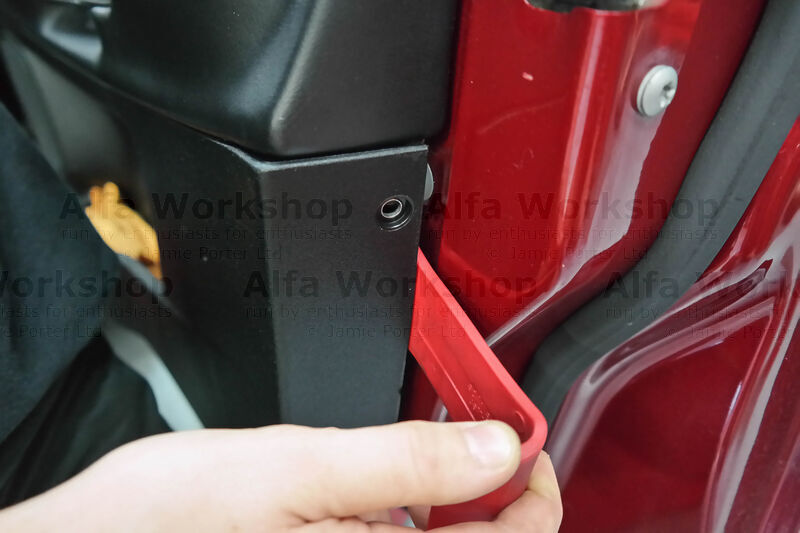 | Again, with a flat plastic tool prise off the complete door card. |
|
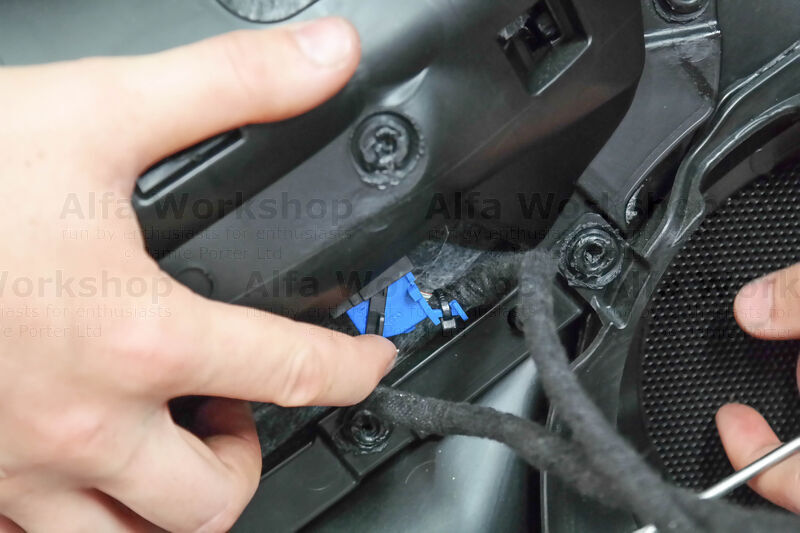
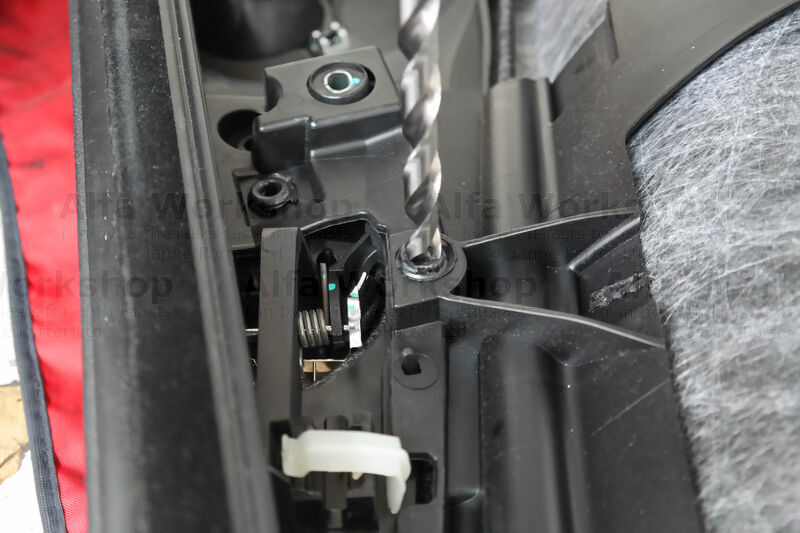
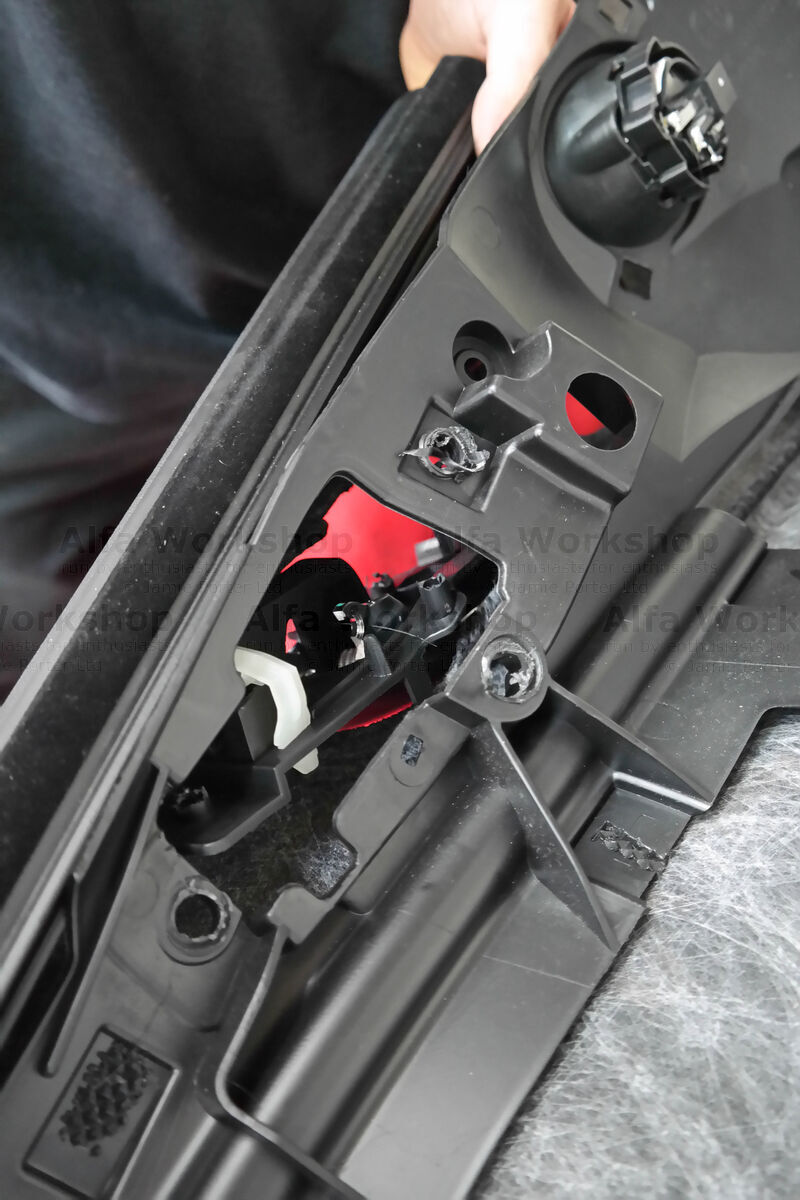
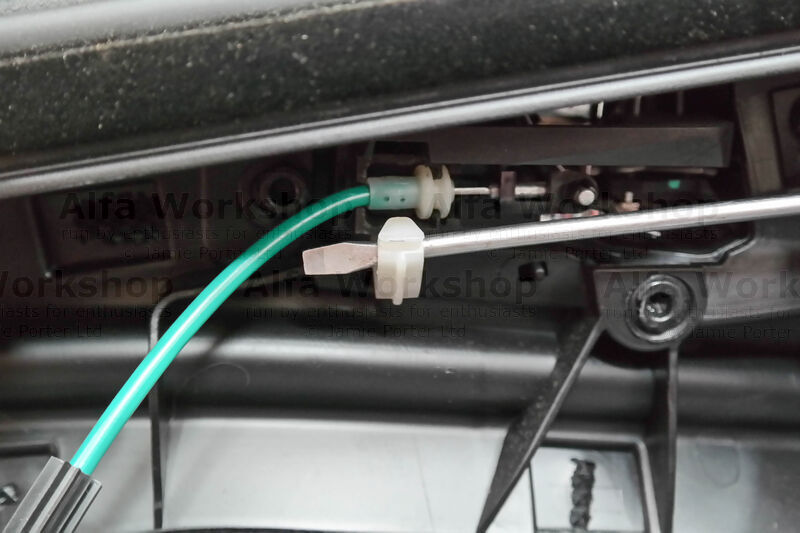 | Unclip the door release cable retainer and remove the cable. |
|
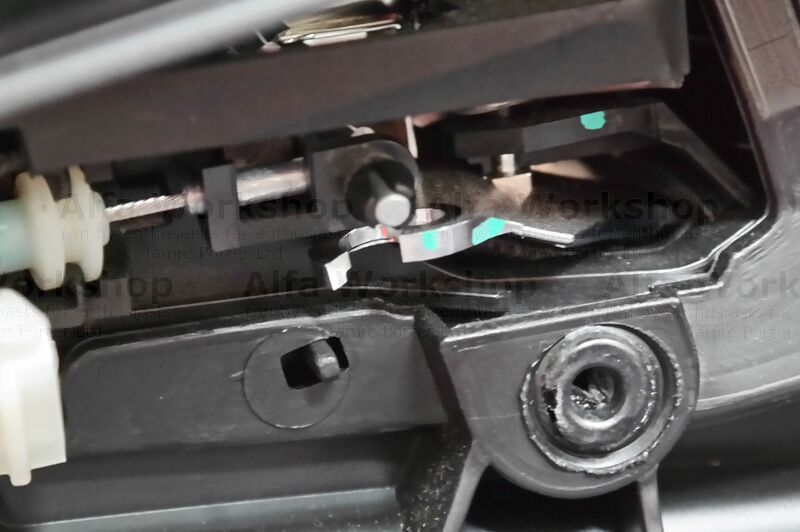 | You can see the part the cable clips into has split apart. |
|
 | Disconnect the tweeter speaker. |
|
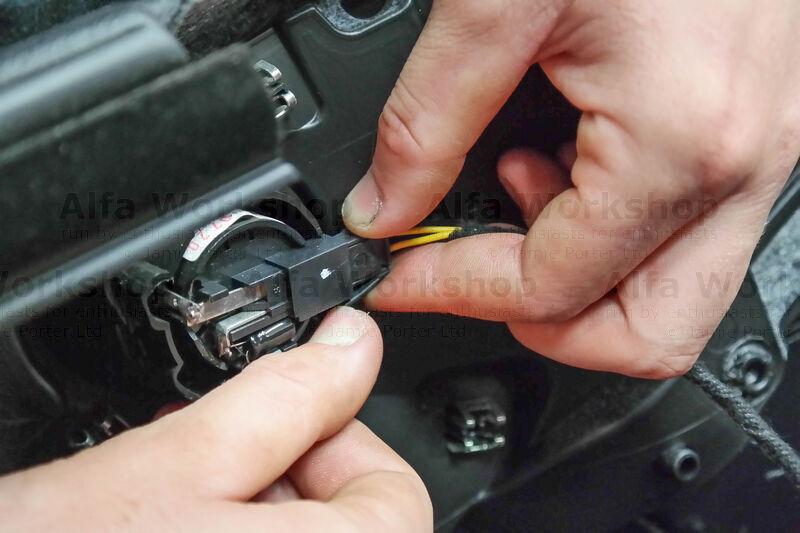
 | Unclip the blue connector to the window control console... |
|
 | ....then the black one. |
|
 | Unclip the puddle light and the door card is free to remove. |
|
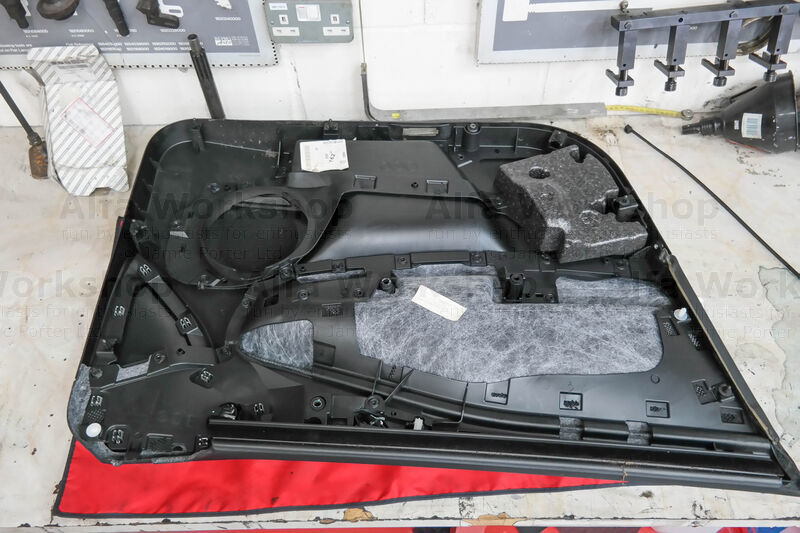 | Lay a protective cover over a work surface to protect the door card while you're working on it. |
|
 | Using a flat plastic tool prise the tweeter speaker cover off (there's x8 clips). |
|
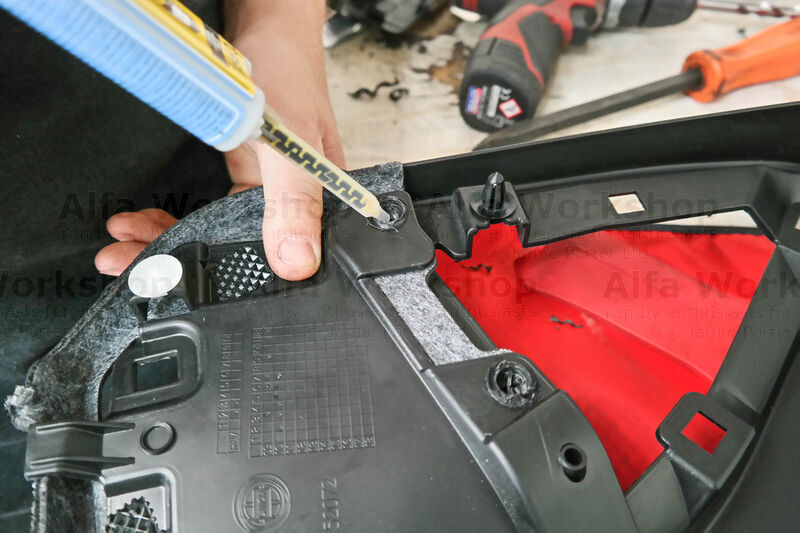
 | Carefully drill out the x3 heads of the welded plastic grommets around the back of the handle... |
|
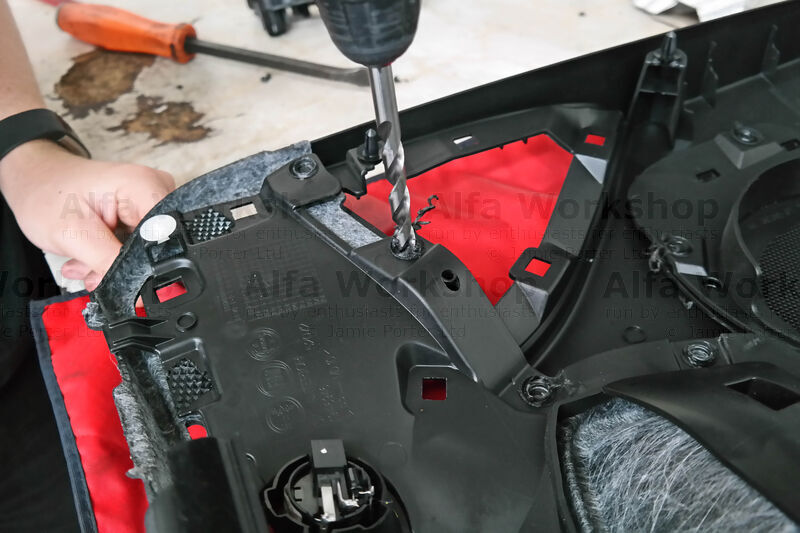 | ...then the other ones around the top half section of the door card. |
|
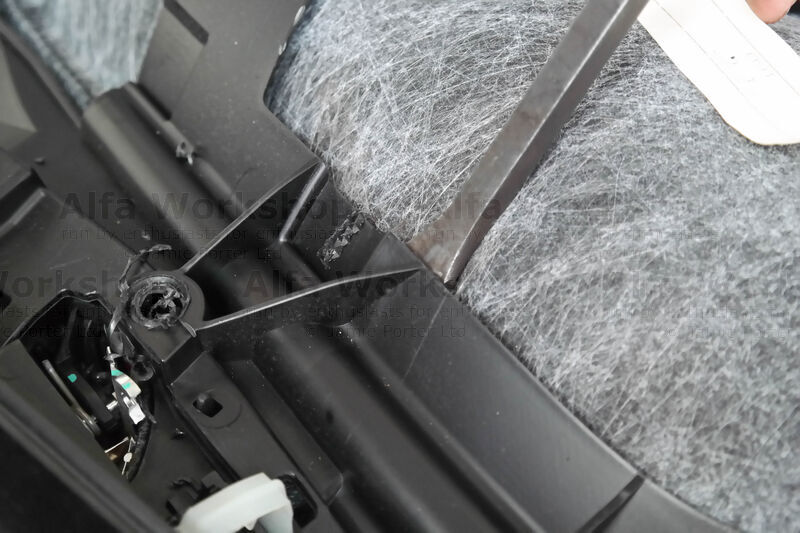 | Prise apart all the plastic welds around the top half of the door card. |
|
 | You need to release enough of the welds to be able to separate the plastic frame from the door card which the handle is sandwiched between. |
|
 | Replace the new handle and transfer the cable retainer from the old handle. |
|
 | Cut off any excess plastic caused from the drilling. |
|
 | Using a flexible, quick drying bonding glue, glue all the plastic welds which you have drilled and broken (apply pressure to the back of the door card as you do so to ensure a good contact and fit). Attach the cable then fit the door card and all other parts back to the door. |
|
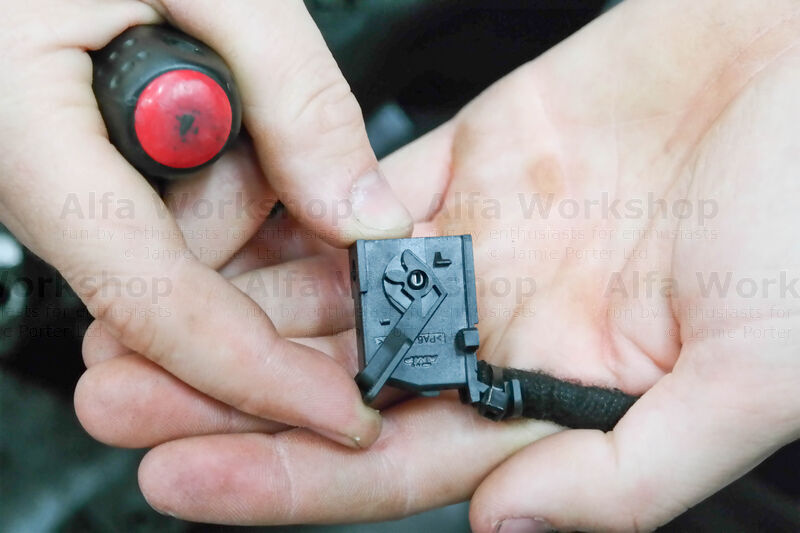
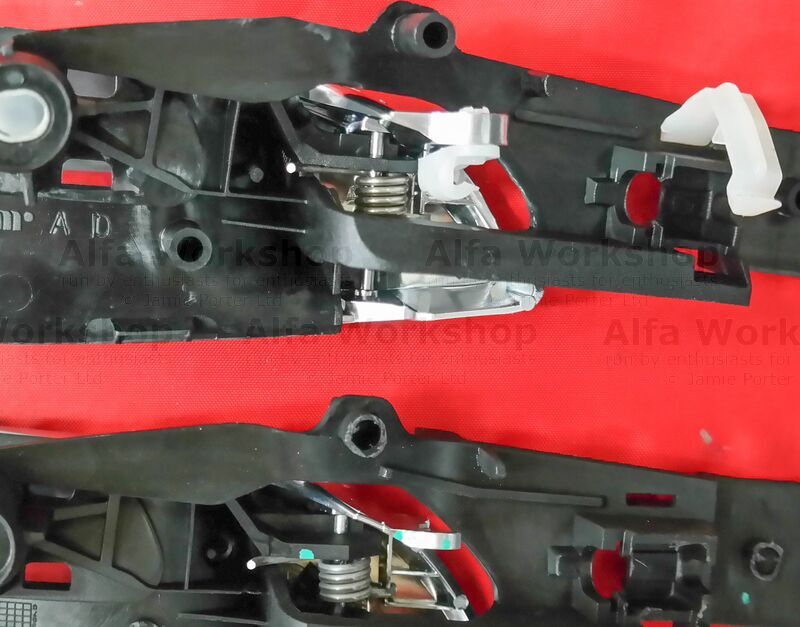 | You can see that on the after market handle (top) the part of the lever where it breaks is a lot thicker than the Genuine one (bottom). |
|
Related Links: Boot wiring loom | Petrol flap solenoid | servicing