This page:

Changing The Cam Belt On A MiTo 1.4 8v (78hp)
Becuase the 1.4 8 valve is a small engine and has no turbo there is sufficient room for completing a straight forward cam belt replacement.
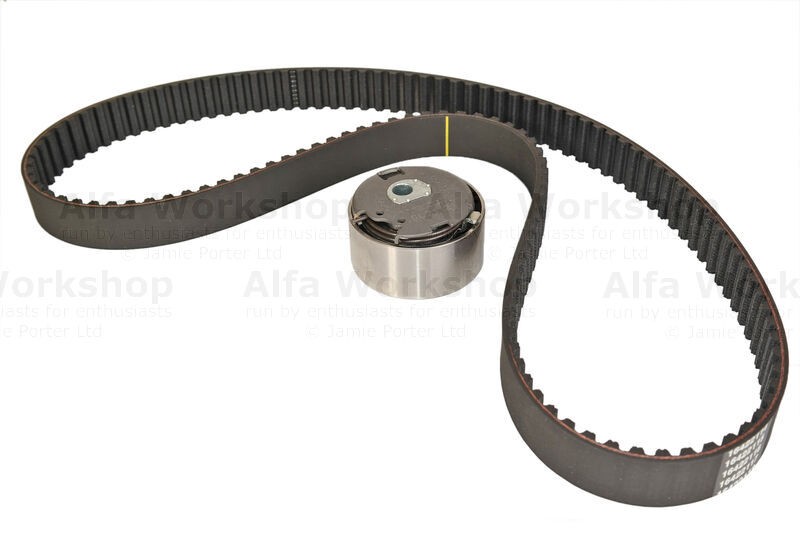
Cam belt kit 71775900
Workshop time: 1 hour 45 mins
If you would like to book your MiTo 1.4 into our workshop for this service the price is £286.80
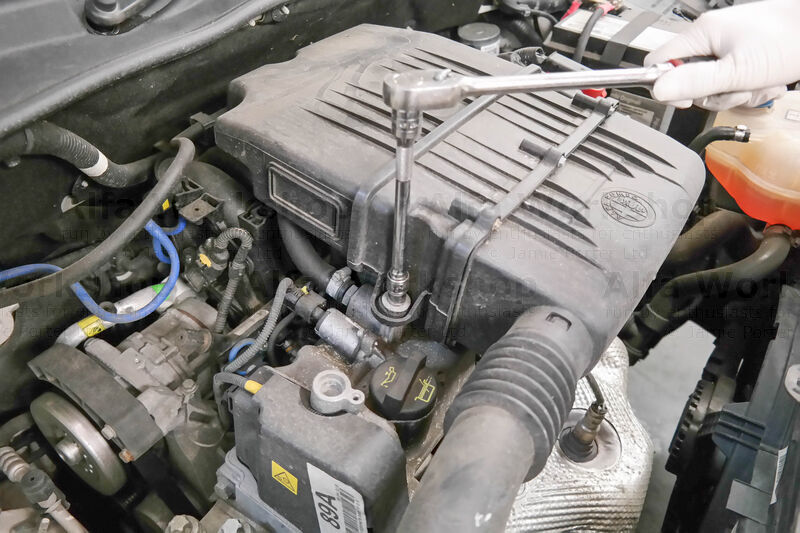 | Undo the x2 10mm bolts to the engine cover. |
|
 | Then the 10mm nut to the air intake bracket. |
|
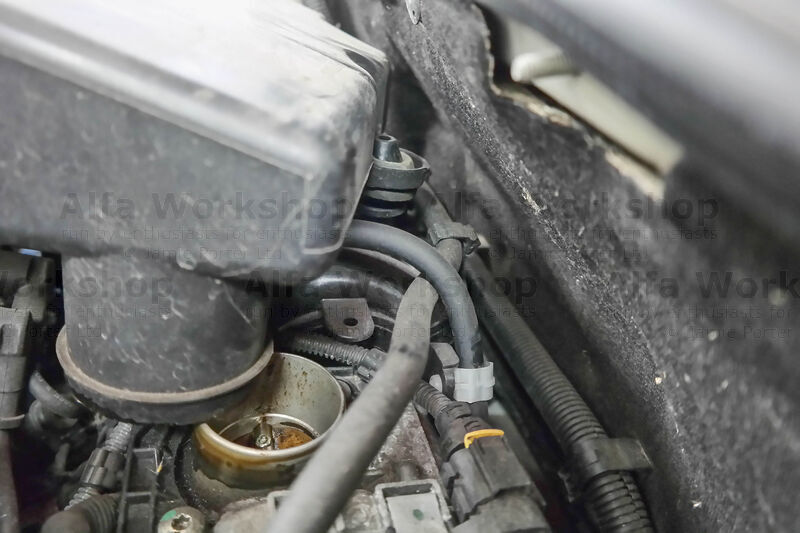 | Lift the cover from the rear mounting bung and pull off the back breather pipe. |
|
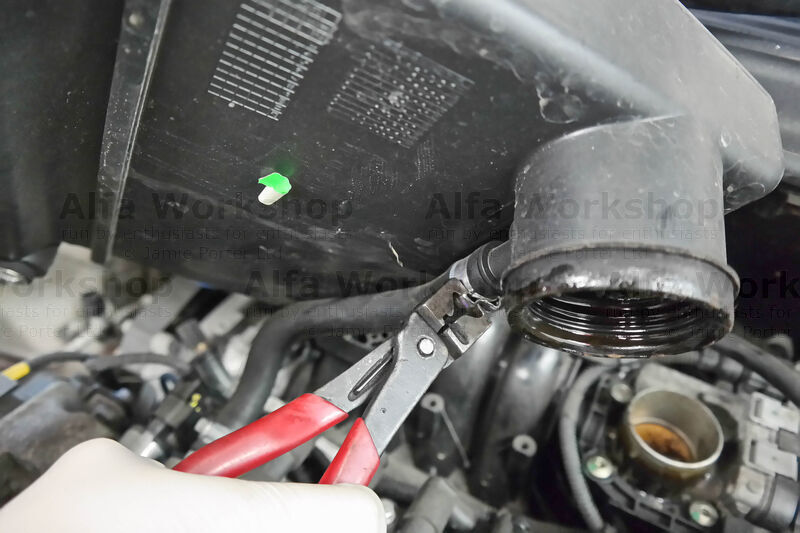 | Unclip the breather pipe underneath and remove the cover. |
|
 | Undo the x3 10mm bolts holding the top half of the cam cover. |
|
 | Unclip the x2 wires at the back and thread out the one through the side cover. |
|
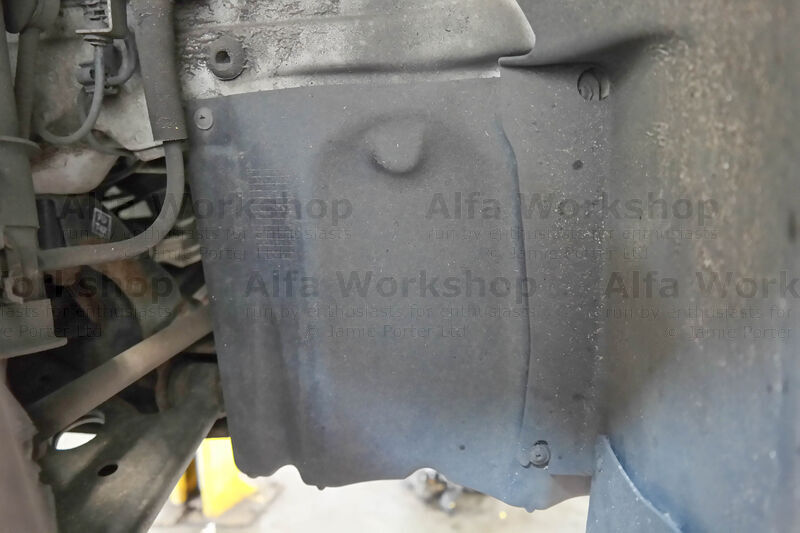 | Undo the x3 screws to the wheel arch side cover. |
|
 | There's also one underneath. |
|
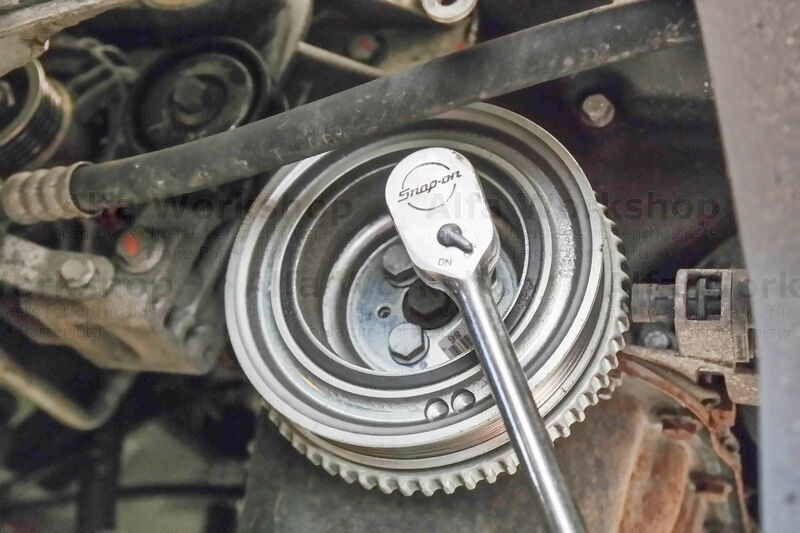
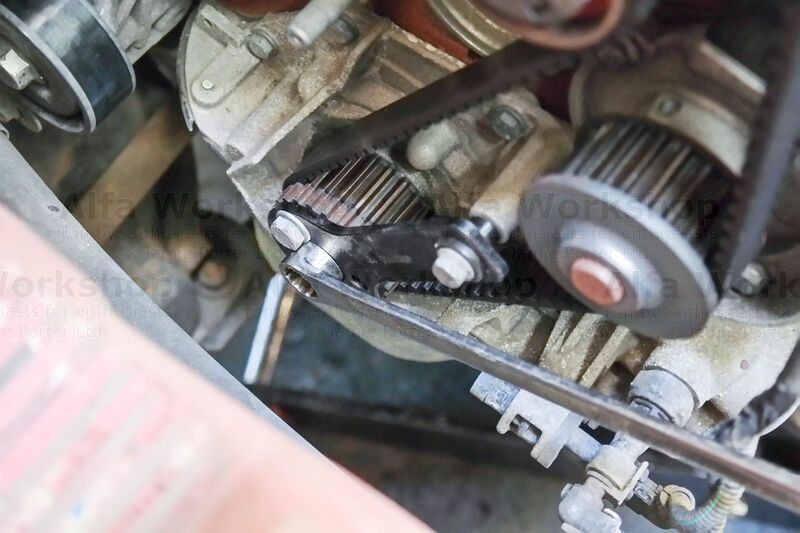
 | Using a long 13mm spanner rotate the auxiliary tensioner idler bolt clockwise to release the tension on the auxiliary belt so that you can remove the belt. |
|
 | If you have a small nail/pin you can lock the tensioner in position by aligning the two locating holes for when you need to put the belt back on. |
|
 | Undo the x3 13mm bolts to the bottom pulley. |
|
 | Undo the 10mm bolt to the bottom part of the cam belt side cover. |
|
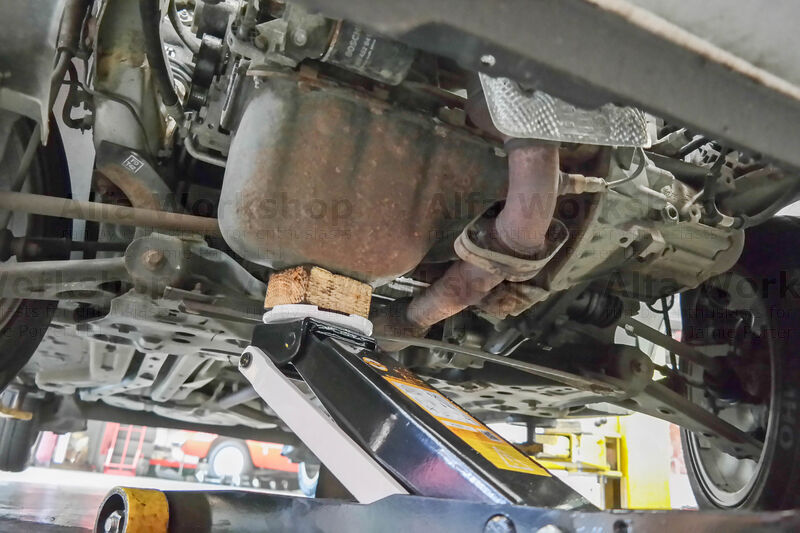 | Jack up the engine to take the weight off of the engine mounts. |
|
 | Undo the x3 E18 bolts to the engine mount. |
|
 | Also the x3 E14. |
|
 | Now undo the x4 15mm bolts to the engine mounts bracket. |
|
 | Undo the 10mm bolt to the plastic bracket of the ECU wiring loom and the 10mm bolt to the earth wire in front. |
|
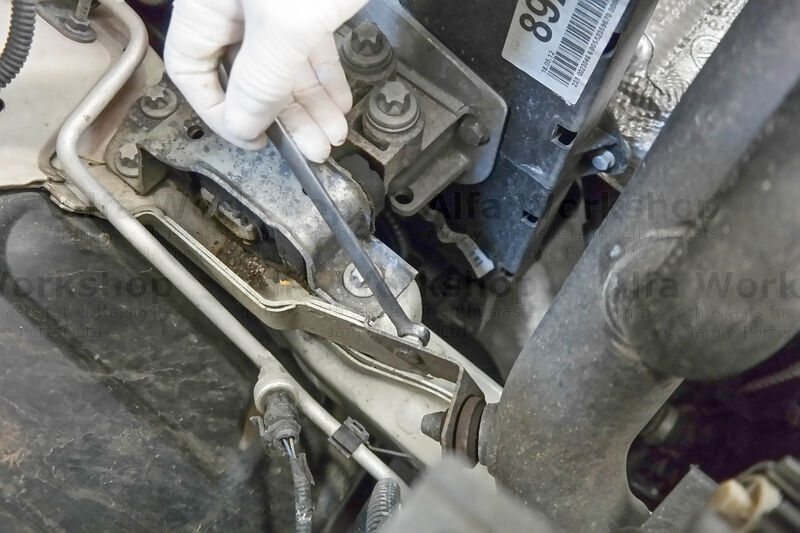
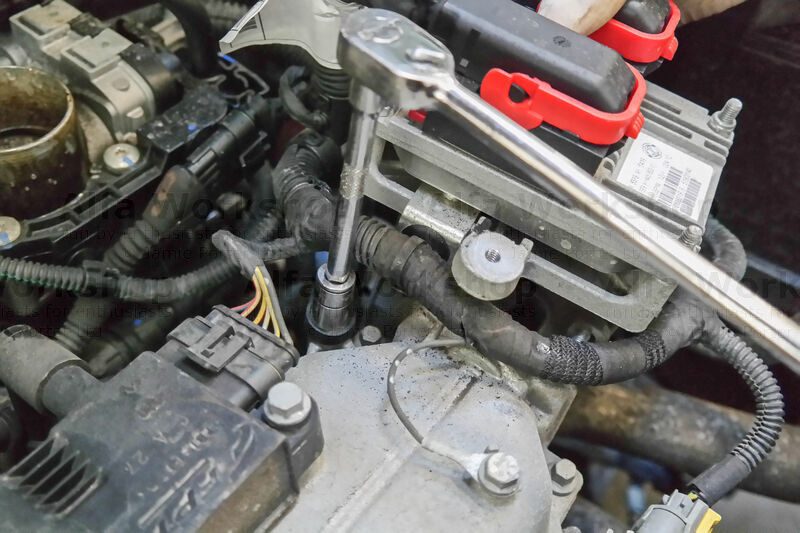
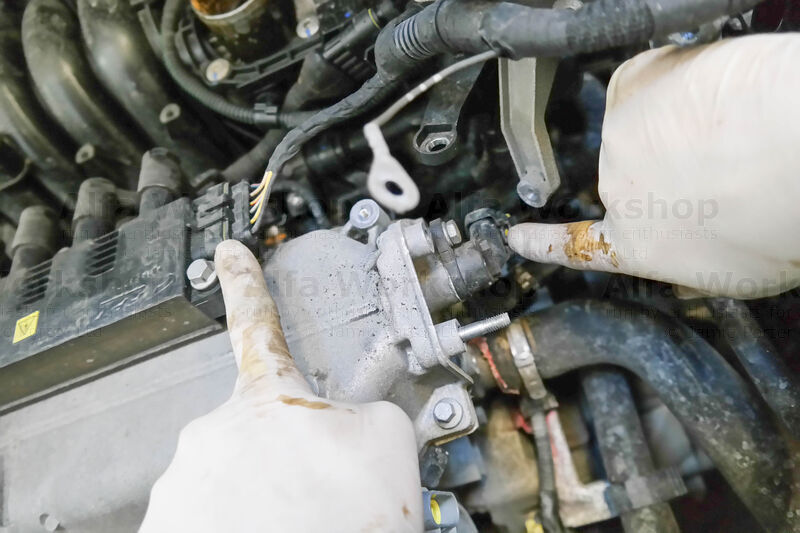
 | The metal bracket holding the ECU is fixed with x3 10mm bolts and one 10mm nut. The picture shows the BACK of the bracket. |
|
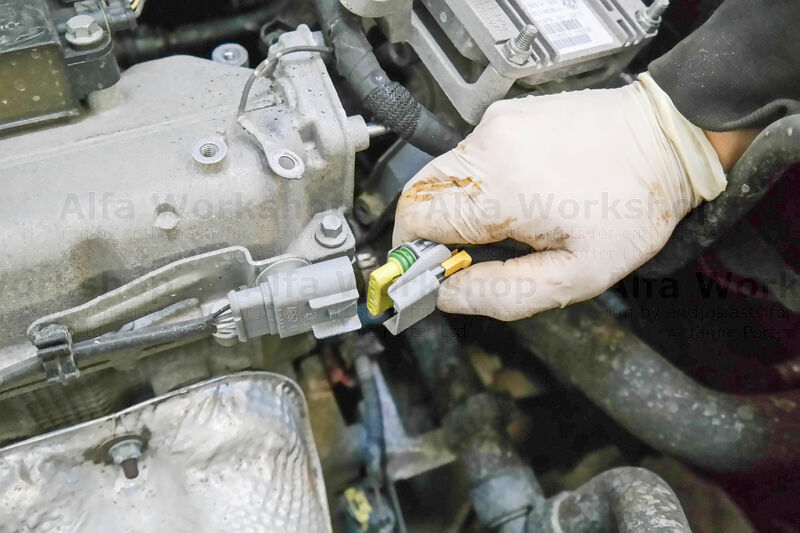 | Unclip the lambda sensor. |
|
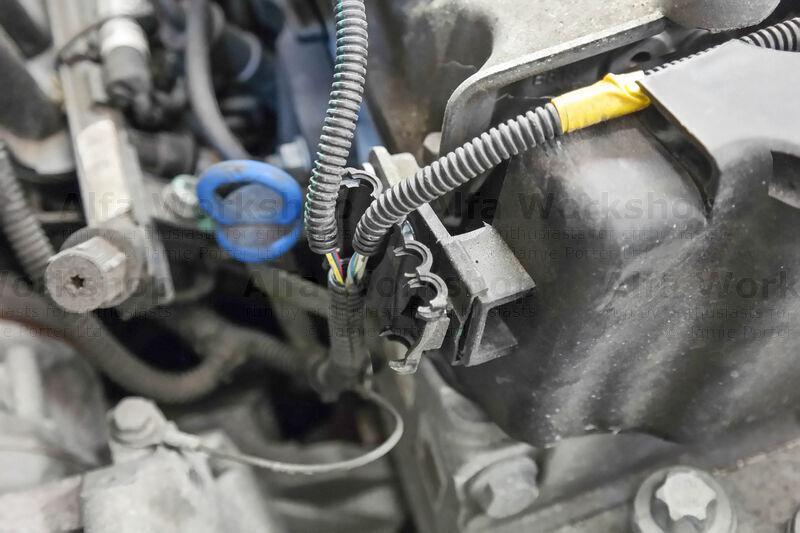
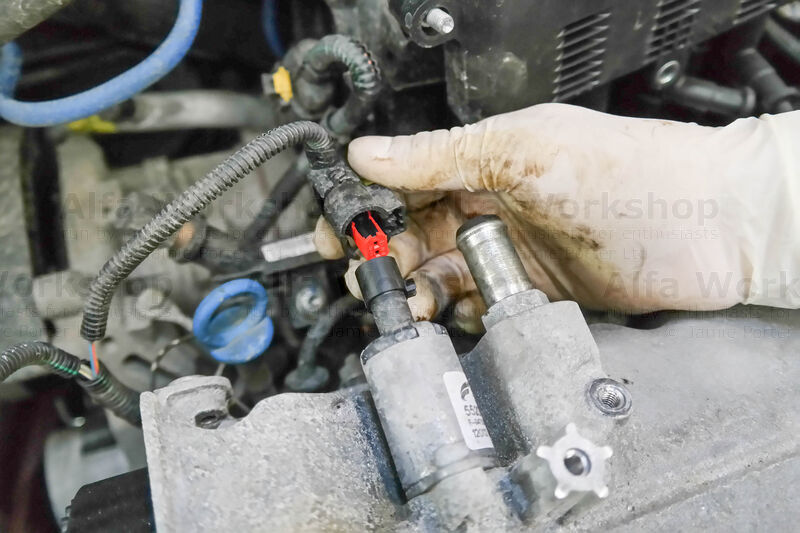
 | Unclip the coil pack and the cam sensor. |
|
 | Now undo the x3 10mm bolts to the coil pack. |
|
 | Unplug the solenoid. |
|
 | There's one 10mm bolt holding the lambda sensors bracket and x8 8mm bolts to the rocker cover. |
|
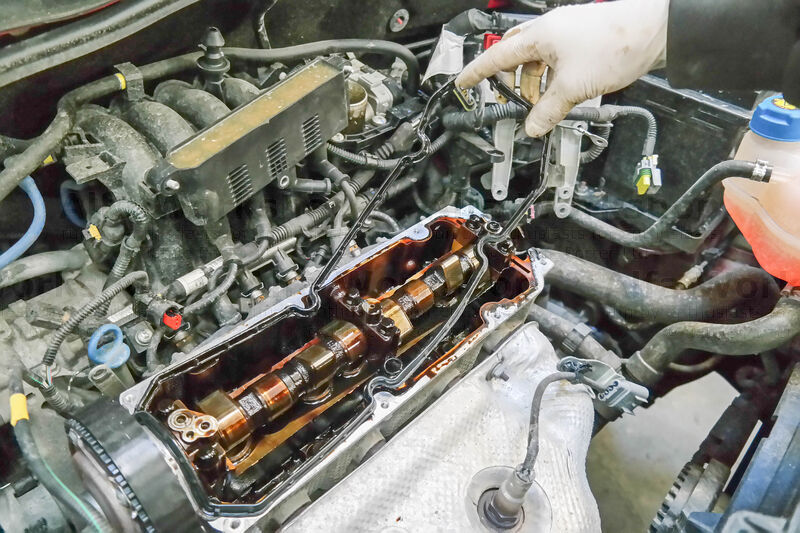 | Remove the rocker cover gasket if it has come away from the cover. |
|
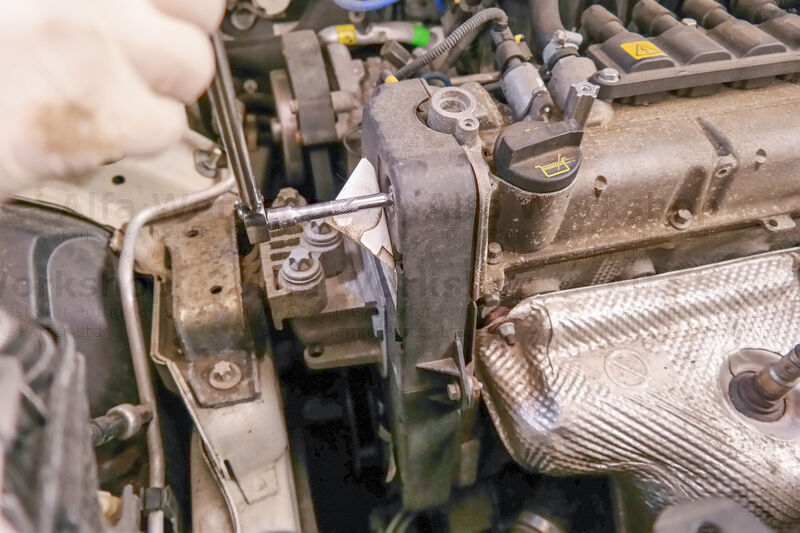
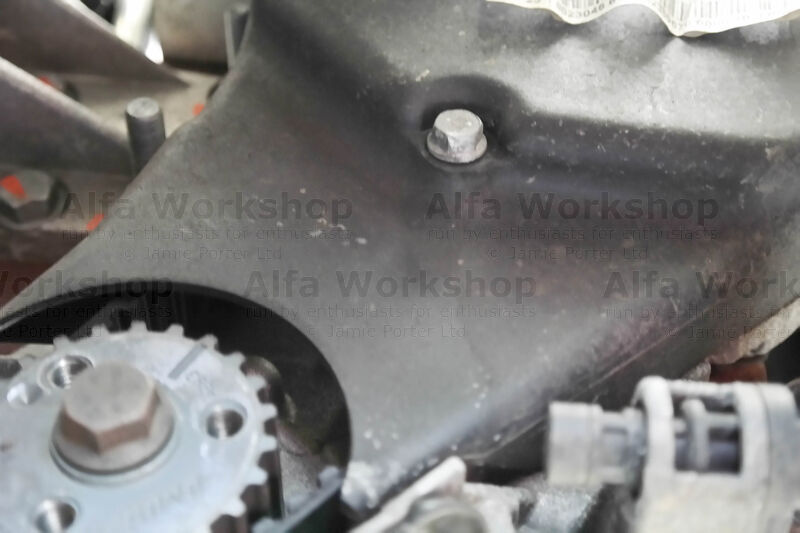
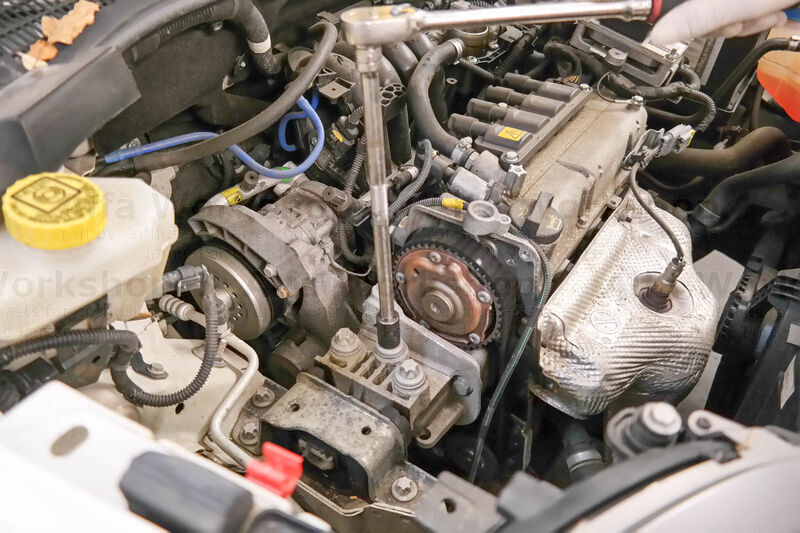
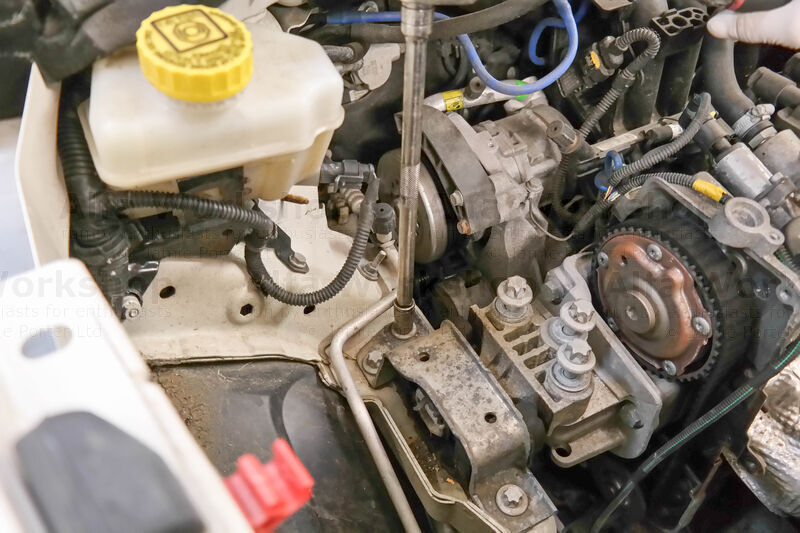
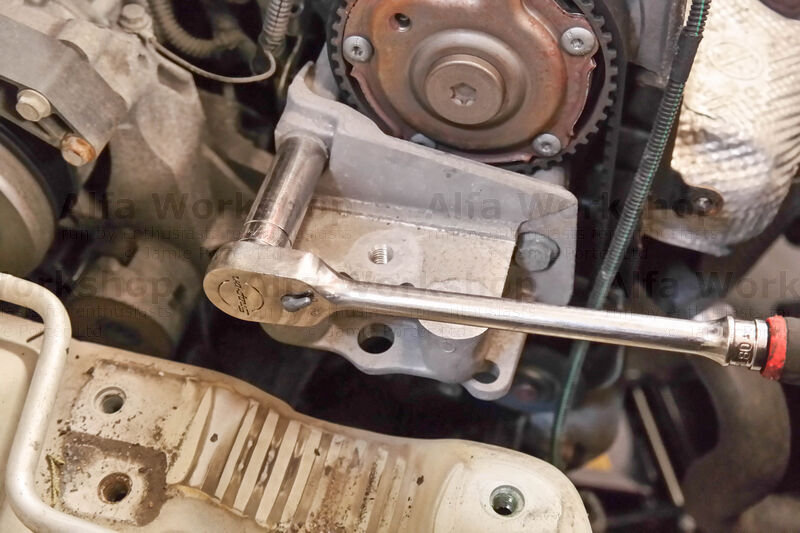
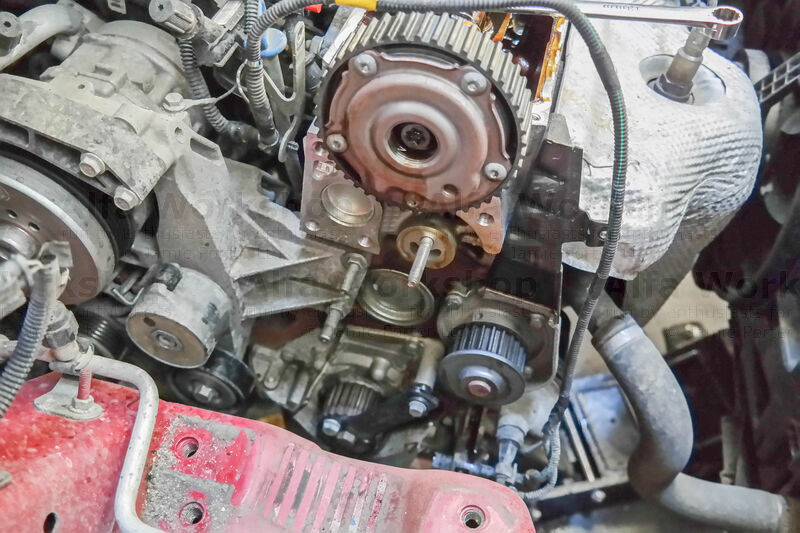
 | Bolt the crank locking tool to the crank driving pulley then align and bolt the other end of the tool to the cam cover fixing point in the picture. |
|
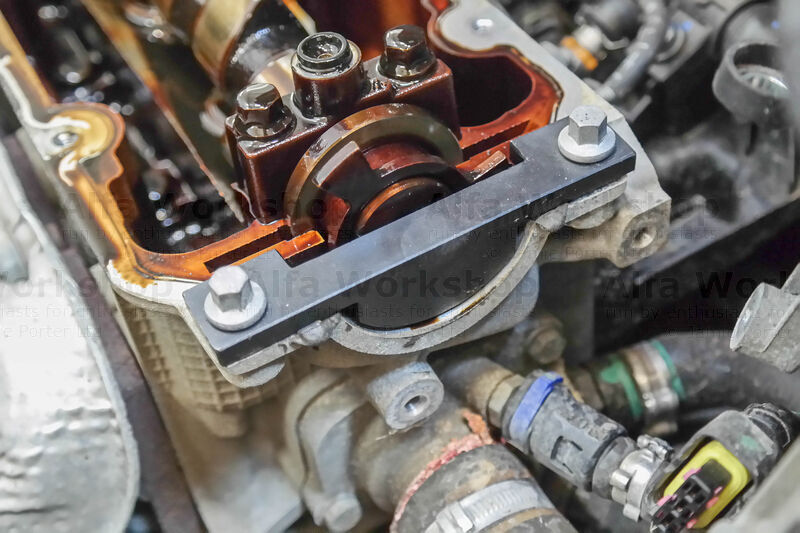 | Now bolt down the cam shaft locking tool. |
|
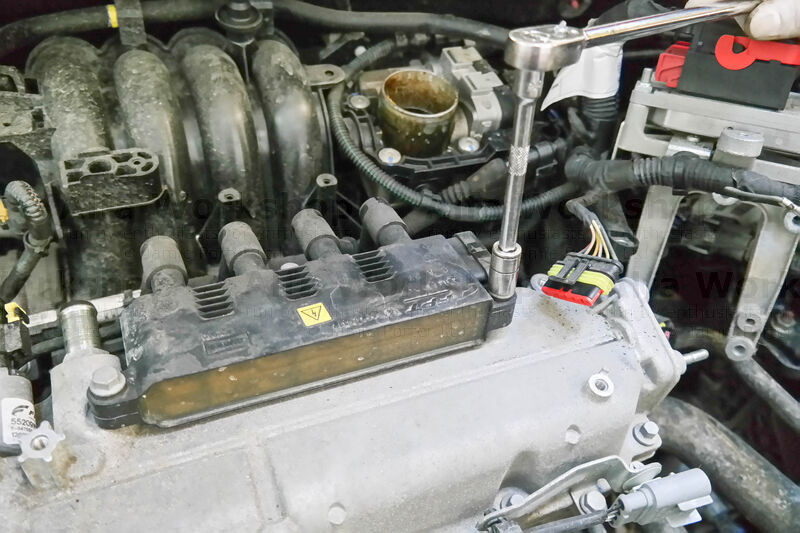
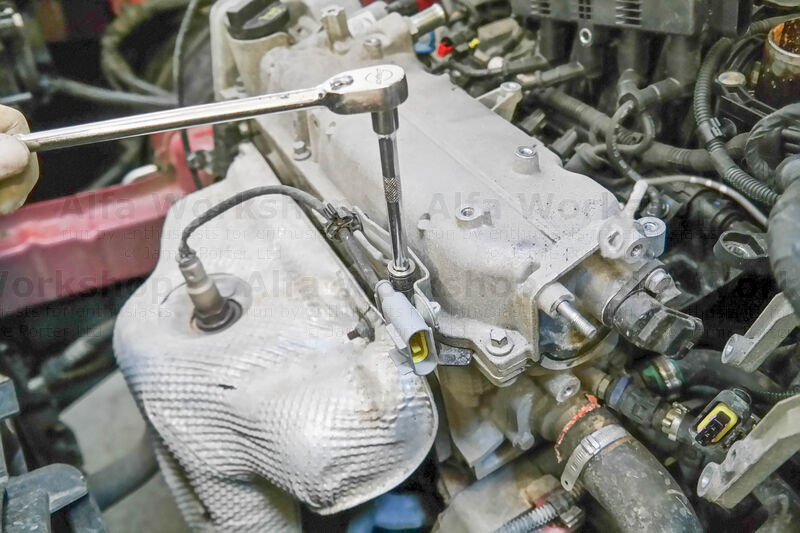
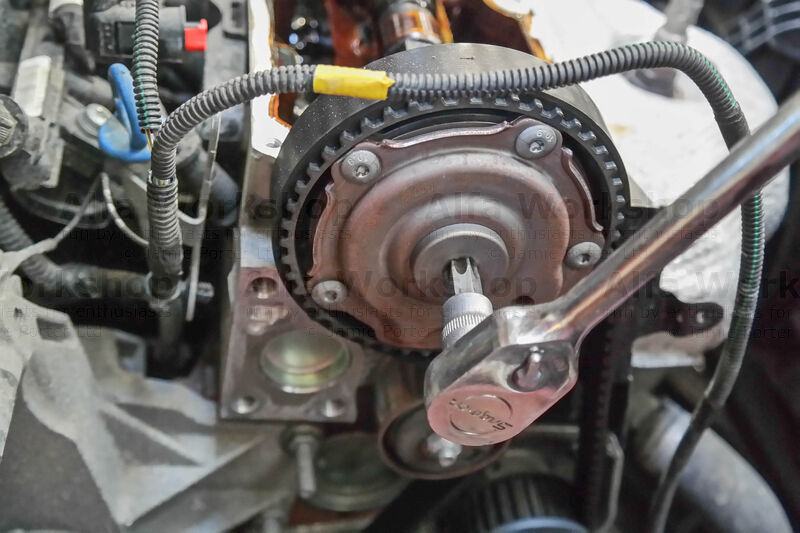 | Undo the T55 (TORX) oil cap on the cam shaft pulley then the T55 bolt beneath. |
|
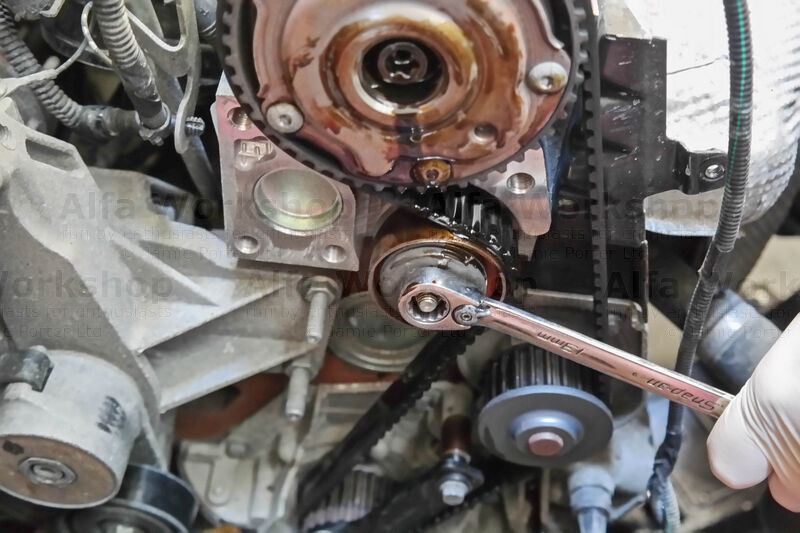 | The cam belt tensioner is held with a 13mm nut. |
|
 | You can now remove the cam belt. |
|
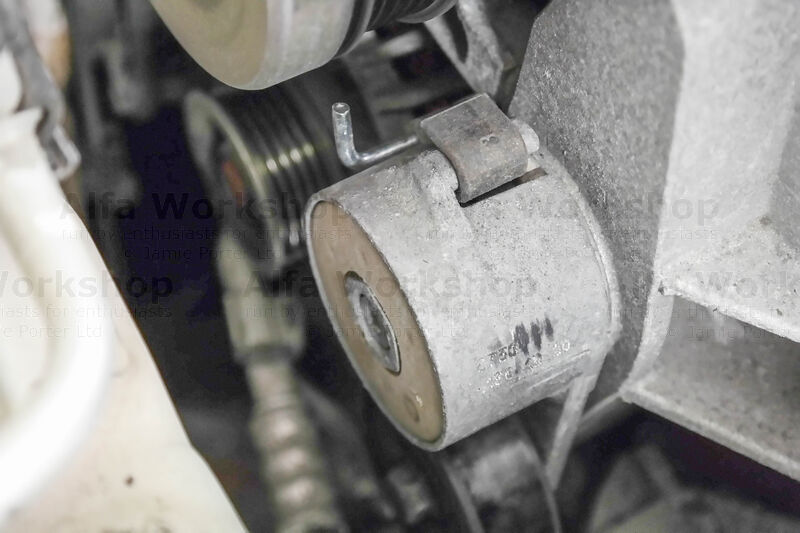
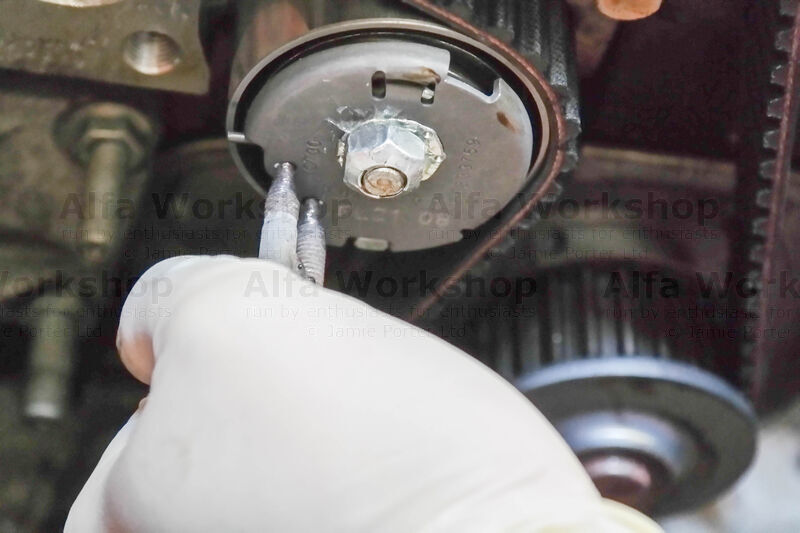 | Once you have fitted the new tensioner and cam belt the tensioner needs to be adjusted. Turn the tensioner anticlockwise until the bottom lug falls in line with the cut out in the picture. |
|
Related Links: Servicing costs | Spring and top mount replacement | Wiper linkage removal