This page:

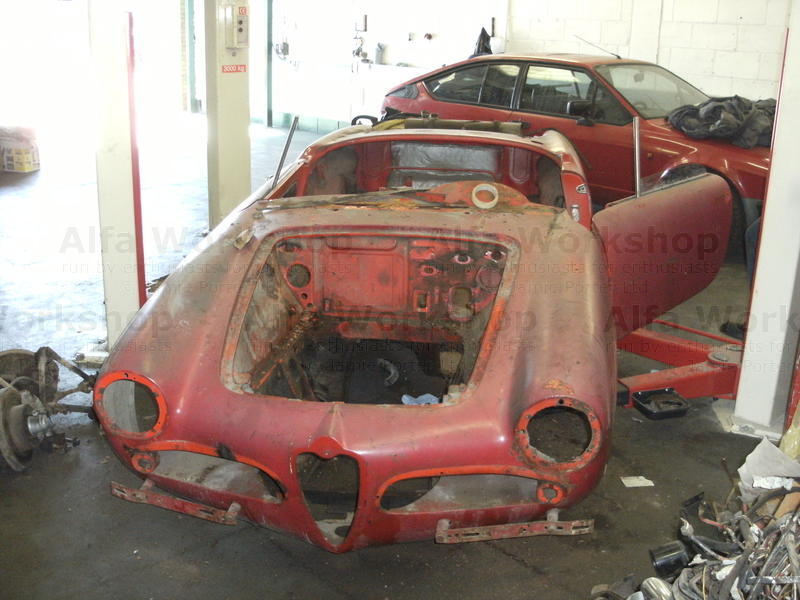
Stripping a 101 body shell down
Our Alfa Romeo Giulia Spider 101 Restoration Project so far:
1. [lnav=Project-101-Giulia-Spider.shtml]Starting Point[elnav]
2. Stripping to body shell (this page)
3. [lnav=Project-101-Giulia-Spider-repairing-the-sills.shtml]Removal of the sills[elnav]
4. [lnav=Project-101-Giulia-Spider-hole-repair.shtml]Repairing roll over bar holes[elnav]
5. [lnav=Project-101-Giulia-Spider-repairing-the-chassis.shtml]Repairing the chassis[elnav]
6. [lnav=Project-101-Giulia-Spider-in-the-metal.shtml]The 101 in the metal[elnav]
7. [lnav=Project-101-Giulia-Spider-painted.shtml]The 101 in paint[elnav]
The next real job on the 101 spider is to strip all the components off the body. This is not a major job it just takes time and patience, we tend to remove all the sub assemblies in as large parts as possible, less parts means there is less to loose. we will strip down the sub assemblies only as we come to refurbish them.
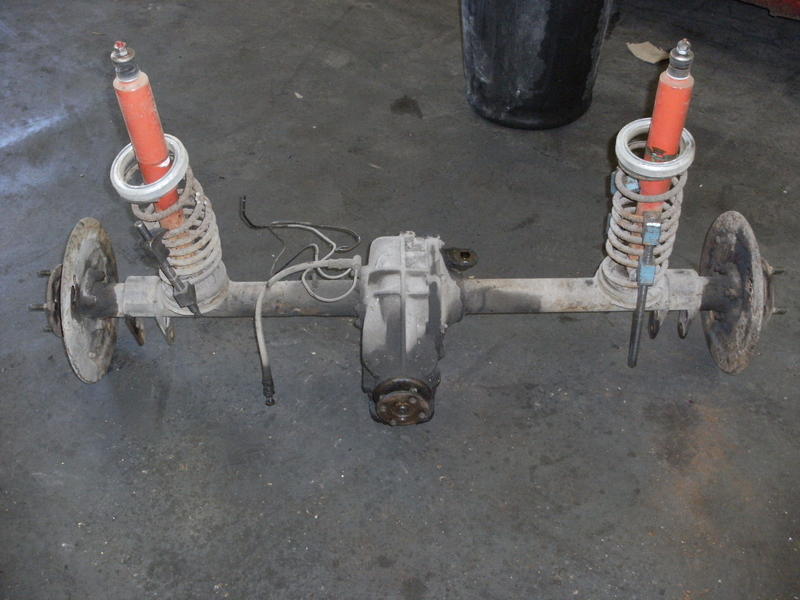 | The first bit we have decided to remove is the rear axle, there is no real reason for this, it is just a place to start, note how we have left all the shock absorbers and springs attached to the axle. |
|
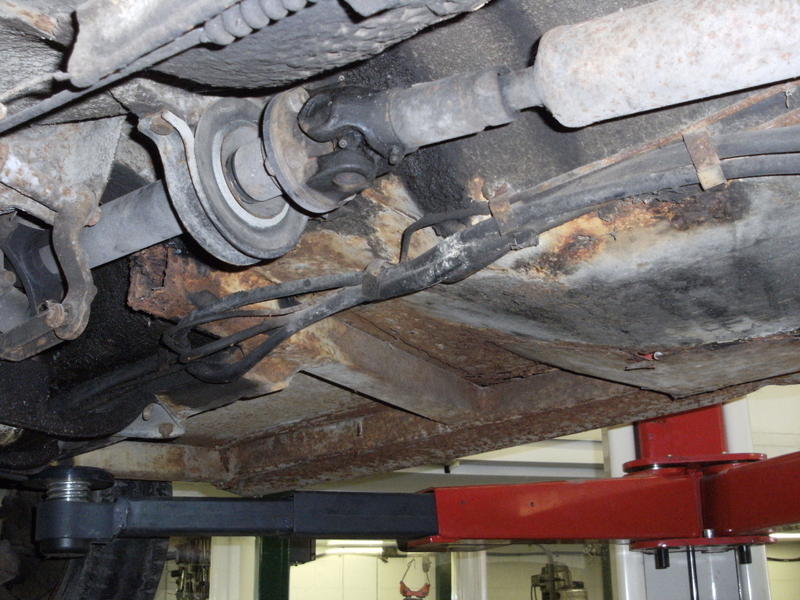 | The next bit to remove is the prop shaft, interestingly someone has fitted the wrong size prop shaft UJ in it and the prop has 3-4mm of play. Straight off to the prop shaft re-builder with that then! |
|
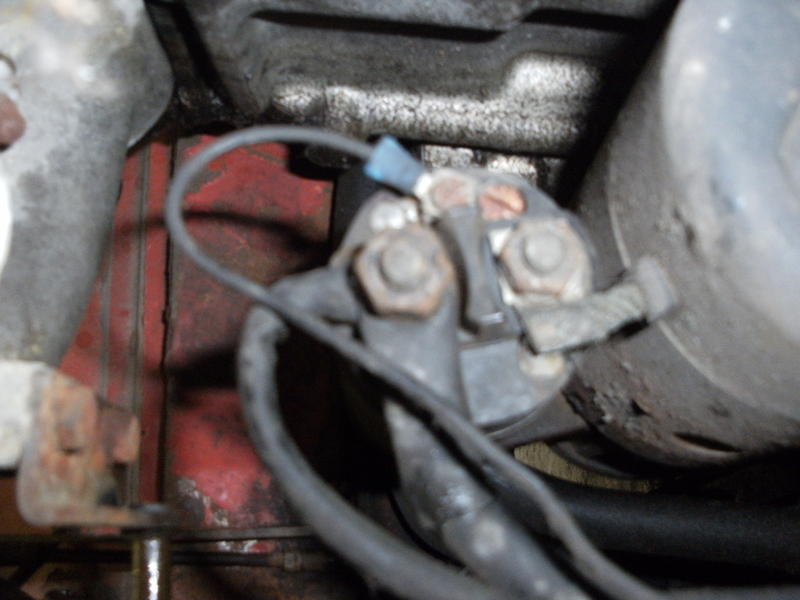
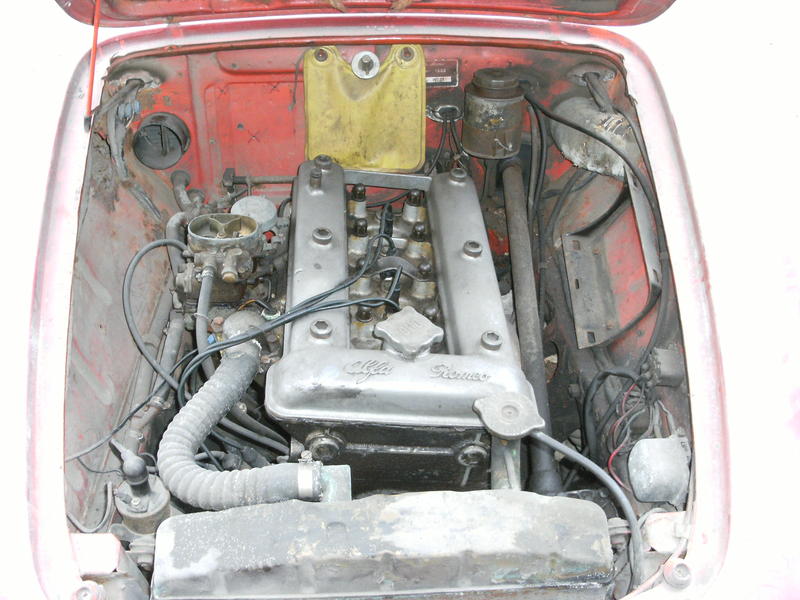 | Next out is the engine and gearbox, again take as much out as possible, they wont loose bits then. The engine will come out with the starter and dynamo still attached so all we need to take off is the wiring. |
|
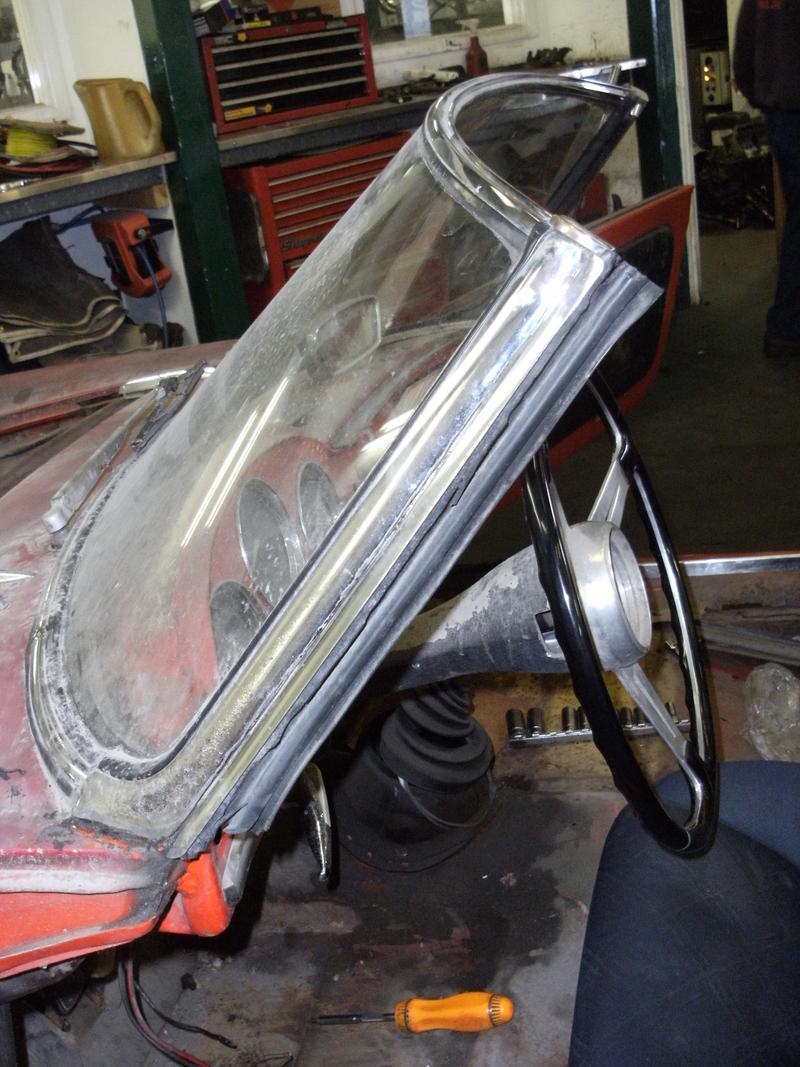 | Next off, all the chrome work, this all gets boxed and then it will all be repaired before it goes off to the re-finnisher's. the wind screen gets stored very carefully out of the way so it cant be damaged. |
|
 | Next, take good quality photographs of the wiring before you remove all of the electrical items, this always pays off, it may be only a simple wiring loom by modern standards but there are still a lot of wires |
|
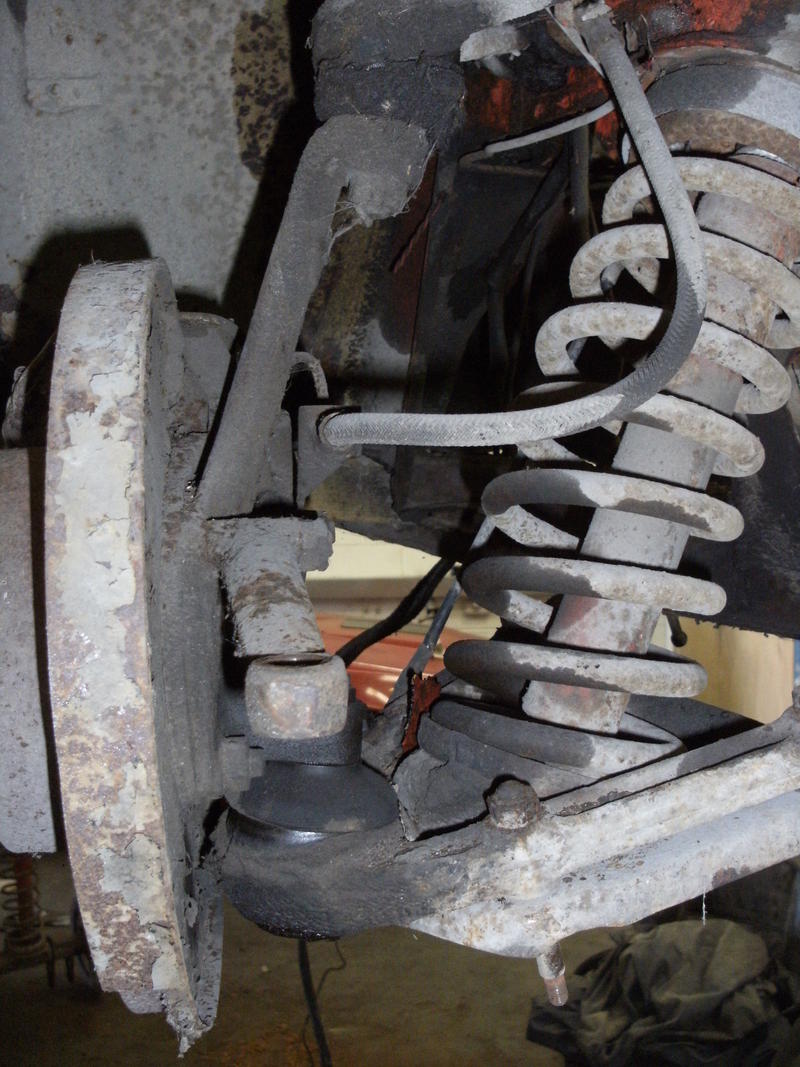 | As we are at the front of the car it is time to remove the front suspension, again take it off in as large a bit as possible, this means leaving the shock absorber attached to the spring pan but removing all the track rod ends. When you remove the inner end of the wishbone bake sure you take note of the position of any spacers. |
|
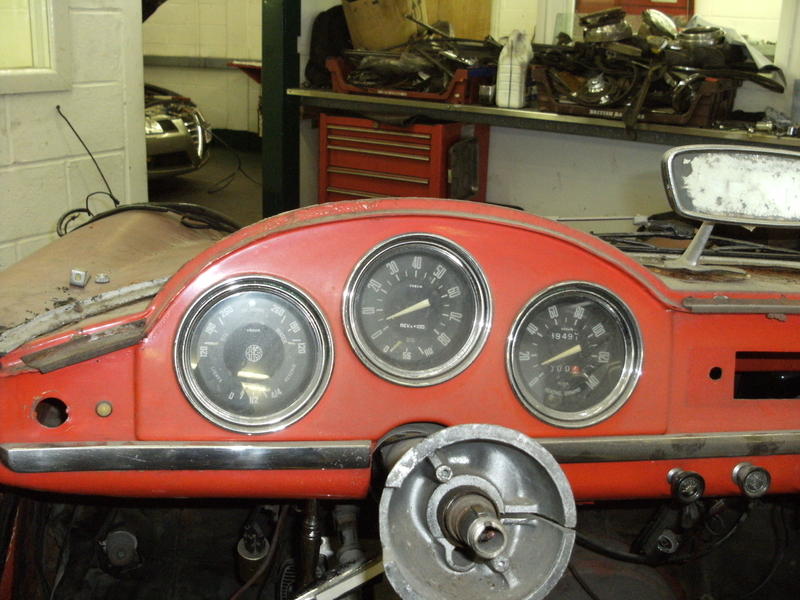 | Cockpit next, lets get the instruments out, undo the clips behind the instrument and gently pull it out of the dash with the wiring attached, when you can see all the wiring then take a picture so you know where it all goes, note how we have removed the steering wheel, which is usually extremely tight and will almost certainly require the use of a puller. |
|
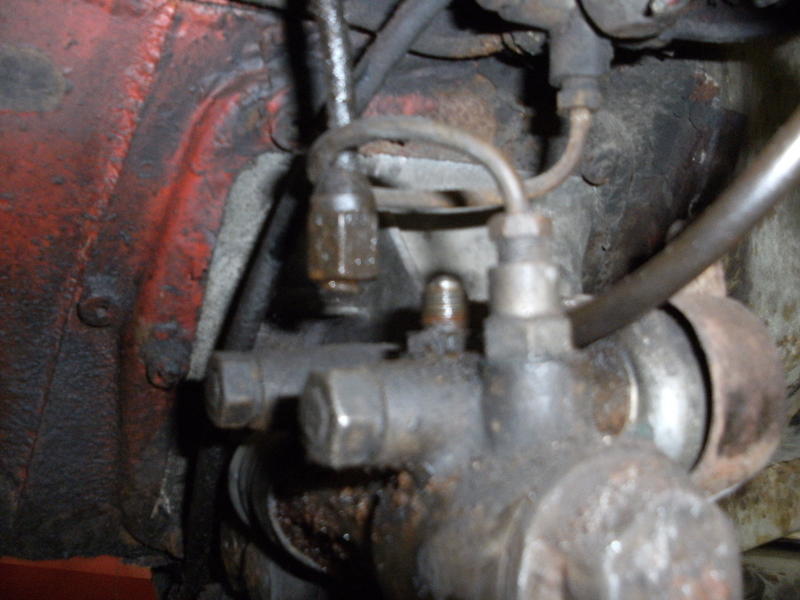 | This is the pedal box and it is the next part to be removed, carefully remove all the pipes and wires from it and then remove it in one piece, make sure you drain it properly and protect it from corrosion inside. |
|
Related Links: Alfa Giulia Engine Strip | Alfa Romeo Giulia Gearbox strip and rebuild