This page:

Removing The Steering Rack On A 4C
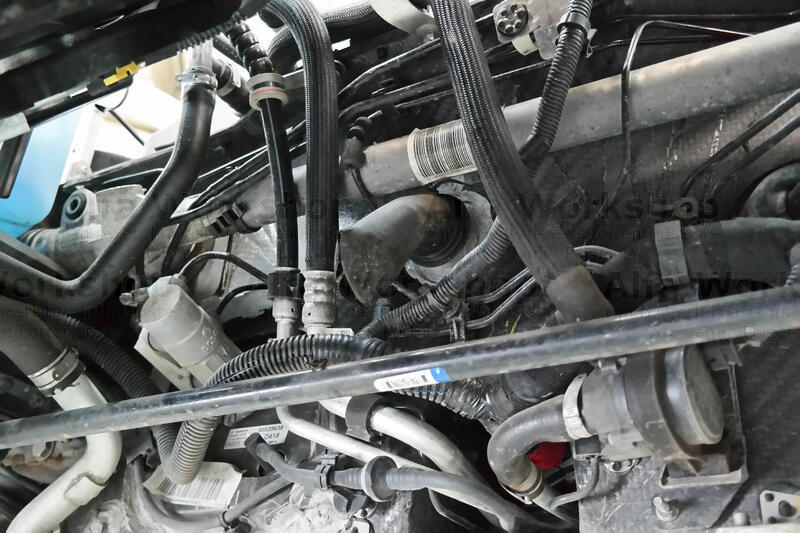
The only thing preventing removing the steering rack from being a simple task are all the thin ABS brake lines that lay around the rack like a vine.
The steering angle sensor will need resetting and the tracking done afterwards.
Steering rack 50530494
Workshop time: 5 hours
If you would like to book yourself in the price of this repair on a 4C is £1,404.00
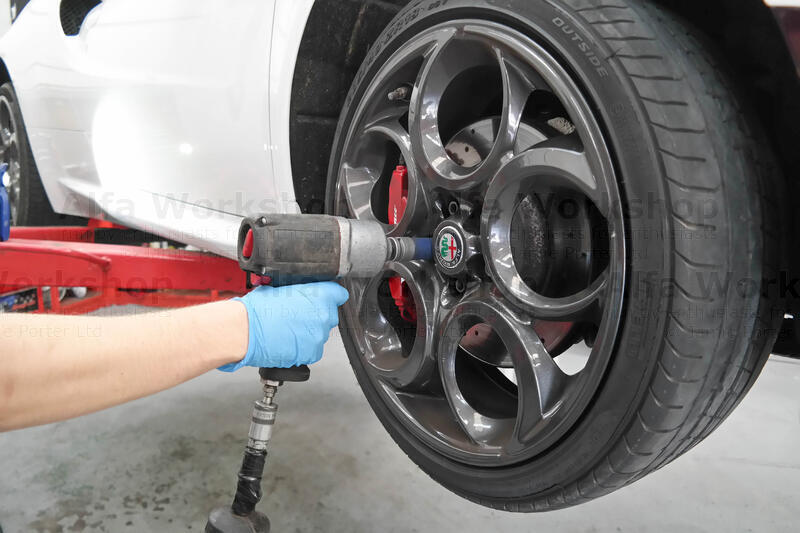 | Undo the x5 17mm wheel bolts on both front wheels and remove. |
|
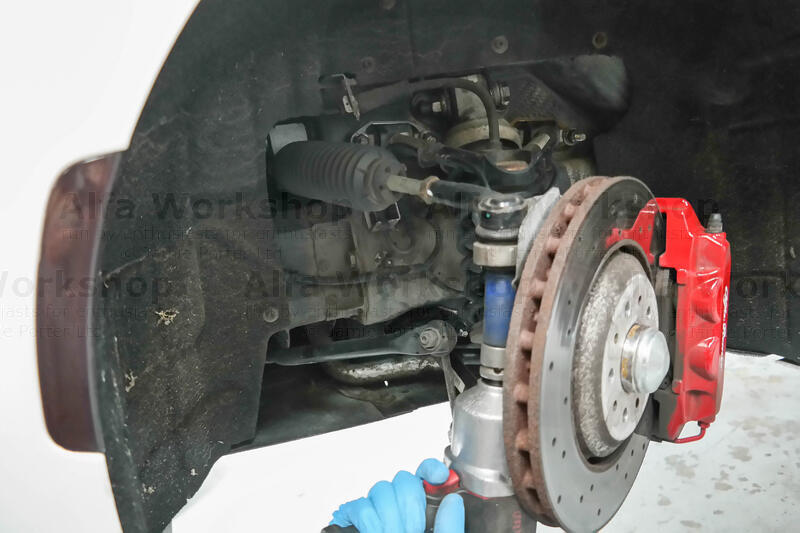 | Partially undo the 17mm nut to the track rod ends on both sides. |
|
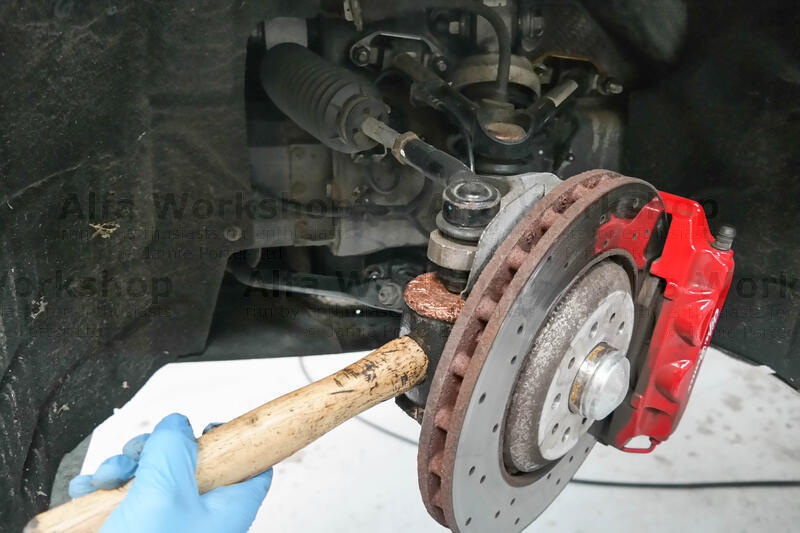 | Making sure the nut is covering the end of the thread (to protect the thread from damage) tap the nut with a copper mallet to loosen the ball joint. Now fully remove the nut. |
|
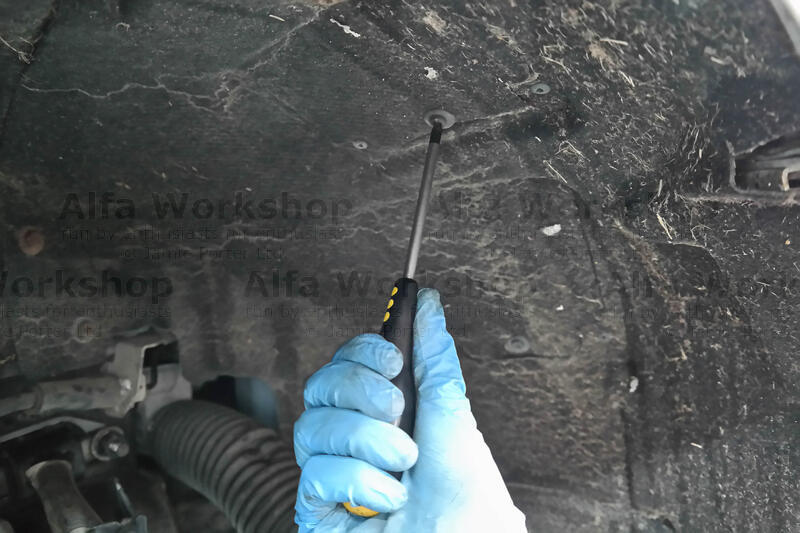 | Undo the Phillips screw to the service flap on both sides of the wheel arch..... |
|
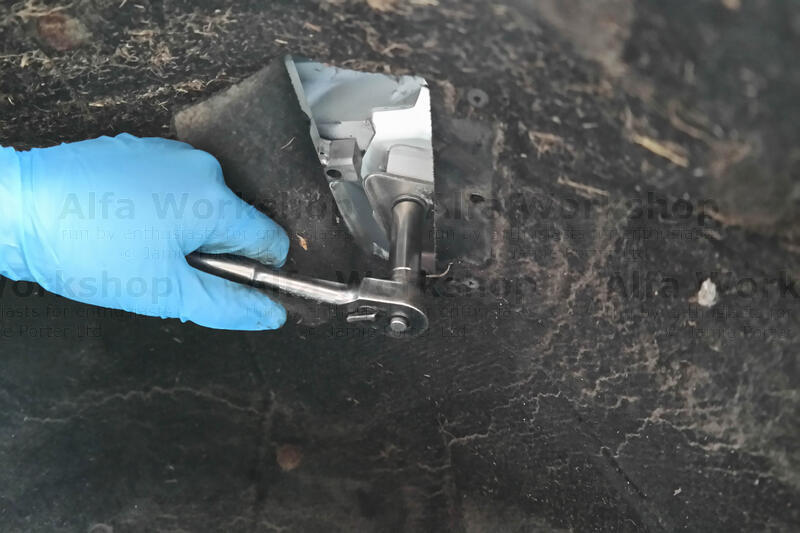 | ....so you can access the x2 13mm bolts that secure the bonnet. |
|
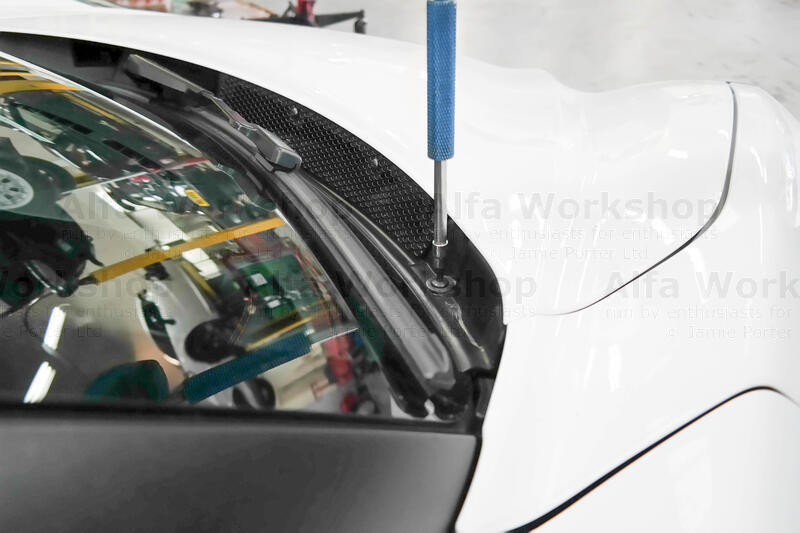 | Undo the x4 T30 screws along the scuttle. |
|
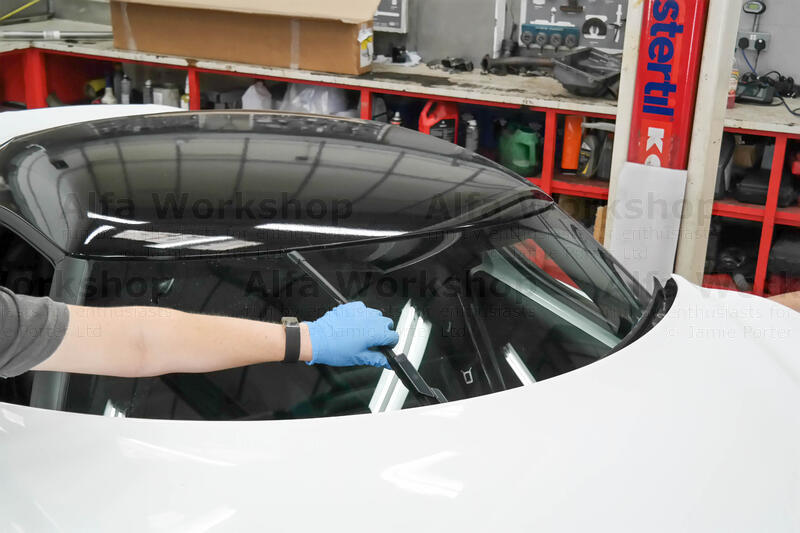
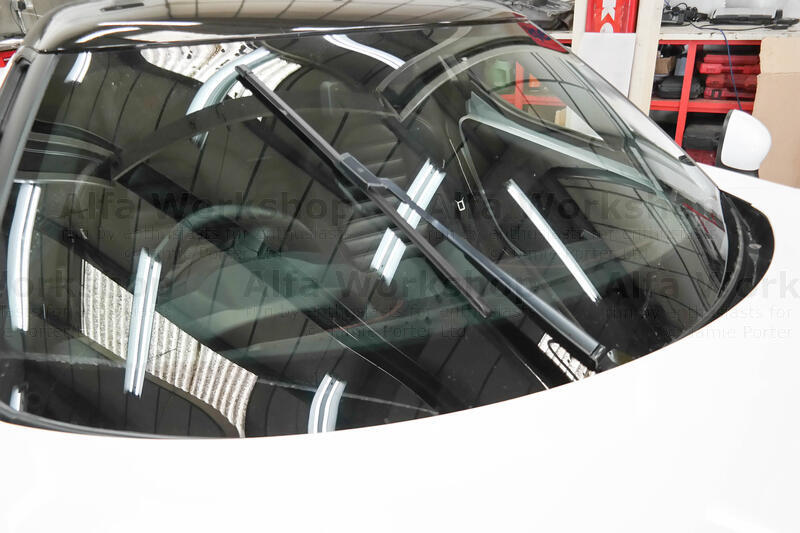 | Turn on the wiper and stop the wiper arm roughly central to the windscreen. |
|
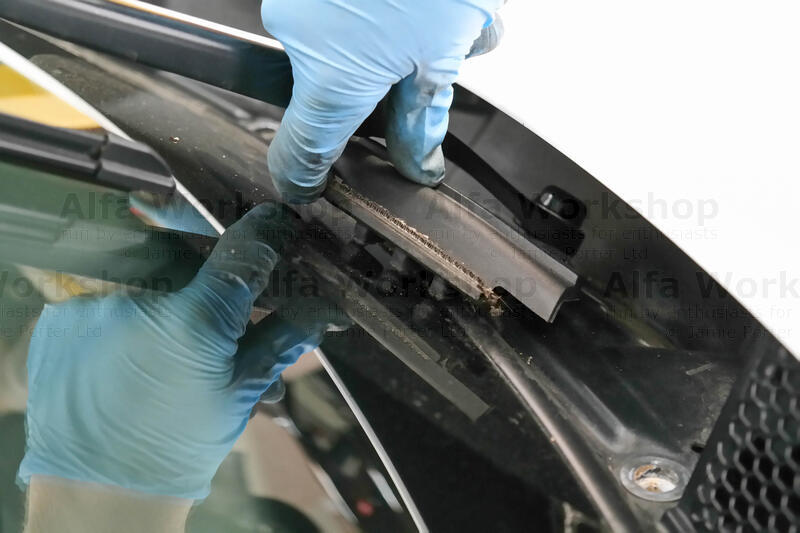 | Remove the wiper arm gasket. |
|
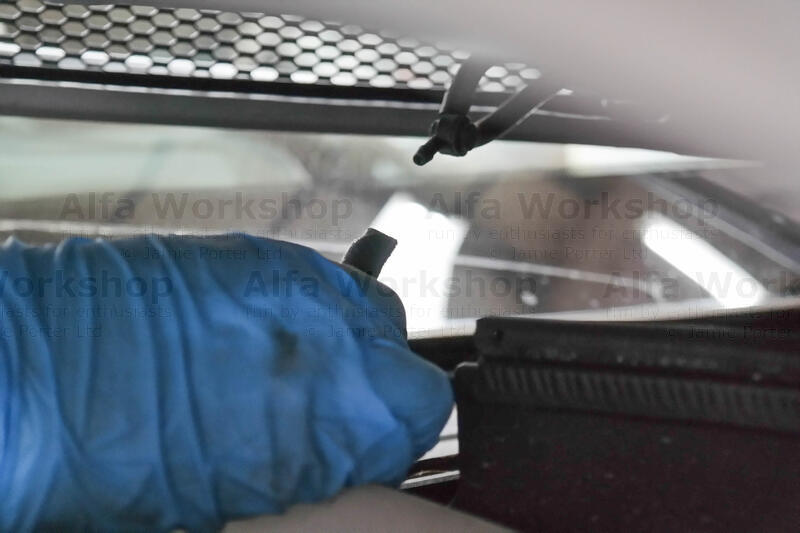 | Lift the bonnet enough to disconnect the washer hose on the right hand side. |
|
 | Now lift the bonnet towards and over the windscreen as the wiper arm needs to pass through the middle of the scuttle. |
|
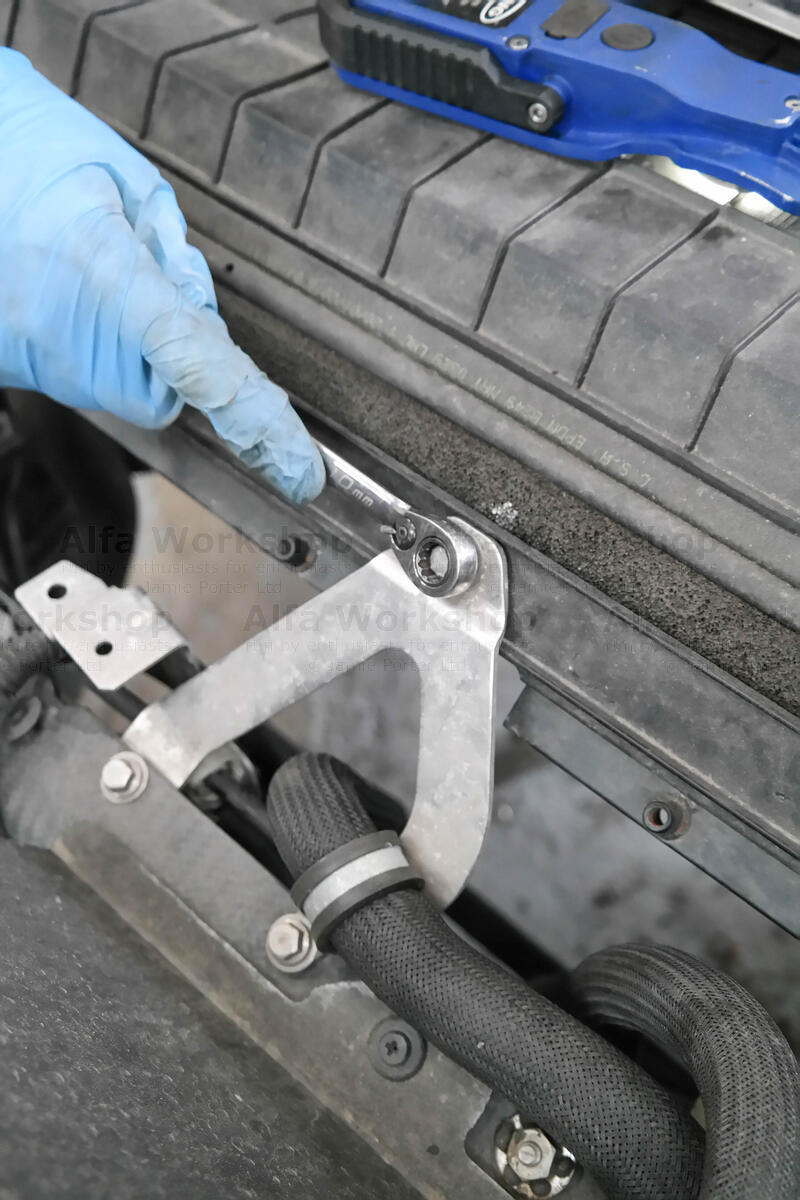
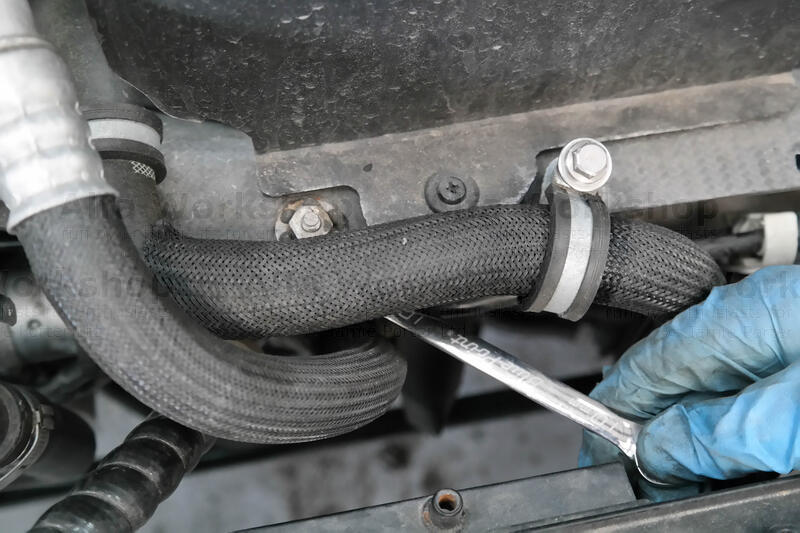
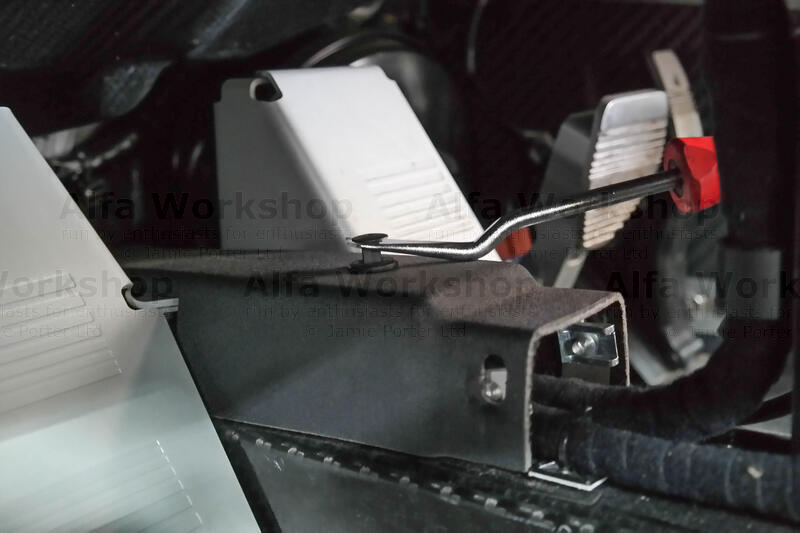
 | There's a 18mm nut either end of the rack (the head of the bolts can be accessed from the foot wells). Push the bolts back into the foot wells and catch the hard plastic washers that space the rack from the carbon tub. |
|
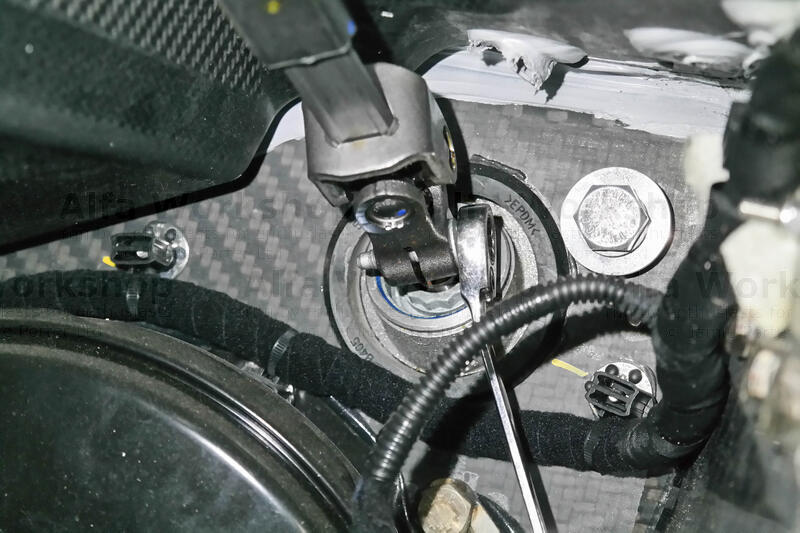 | In the drivers foot well undo the 12mm pinch bolt to the steering column. |
|
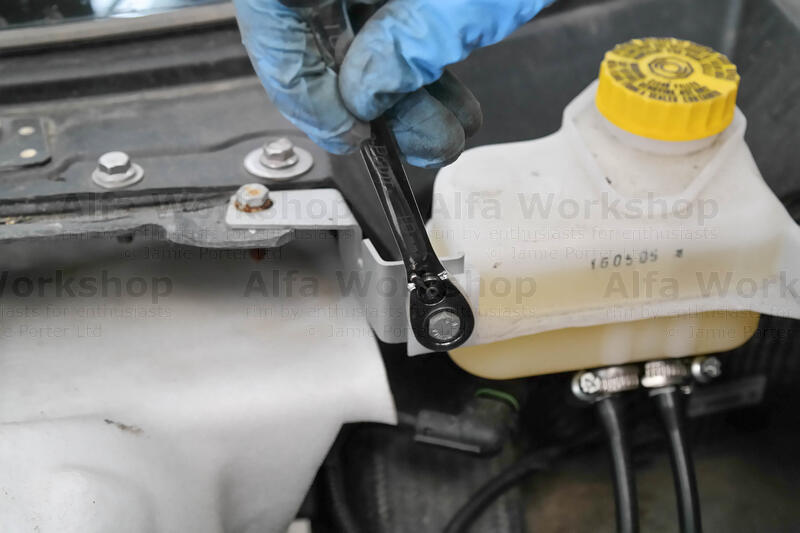 | Undo the x2 10mm bolts to the brake fluid reservoir. |
|
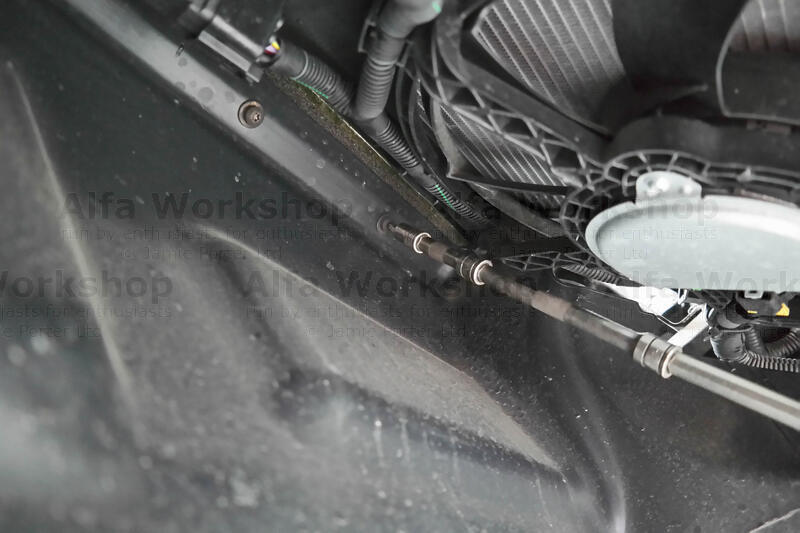
 | You'll need to unclip as many of the brake lines as you can around the steering rack to allow movement. |
|
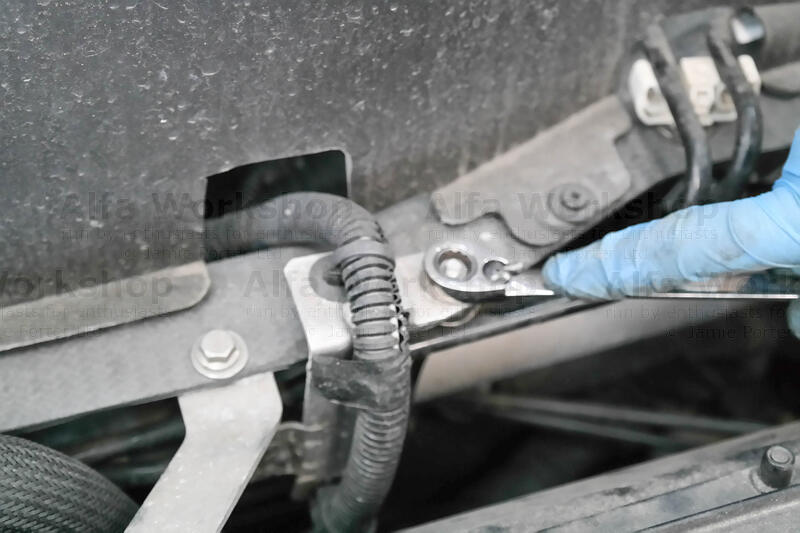 | Undo the 10mm bolt to the wiring loom.... |
|
 | ....and prise the clips. |
|
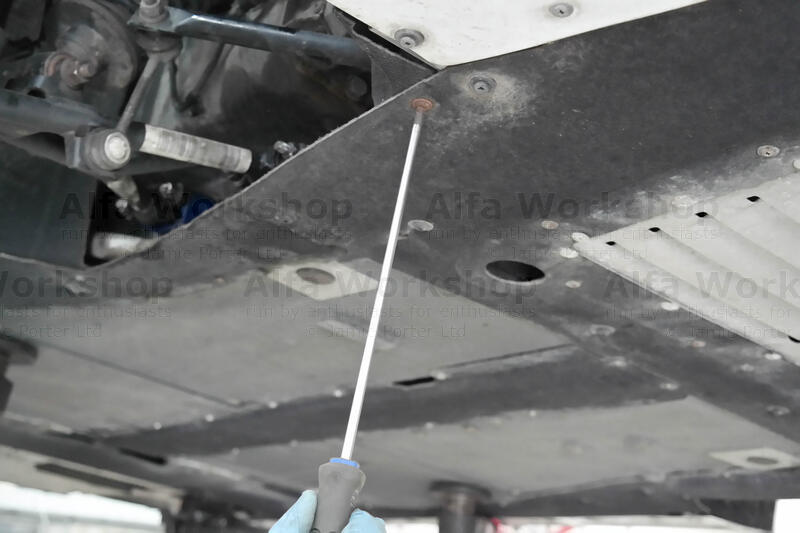 | Unscrew all of the T30 and Phillips screws to the under tray. |
|
 | Undo the x4 T30 screws to the radiator cowling and remove. |
|
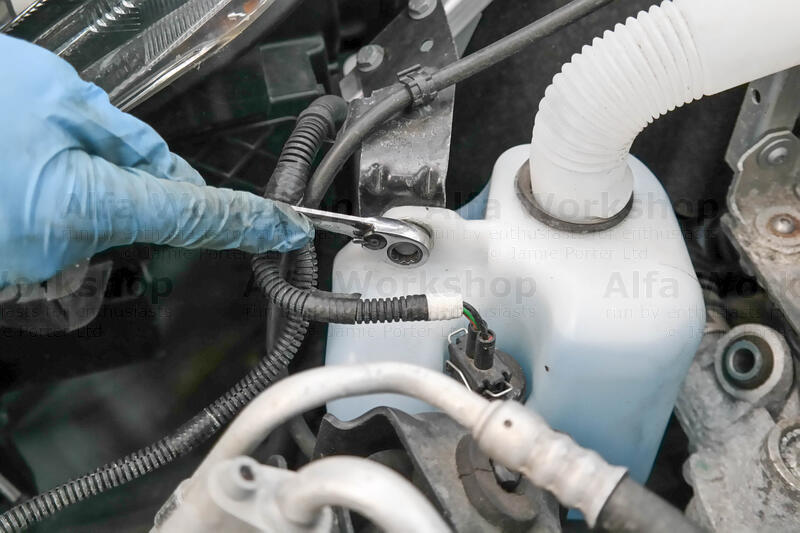 | Undo the 10mm bolt to the washer bottle... |
|
 | ....and the x2 10mm to the bracket. |
|
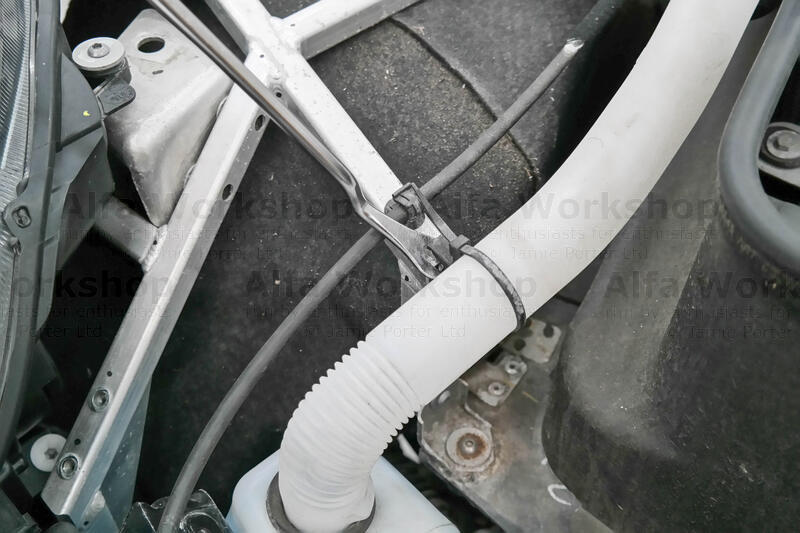 | Prise the x3 clips to the washer tube. |
|
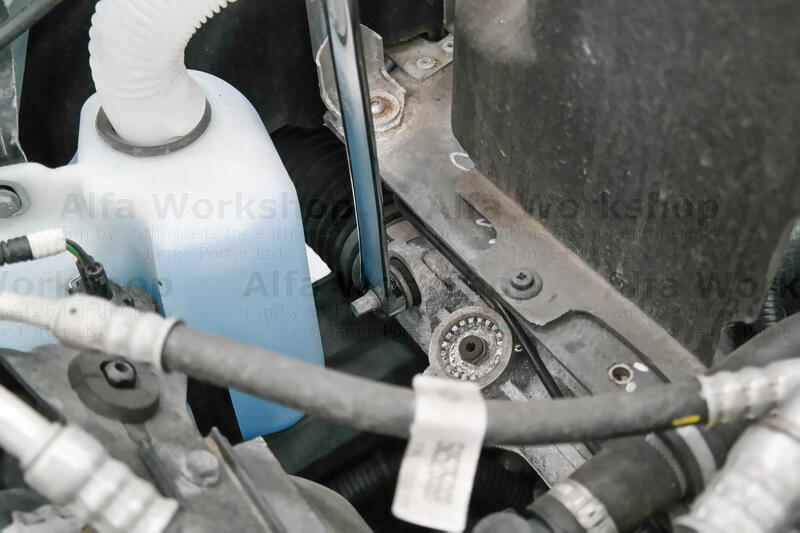
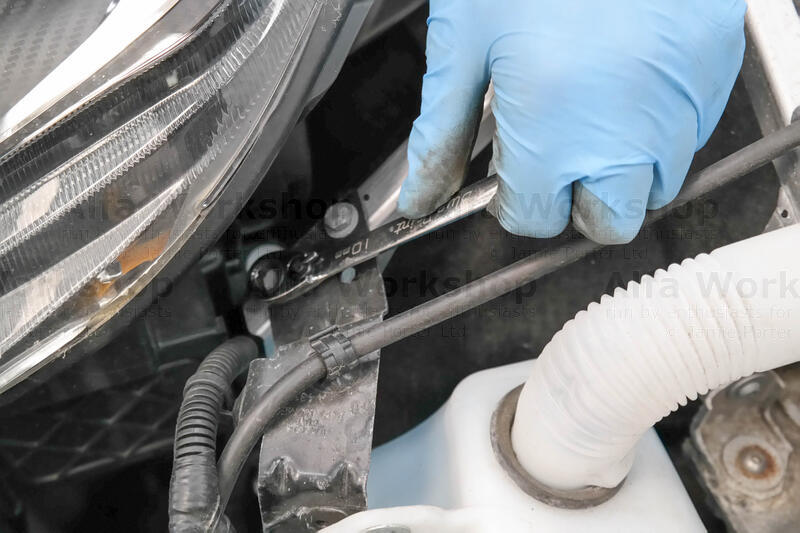
 | Undo the x3 10mm bolts to the top bracket on the radiator. |
|
 | Undo the 10mm bolt holding the air con hose. |
|
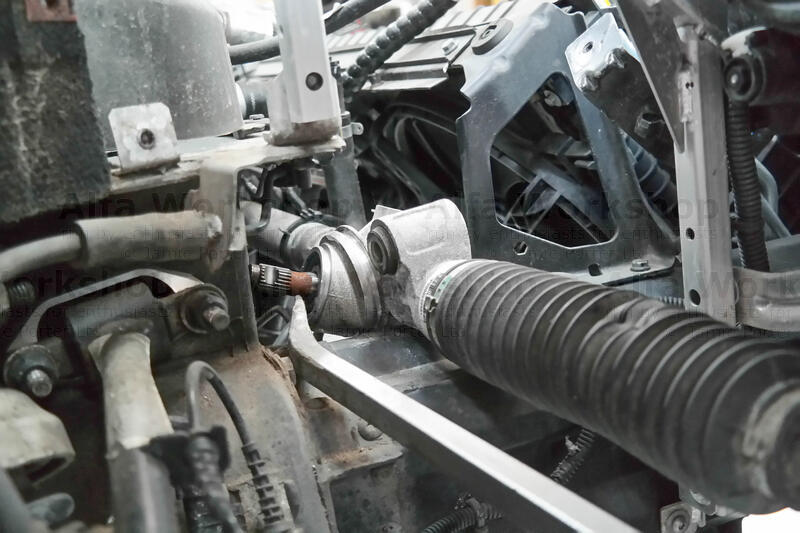 | Undo the fixtures and remove the front part of the drivers side wheel arch then work the steering rack out through the drivers side. You may need to lever out the steering column fixing from the foot well, take great care NOT to apply any pressure against any part of the carbon fibre tub. |
|
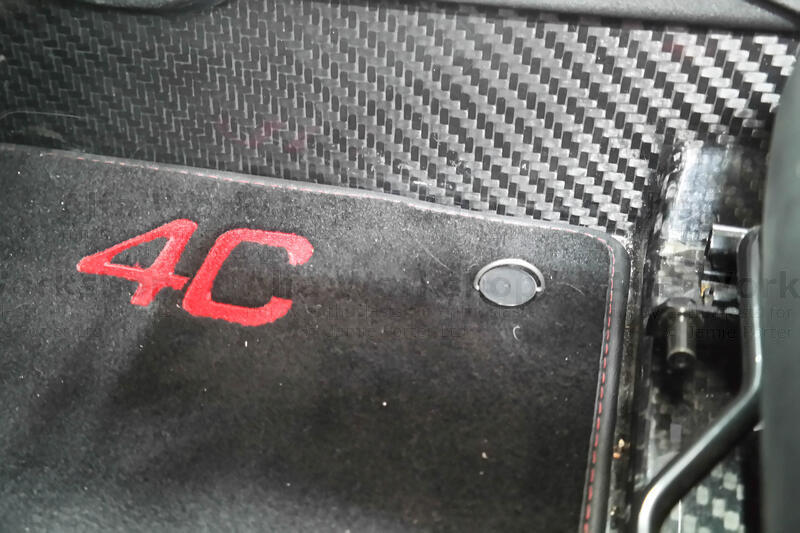 | To gain access to the bolt head in the passengers foot well first remove the carpet mat by turning the x2 ring screws. |
|
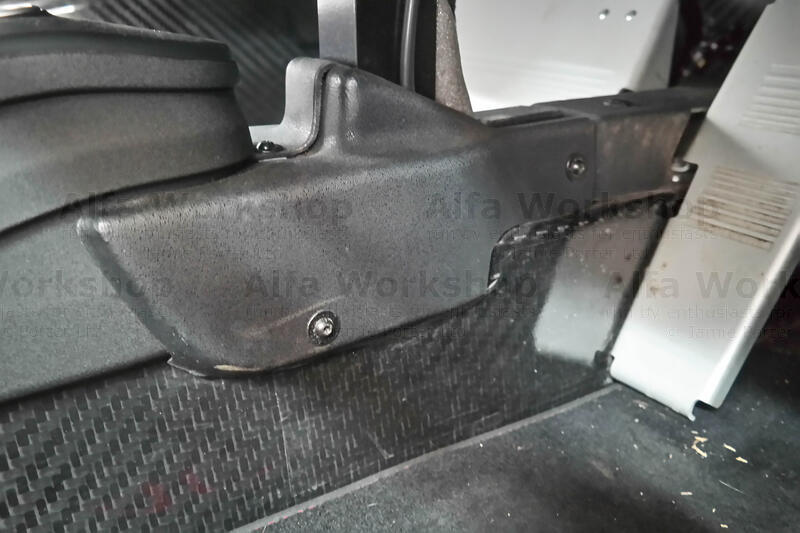 | On the centre console there's x2 T25 screws either side to the shrouds and x1 on top. |
|
 | The last shroud is held with a push clip which needs lifting. |
|
 | The foot well alloy plate has x5 Phillip screws to it. |
|
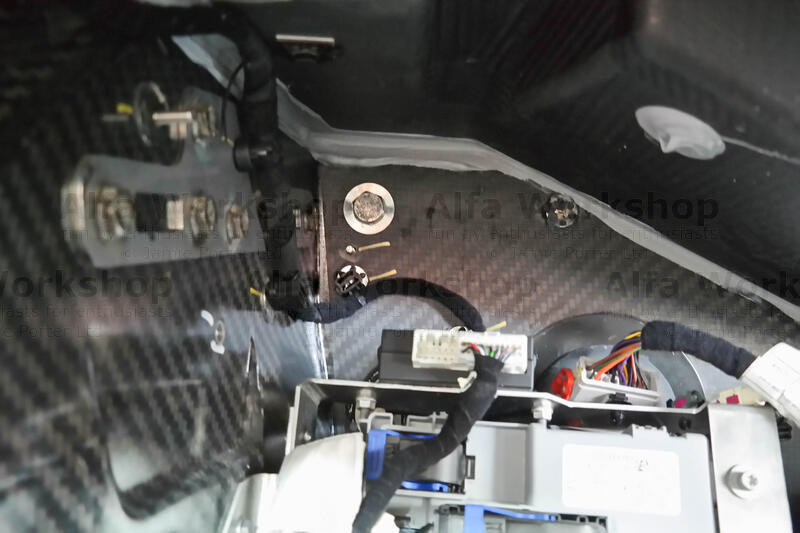 | You can now access the steering rack bolt. |
|
Related Links: Front upper wishbone ball joint | Suspension blocks | Fixed price servicing