This page:

Replacing The Auxiliary Belt On A Giulia 2.9 Quadrifoglio
Although the auxiliary belt is at the front of the engine it's buried behind coolant pipes, two charge air coolers and a large alloy support. Alfa claim that the bumper needs to be removed for this job but it's not necessary. The clips to the hoses on the charge air coolers will need replacing and the coolant system takes a little under six litres.
Auxiliary belt 670050824, jubilee clip JUB55_70 and anti freeze 16811616
Workshop time: 5hrs
If you would like to book your Giulia 2.9 into the workshop the price of this service is £1,027.92
 | Unclip the air box outlet pipes on both sides. |
|
 | Disconnect the two breather hoses on both sides. |
|
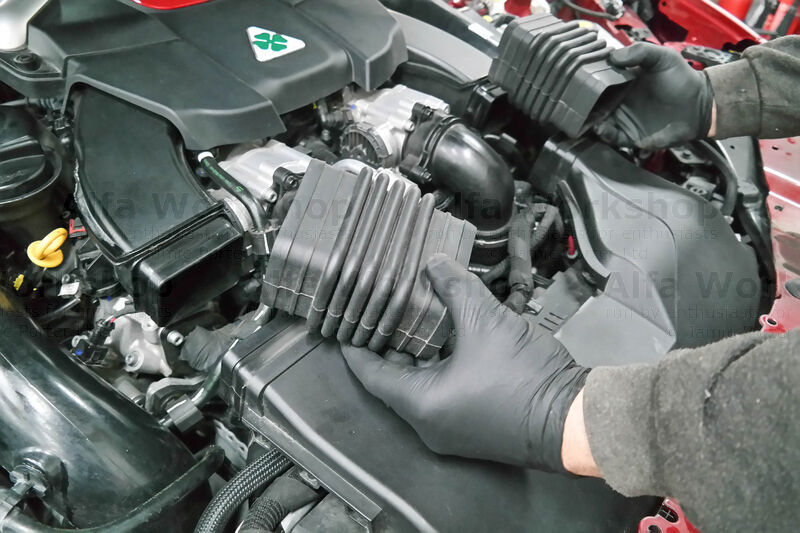 | Remove the two rubber concertinas. |
|
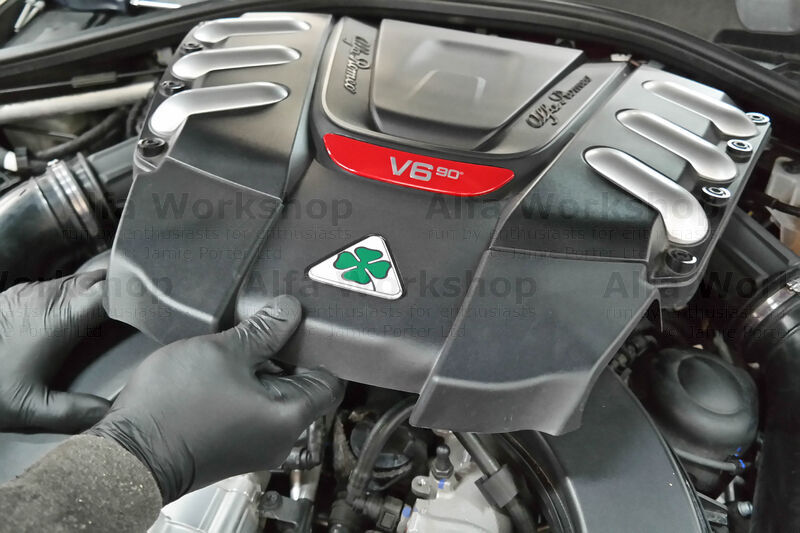 | Pull off the plastic engine cover. |
|
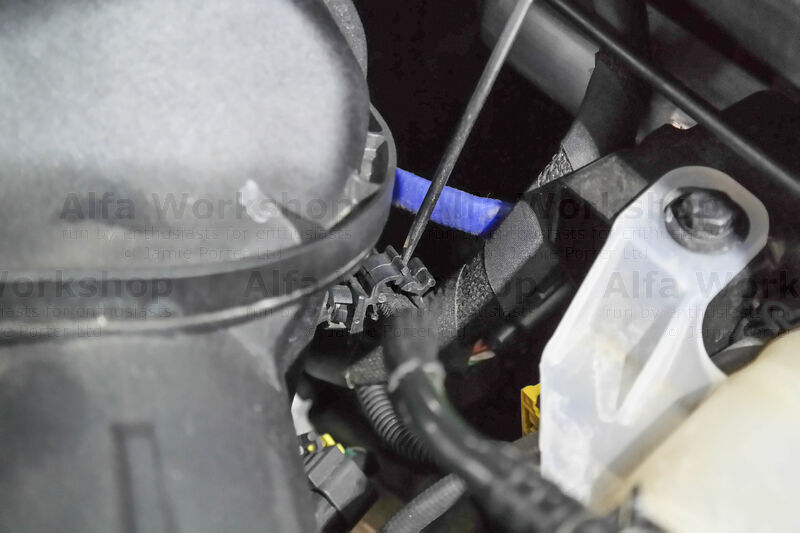 | Unclip the coolant tank return hose at the top right corner (facing the engine). |
|
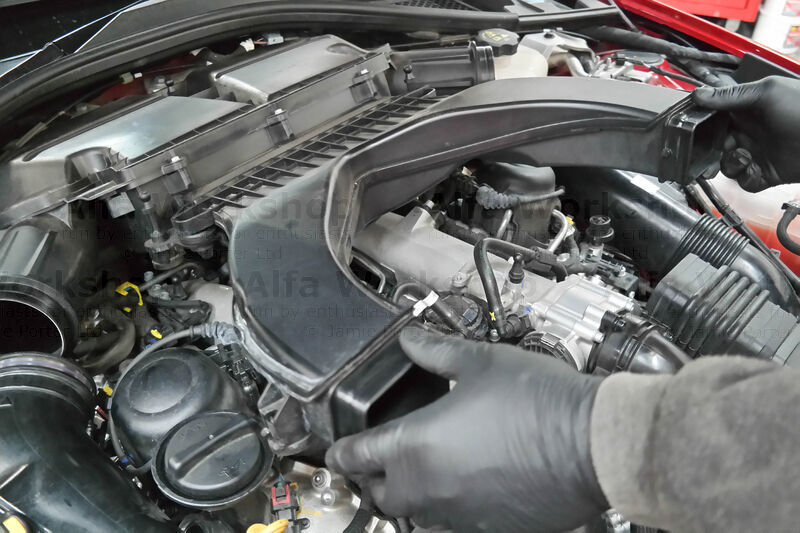 | Remove the air housing box. |
|
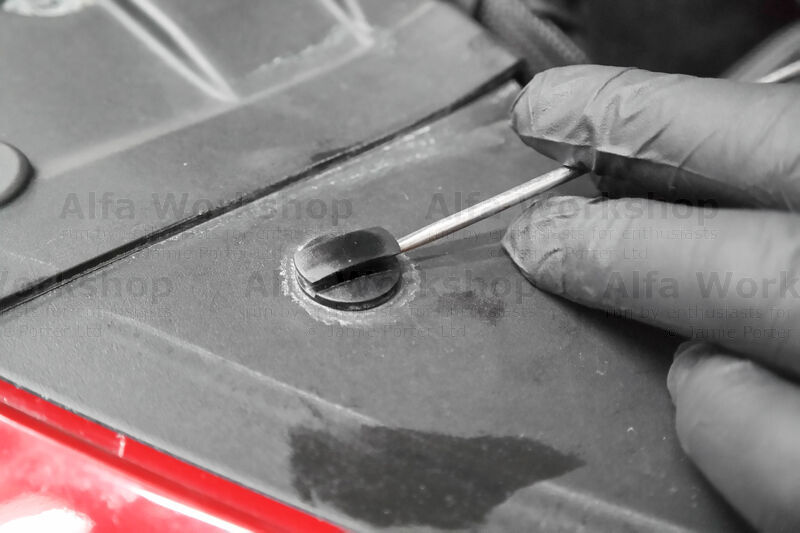 | Remove all of the push rivets securing the plastic coverings along the front of the engine bay by lifting the heads. |
|
 | Remove the coverings. |
|
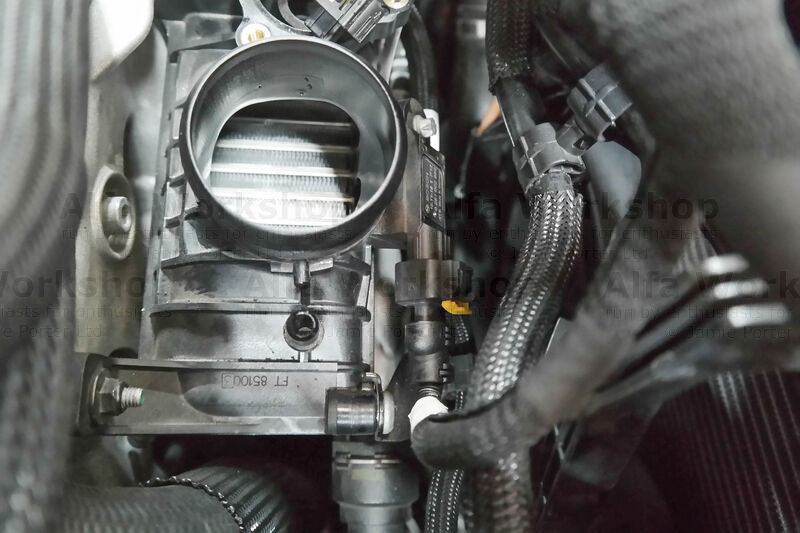
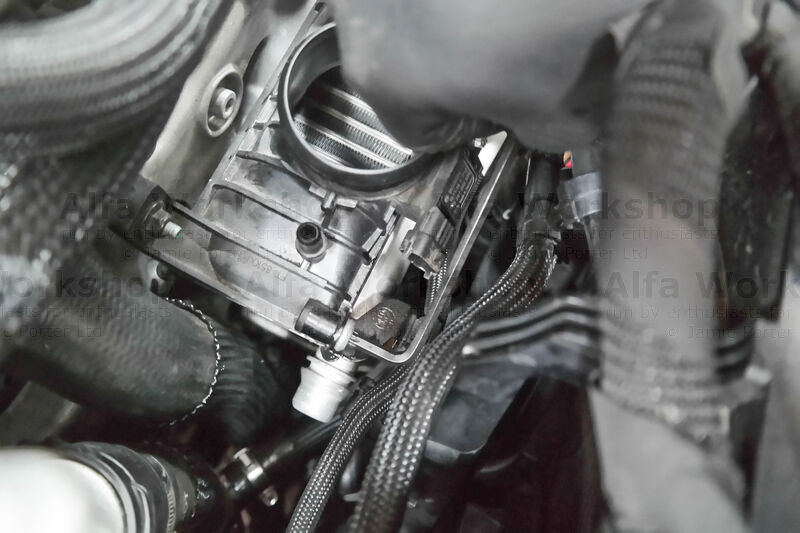
 | Undo the 5mm Allen bolts on the air intake to throttle body (x2 per side) |
|
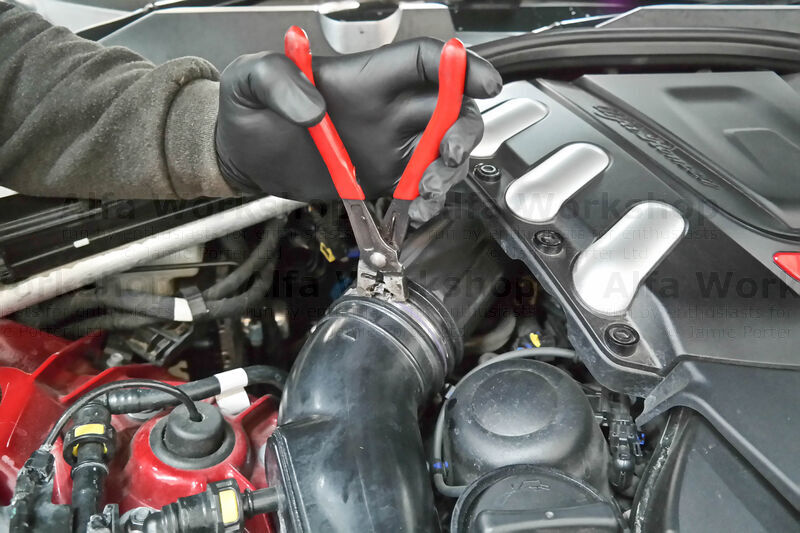
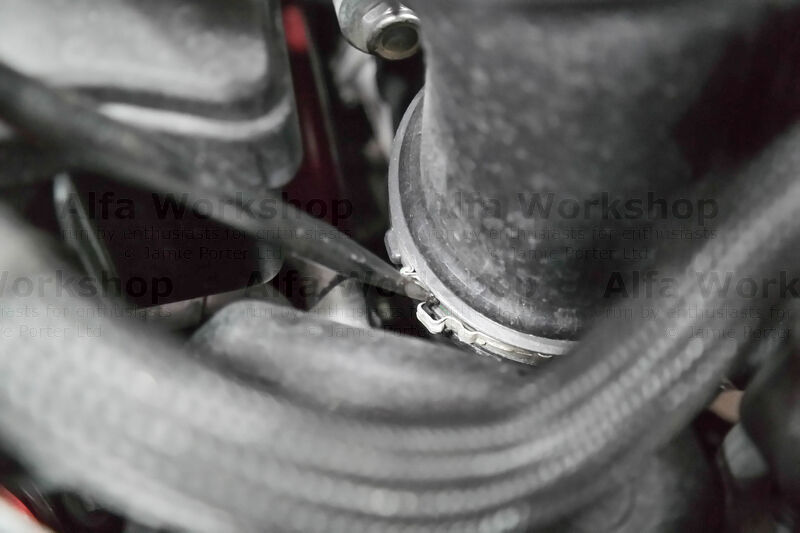
 | Undo the 7mm clamps on both the throttle air intake hoses where they join the charge coolers. |
|
 | Unclip any hoses connected to the air box outlet pipes then unclip the bottom of the air outlet pipes to remove them. |
|
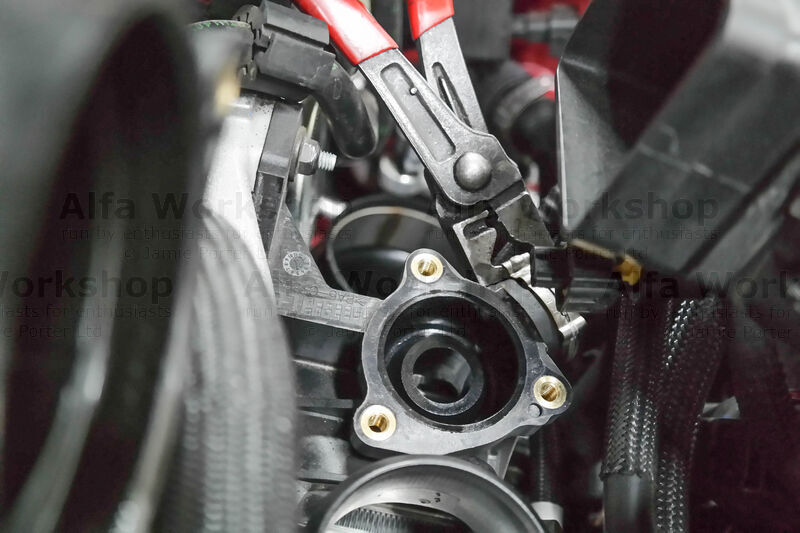
 | Pull back the locking tabs on the solenoid valves and undo the x6 E8 (female Torx) bolts. |
|
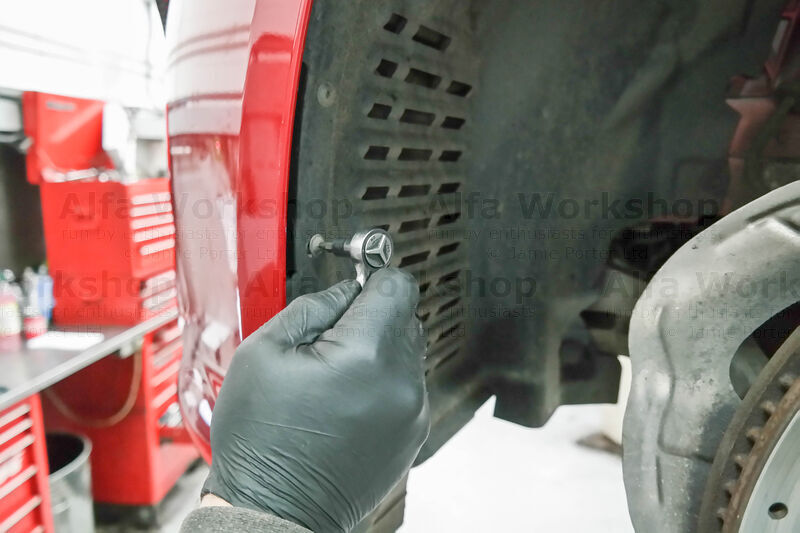
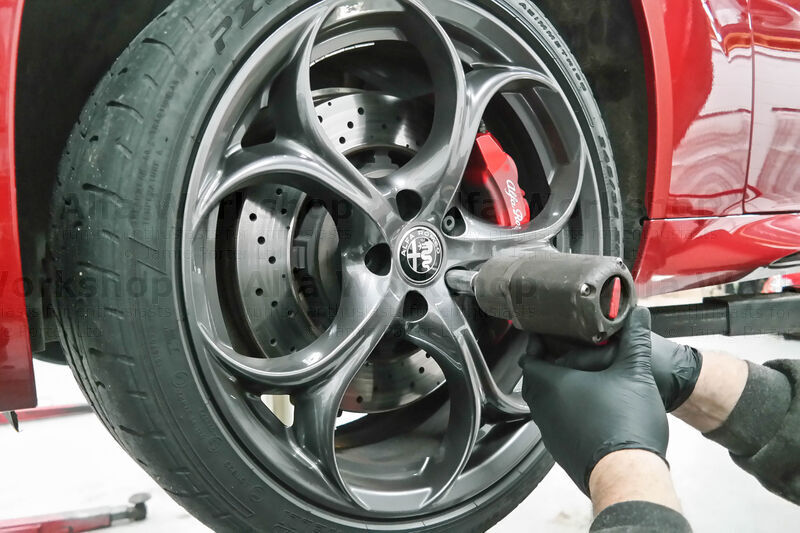 | Remove the LEFT side front wheel. |
|
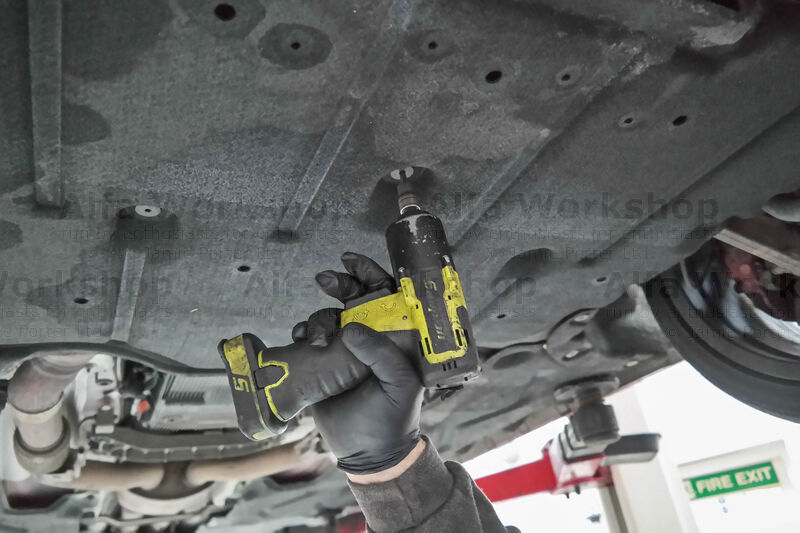 | Remove all x18 T30 undertray screws. |
|
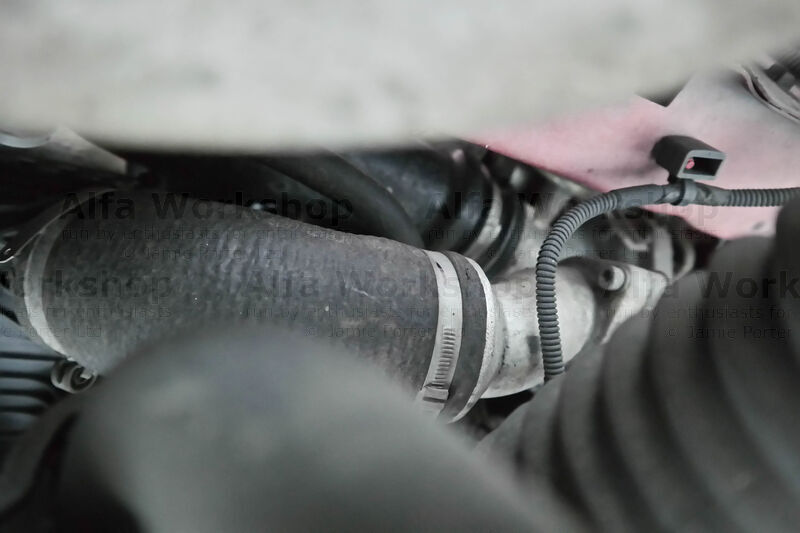 | Remove the hose from the bottom of the charge air cooler to the turbocharger. Behind that is the air inlet pipe to the turbocharger, loosen the 7mm clip (do this to both sides). |
|
 | Disconnect the quick coupling for the fuel vapour supply pipe to the turbocharger inlet then Remove the supercharging air by-pass sleeve on both sides. |
|
 | Pull out the securing pin from the elastic insert for the turbocharger air inlet pipe and twist the pipe as far over to the side as you can. |
|
 | Loosen the corner of the LEFT wheel arch cover by removing some of the T25 screws (there's one underneath the bumper). |
|
 | Pull back the corner, connect a hose up through the hole in the bumper to the drain nozzle on the intercooler and turn the tap anti-clockwise to drain it. Unscrew both of the caps on the coolant tanks to relieve pressure. |
|
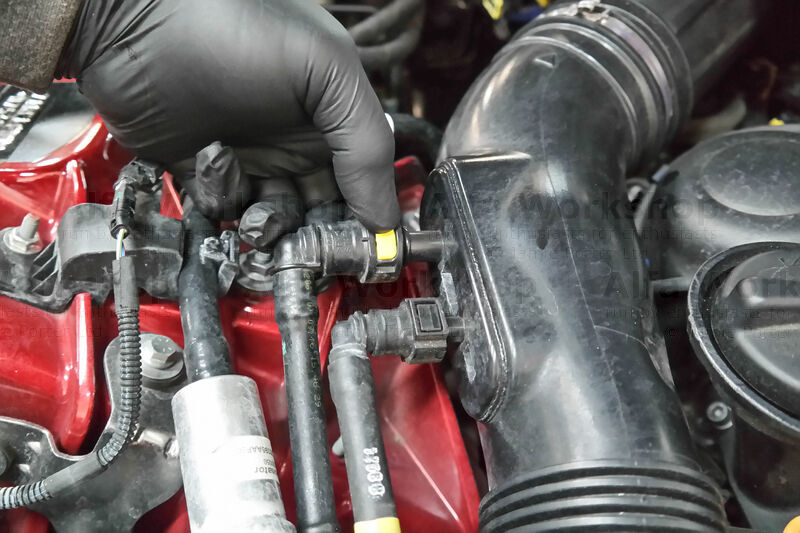
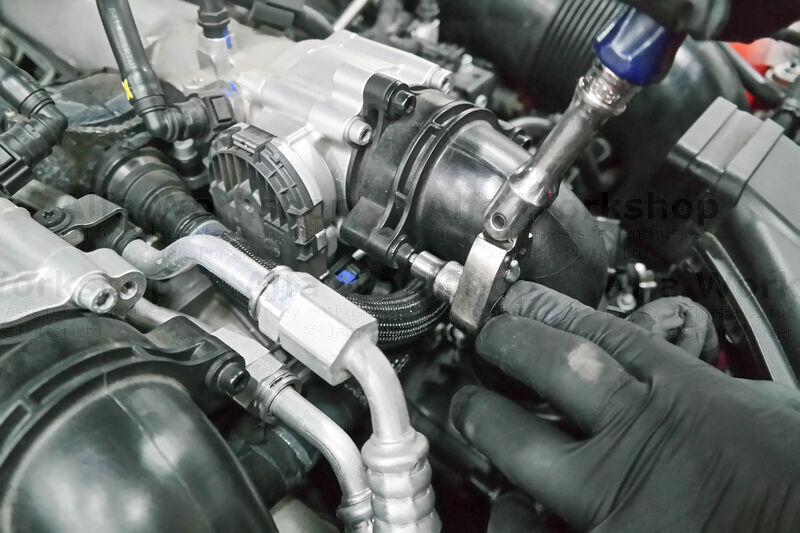
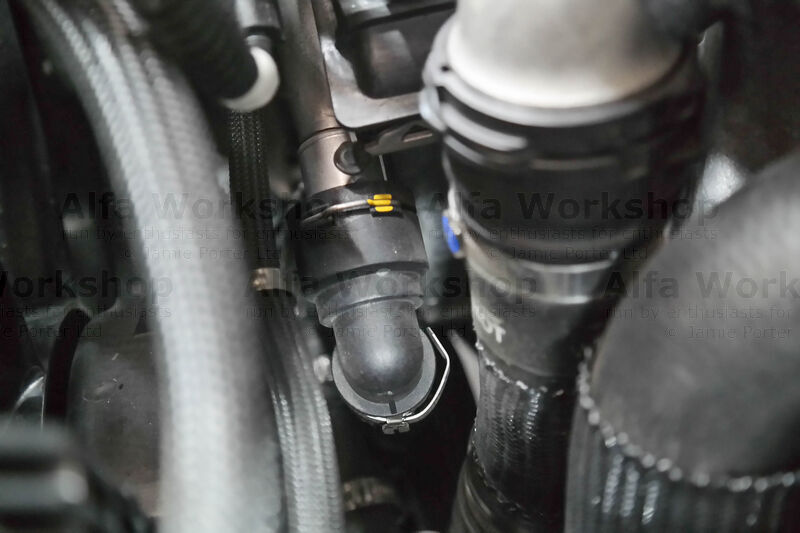
 | Disconnect the breather pipe on both the charge air coolers. |
|
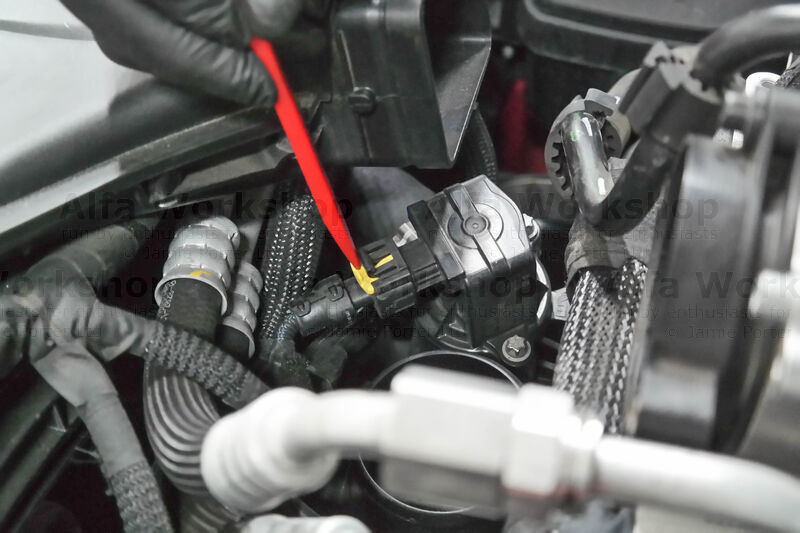
 | Disconnect the air sensor on the front of the charge air cooler (both sides). |
|
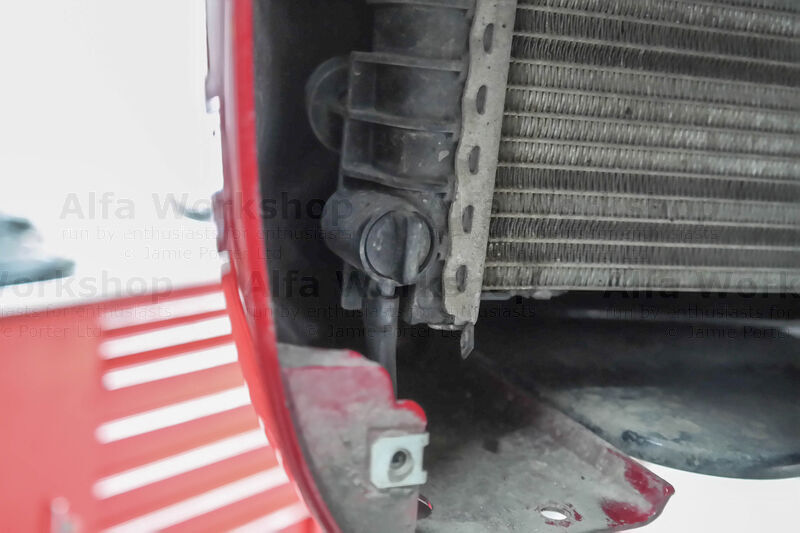
 | Disconnect the coolant inlet hose to the intercooler (we loose the rest of the coolant so have a catch tray underneath, the alternative is taking the front bumper off to access the drain tap at the front of the radiator) then at the bottom of the right facing intercooler. |
|
 | Undo the T30 screw to the bracket at the bottom of the right facing charge air cooler. |
|
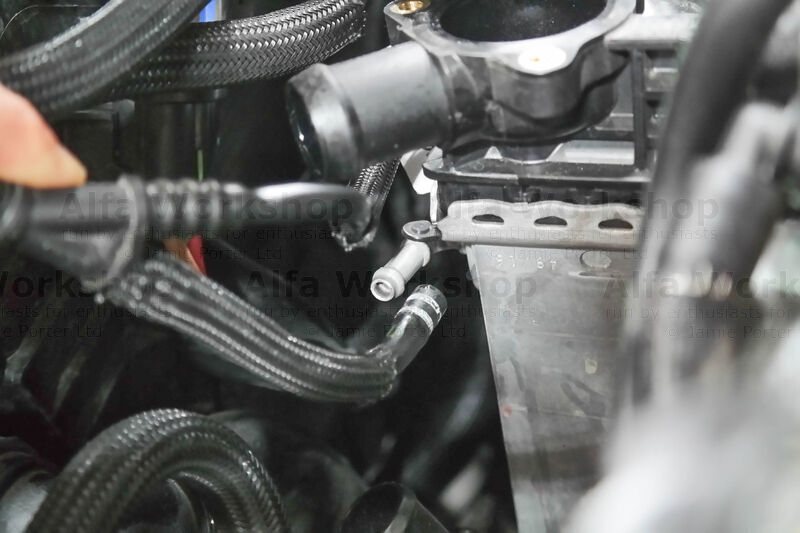 | Pull off the return hose on the charge air coolers. |
|
 | Undo the x3 10mm nuts on each charge air cooler. The one at the bottom also has a pipe with a bracket attached to the same stud so you will need to hold the pipe back as you extract the right facing charge air cooler out through the top. |
|
 | The outlet coolant hose to the engine has a 7mm clip, the inlet hose a spring clip, disconnect both and push the hoses out of the way. Work the left facing charge air cooler over to the right side and extract through the top. |
|
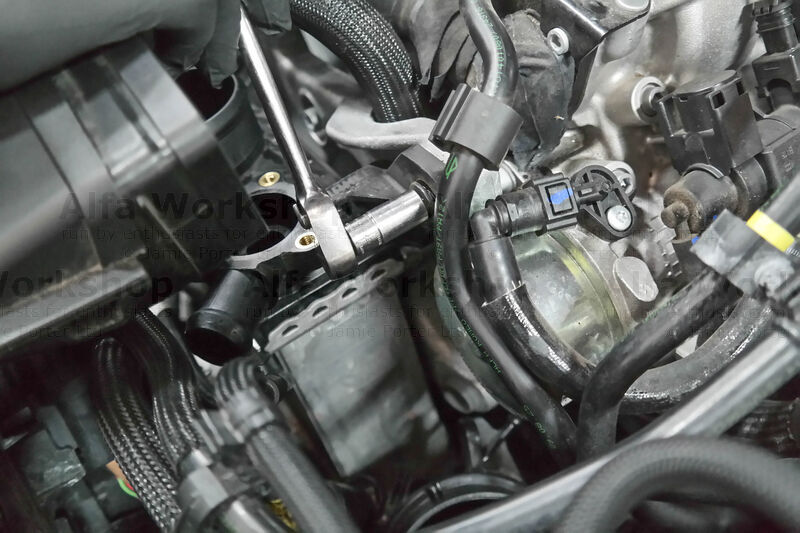
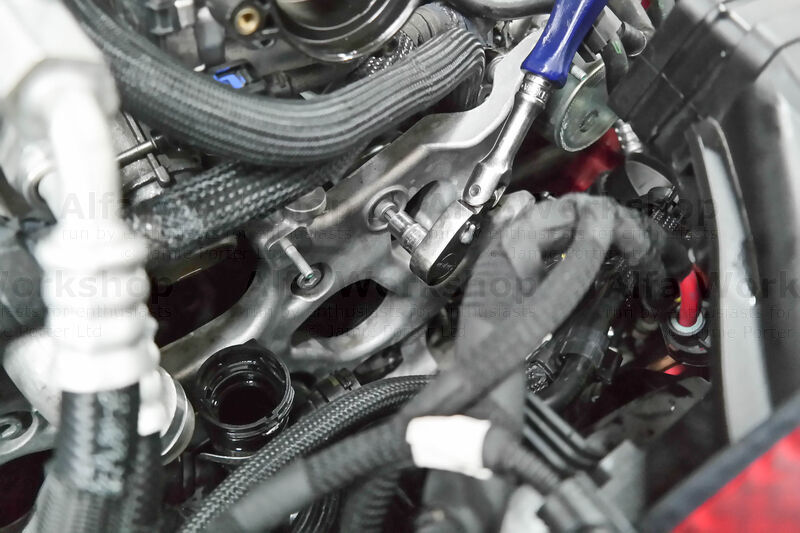 | There's x2 8mm and x4 6mm bolts to the support plate which you need to get behind. |
|
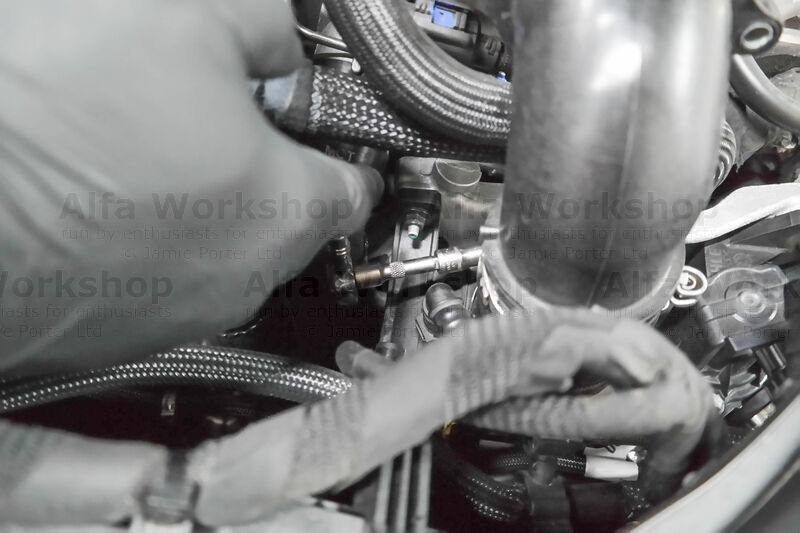
 | Pull the support plate forward and unclip the fuel vapour pipe. |
|
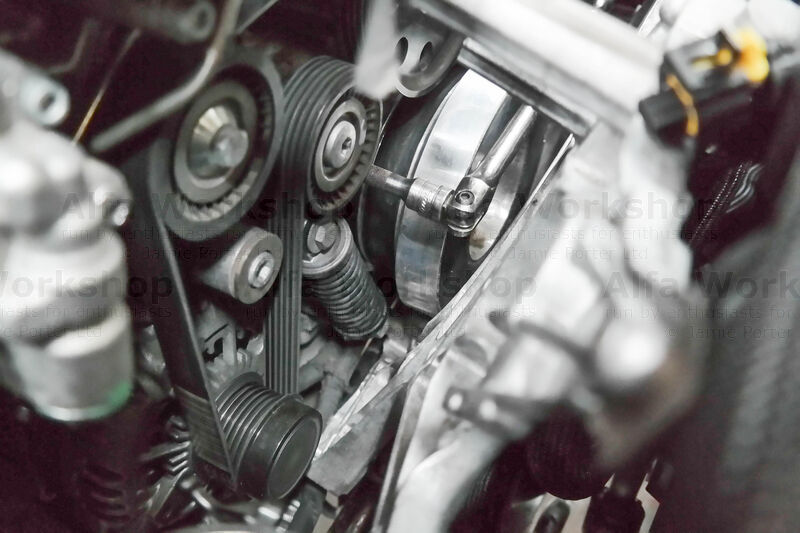
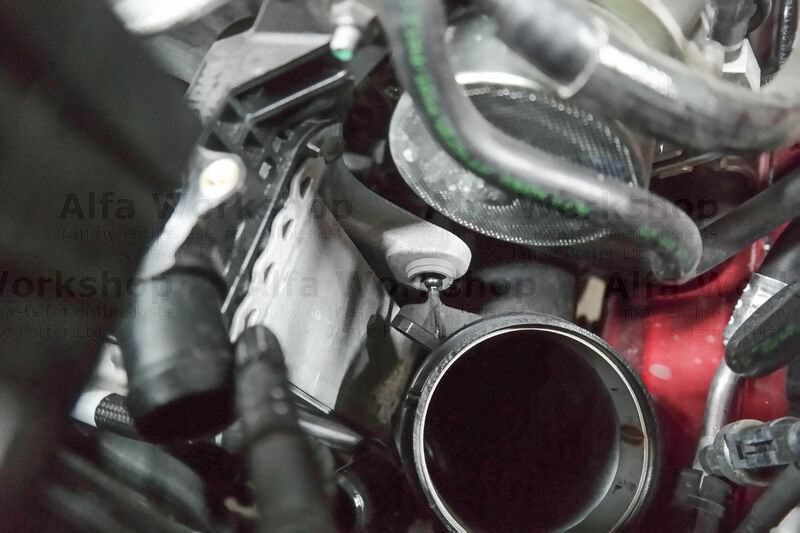
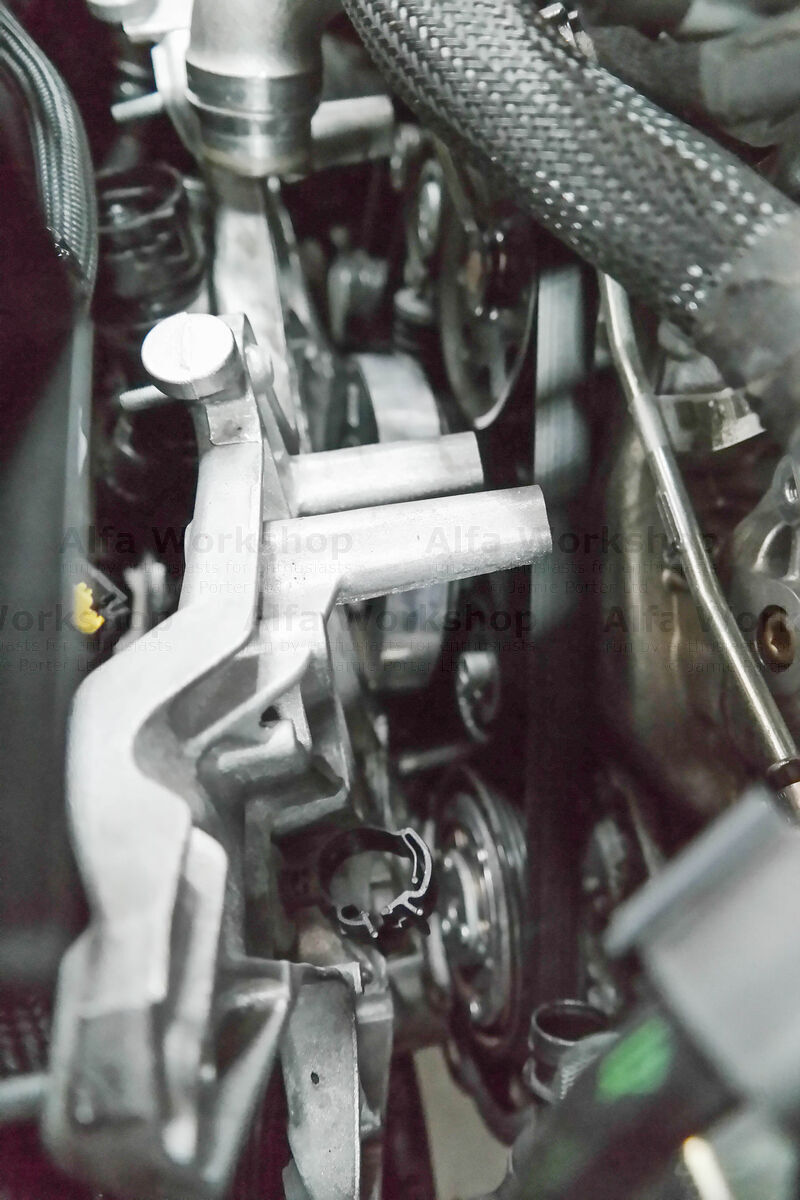
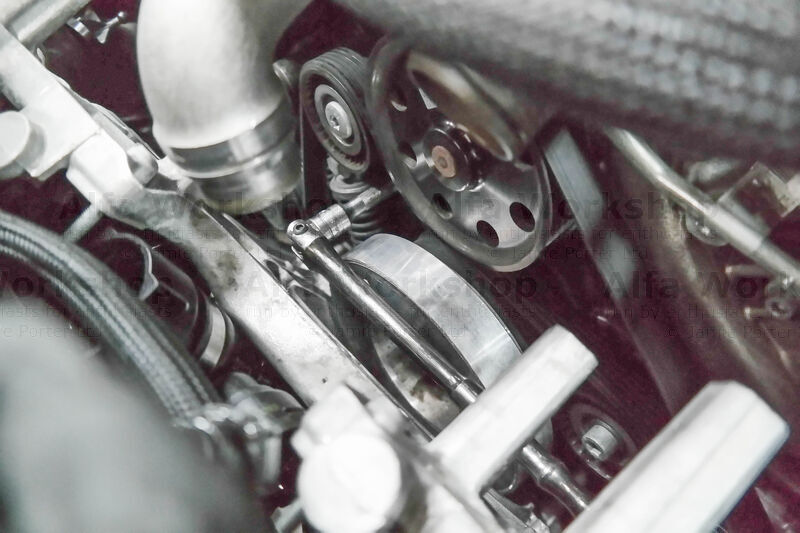 | There's a square hole in the auxiliary tensioner, using a tool rotate clockwise to compress the spring taking tension off of the auxiliary belt. |
|
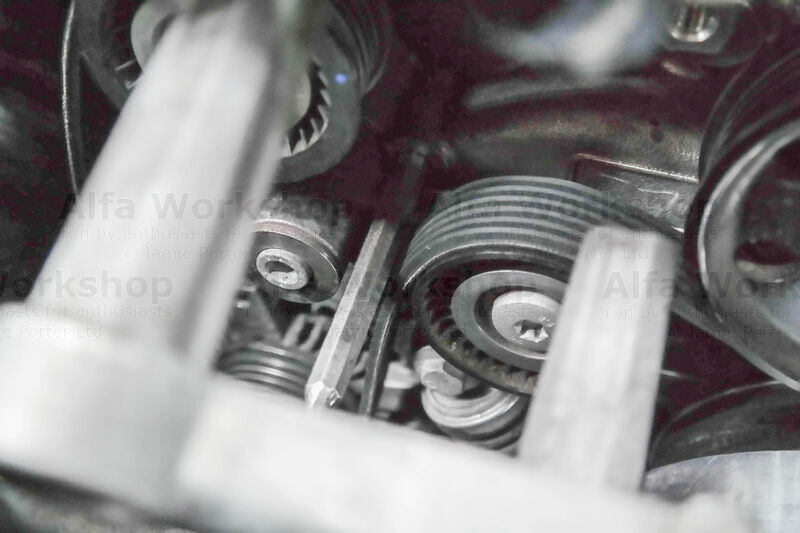 | Once the spring is compressed you will notice a recess in the engine where you can put a short pin in to secure the tensioner. Now you can finally work the auxiliary belt free taking note of how it's routed for when you fit the new belt. |
|
Related Links: Fixed price servicing | Oil and filter change | Spark plug removal