This page:

Replacing The Front Spoiler Splitter Actuator On A Giulia 2.9 Quadrifoglio
Once the front spoiler splitter actuator has been replaced the spoiler will need to be wound down to it's lowest position with the aid of an examiner then recalibrated.
Actuator 50547633
Workshop time: 2 hour 30 mins
If you would like to book yourself into the workshop the price of this repair on a Giulia is £1,194.00
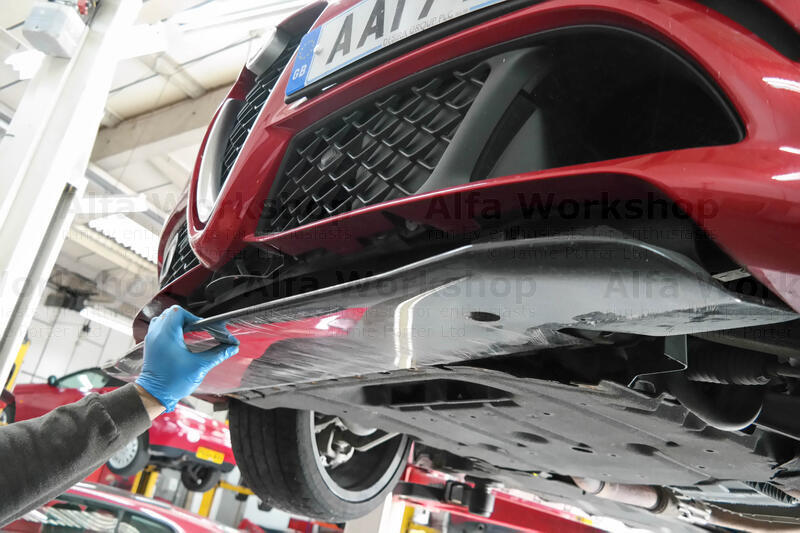
 | Undo the x2 13mm nuts underneath the carbon fibre spoiler splitter (these screw onto the two actuators). |
|
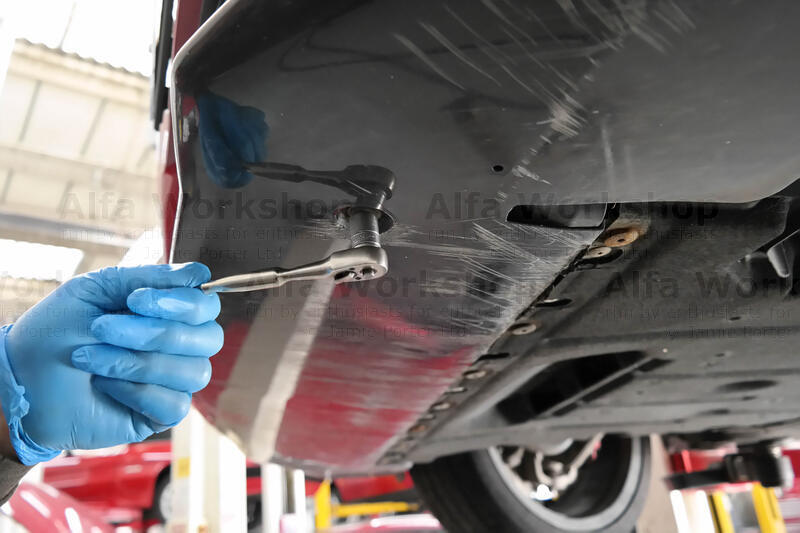
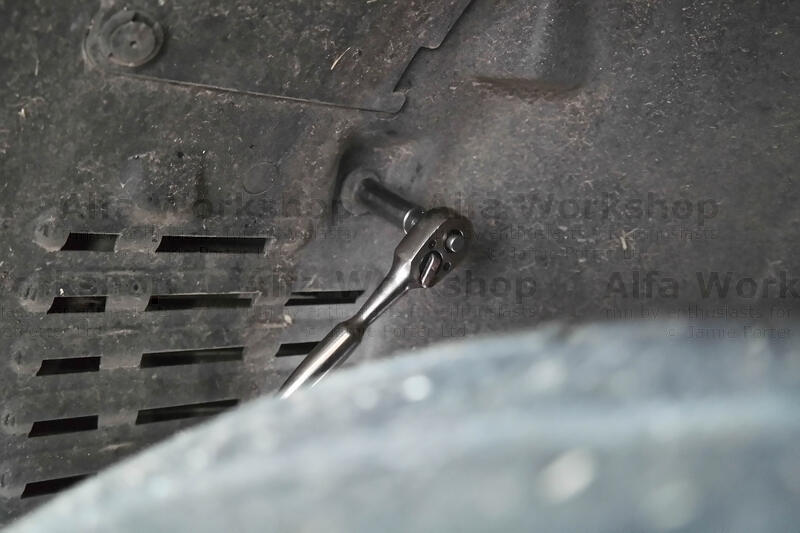
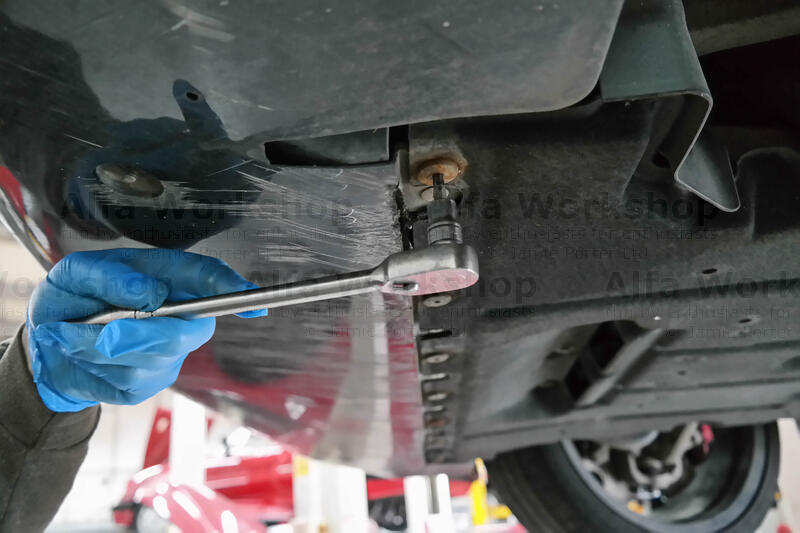 | Undo the row of x7 T27 (Torx) screws to the undertray. |
|
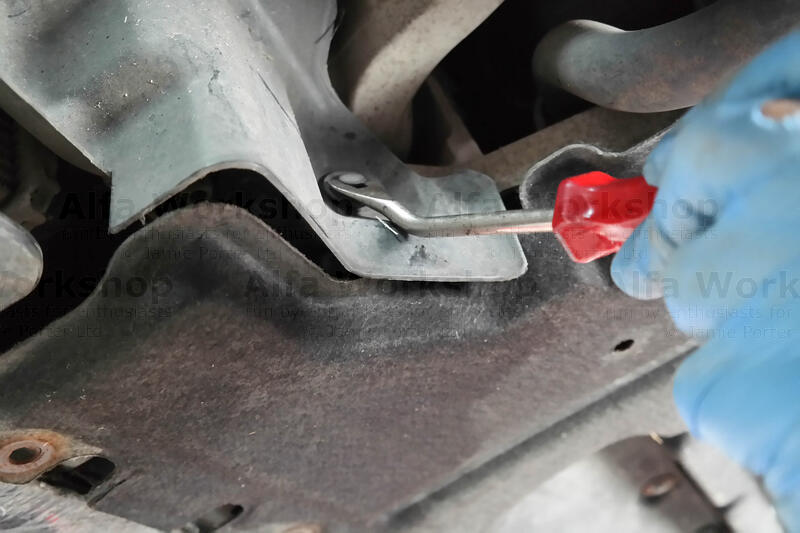
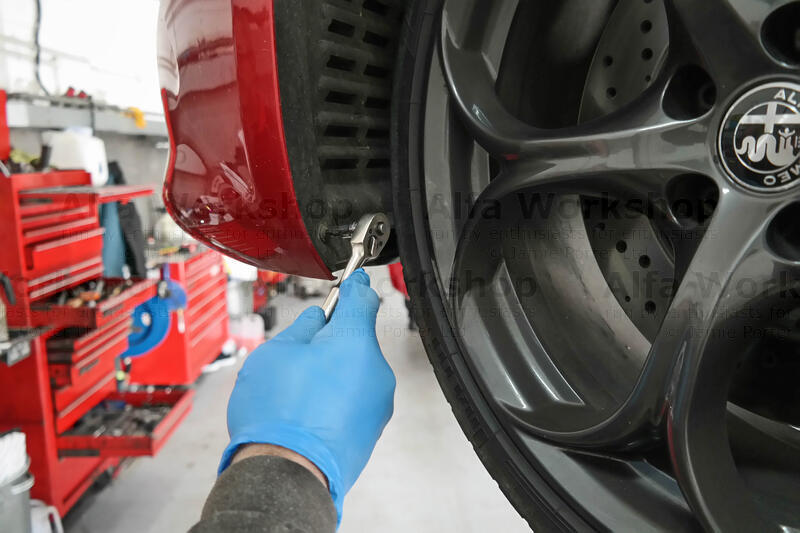 | On each front inner wheel arch liner there's x4 T25 screws to undo and x1 on the bottom corner. |
|
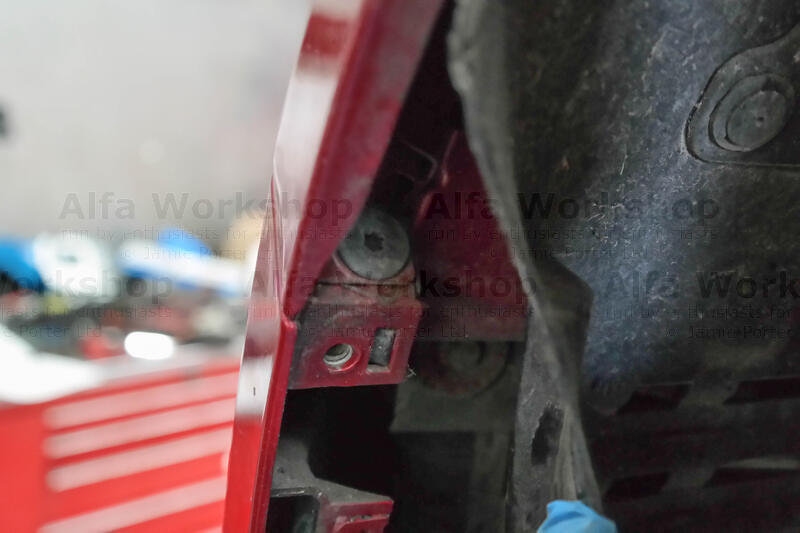
 | Undo the x2 10mm plastic nuts on either sides. |
|
 | There's x1 push pin retainer on either side (the heads on the pin needs lifting). |
|
 | Pull back the bottom outer corner of the wheel arch liner and undo the T27 screw, repeat for the other side. |
|
 | Pull down the spoiler splitter to gain access to the x4 T27 screws to the front bumper. |
|
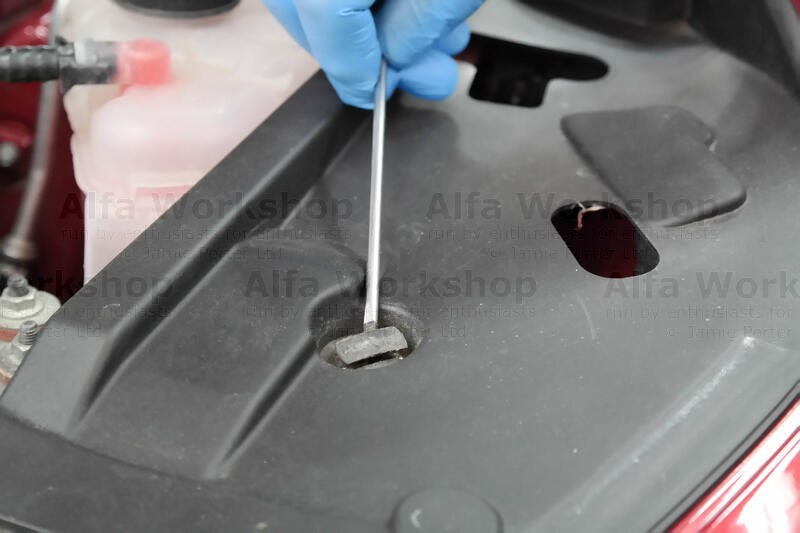 | At the top corners of the slam panel are x3 push pin retainers to the plastic coverings. |
|
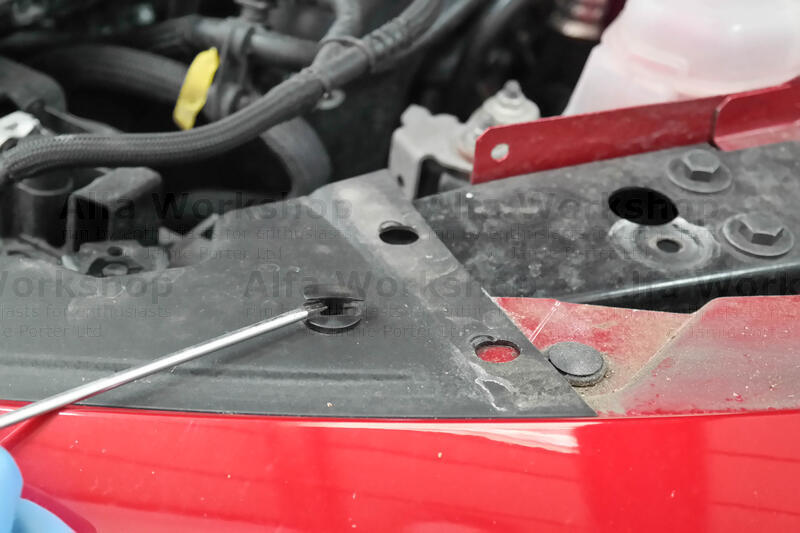 | On the radiator cowling there's x4 more push pin retainers. |
|
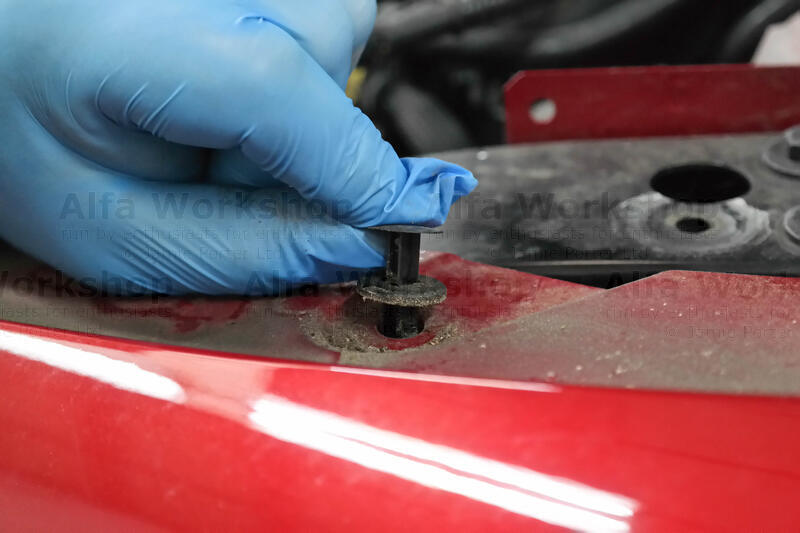 | Under the cowling at either end you have a push pin retainer. |
|
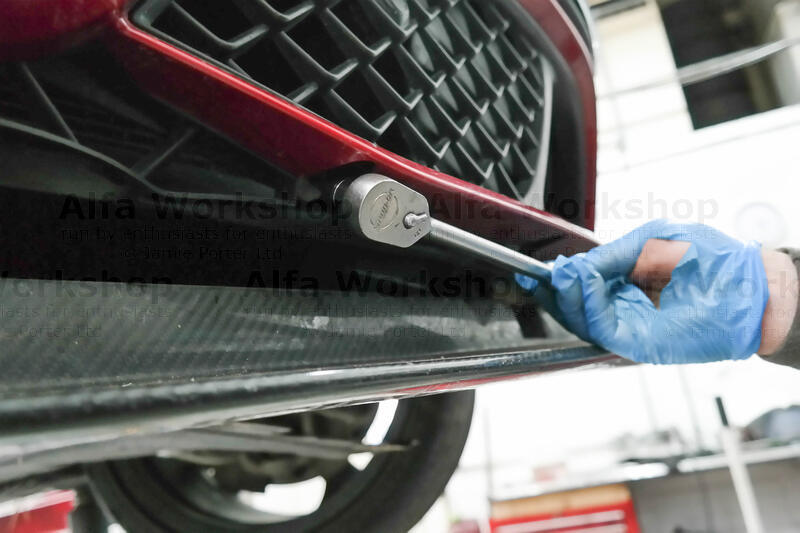
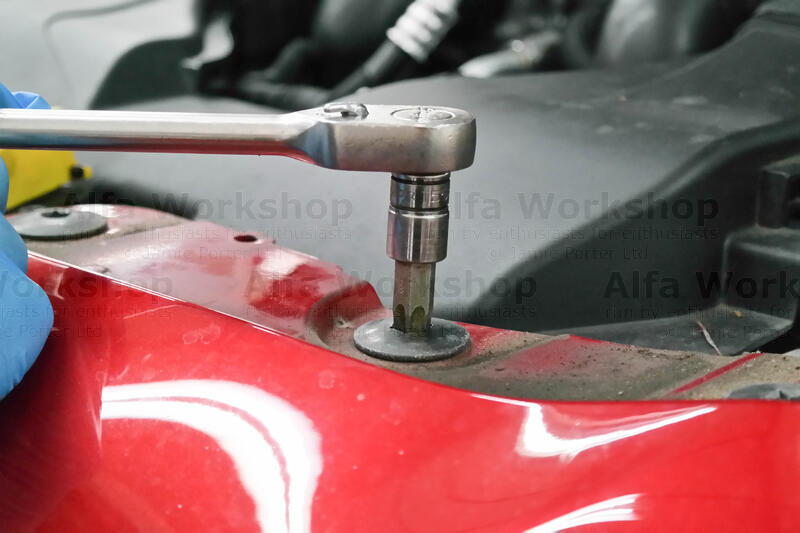 | Along the top middle section of the bumper are x6 T55 screws. |
|
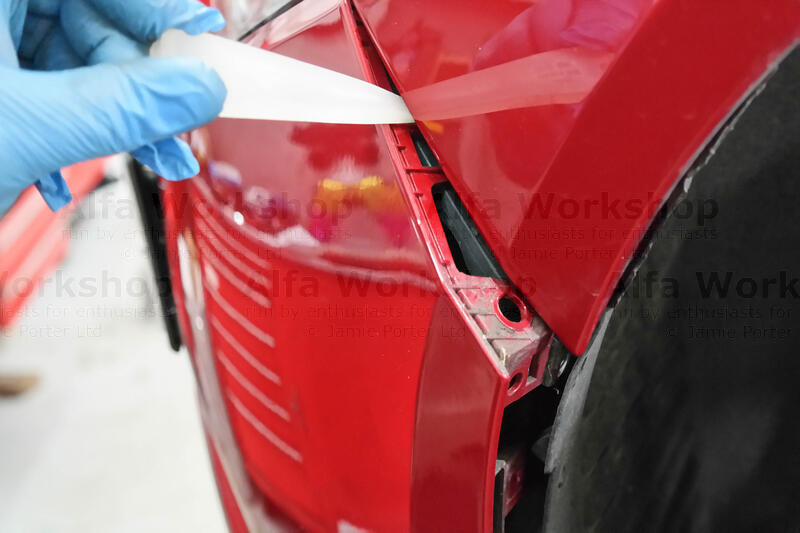 | Using a plastic trim removal tool carefully separate the lower corners of the bumper from the wheel arches. |
|
 | Separate the top corners of the bumper. |
|
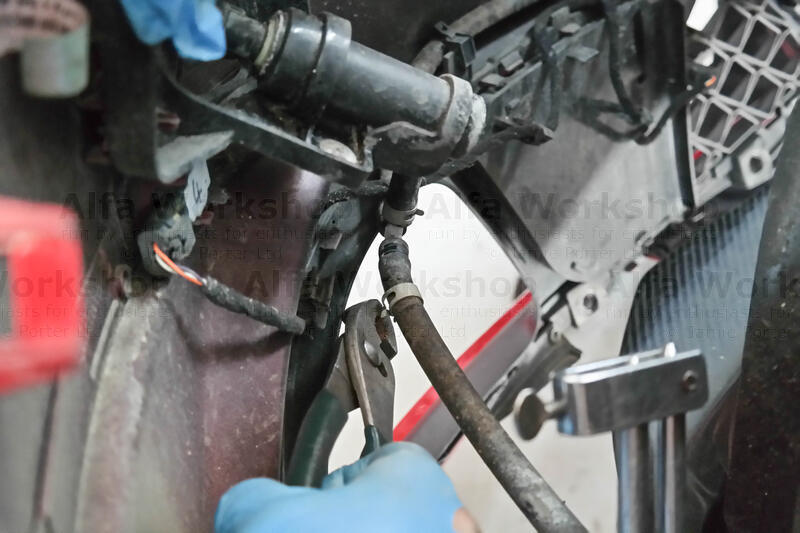
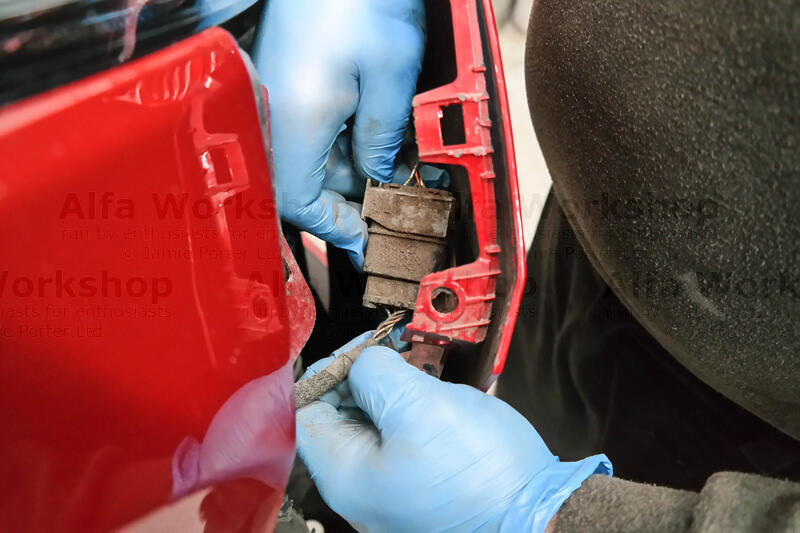 | Disconnect the wiring loom at the right corner of the bumper. |
|
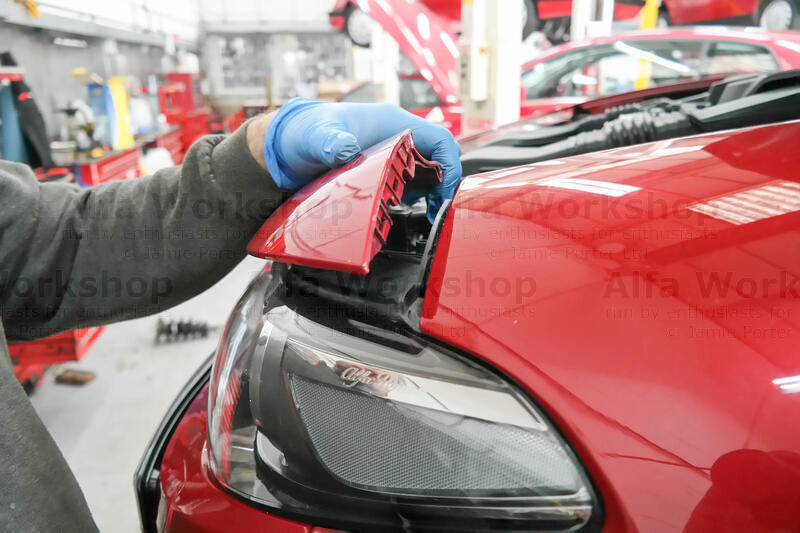
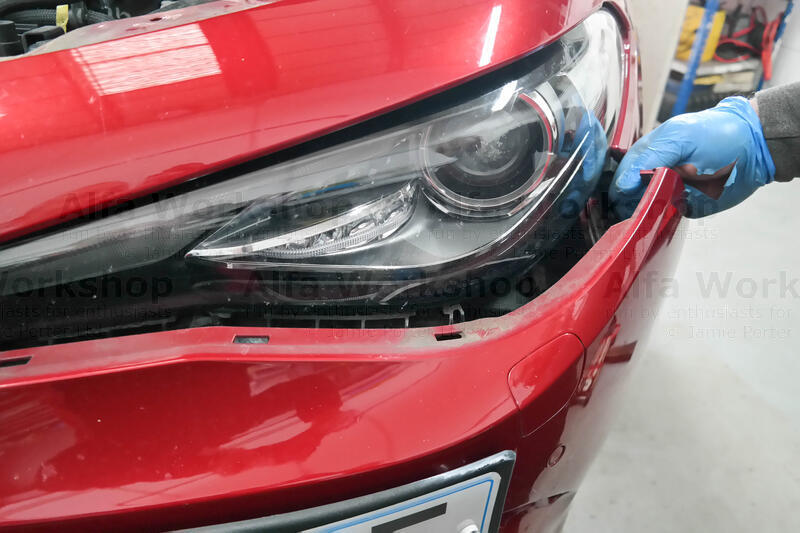 | Unclip the bumper from the underside of the headlights. |
|
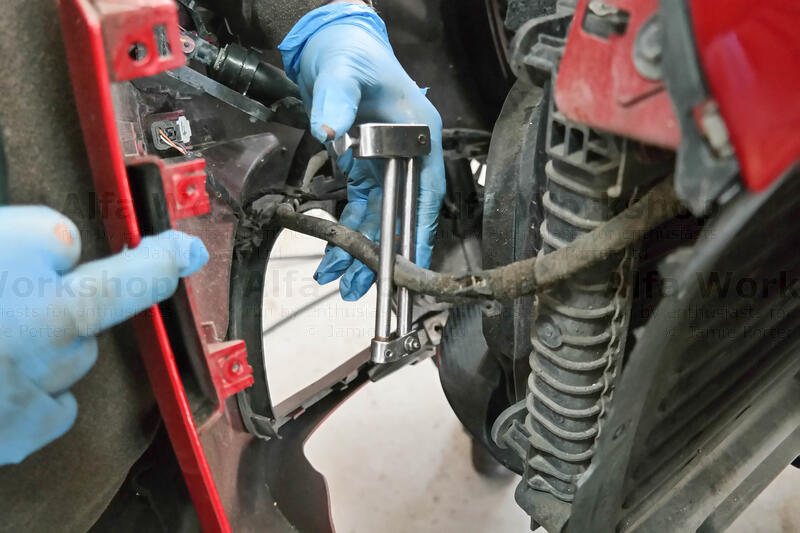 | Have someone help you to hold the bumper while you clamp off the head light washer pipe at the left hand corner. |
|
 | Unclip and disconnect the washer pipe to the washer pump. |
|
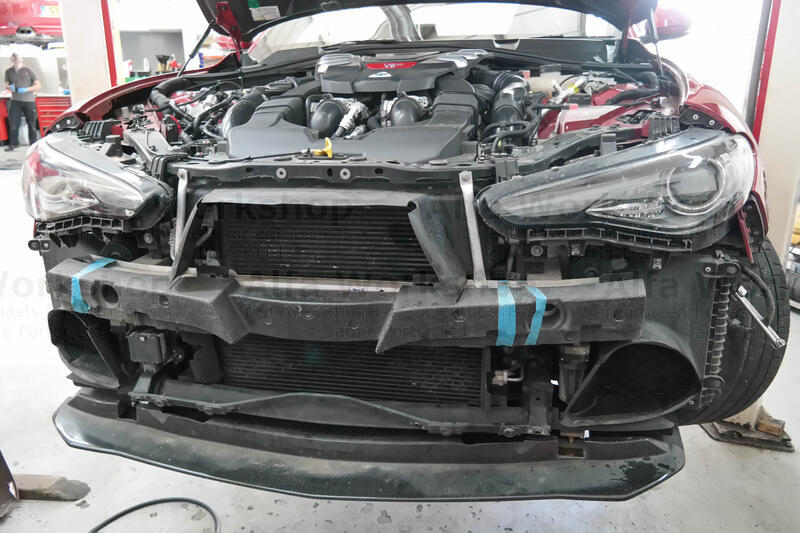 | Now remove the bumper. |
|
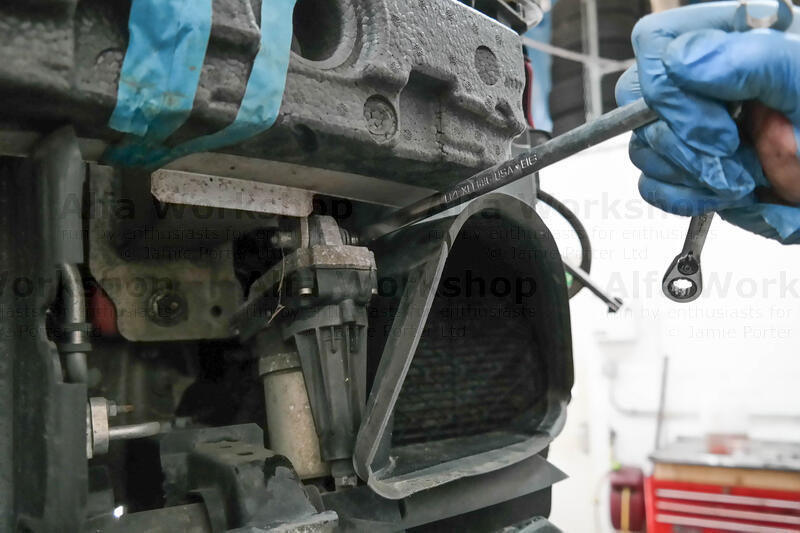 | At the top of the spoiler splitter actuator is a E14 bolt. |
|
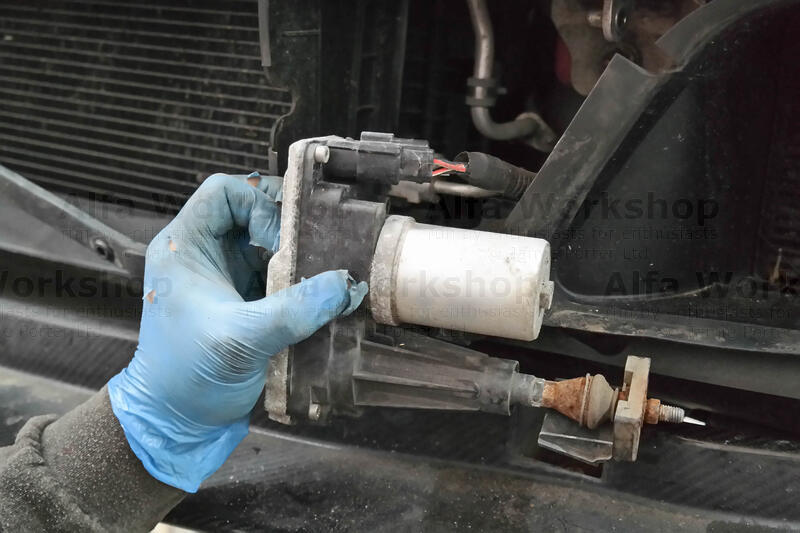 | Work the actuator free then unplug the connector. After fitting the new actuator it will need to be calibrated. |
|
Related Links: Replacing a headlight | Front brake pads and discs | Spark plug removal