This page:

Replacing The Cam Belt And Water Pump On The Alfa 4C Coupe (Part 2)
The main objective now is removing the cast alloy side support that covers the cam belt then replacing the cam belt parts and water pump.
 | RETURN TO PART 1 |
|
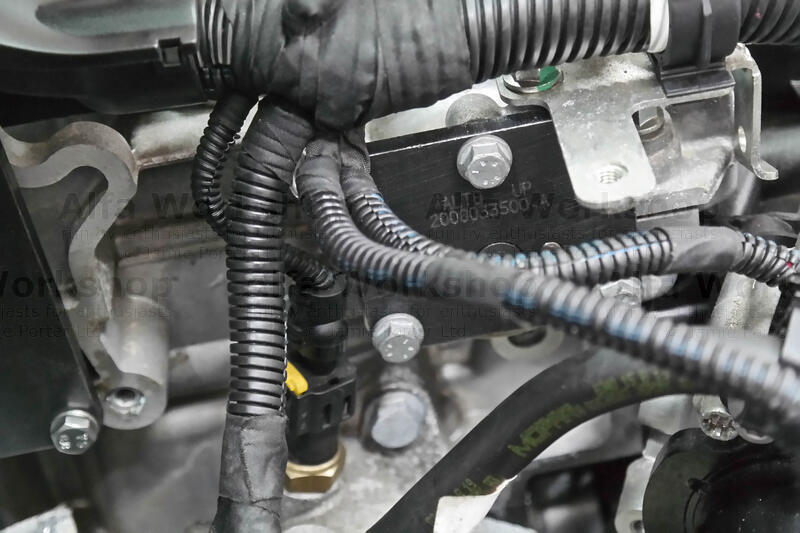
 | Undo the 15mm nut and bolt to the right side engine mount stabiliser bar. |
|
 | Then the x2 15mm bolts on top of the engine mount... |
|
 | ...and x3 18mm nuts. |
|
 | The alternator has x2 10mm bolts to a plastic covering. |
|
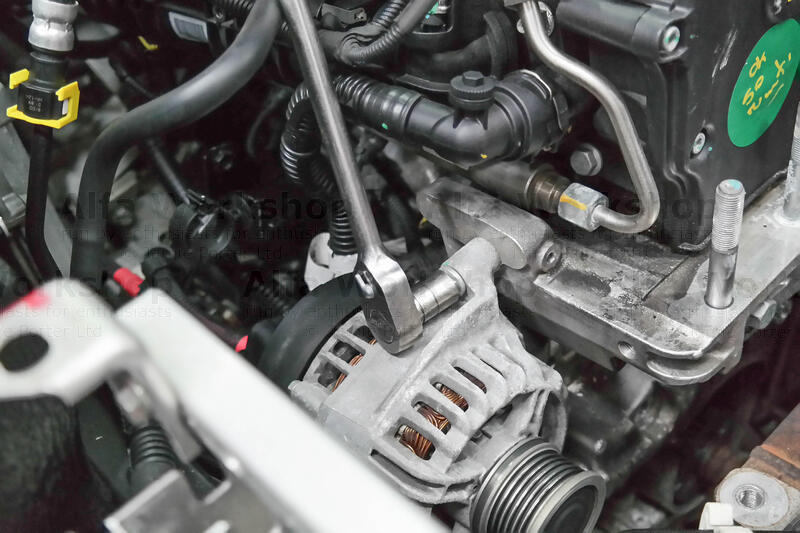 | The last alternator bolt is 13mm, once unbolted just lay the alternator down. |
|
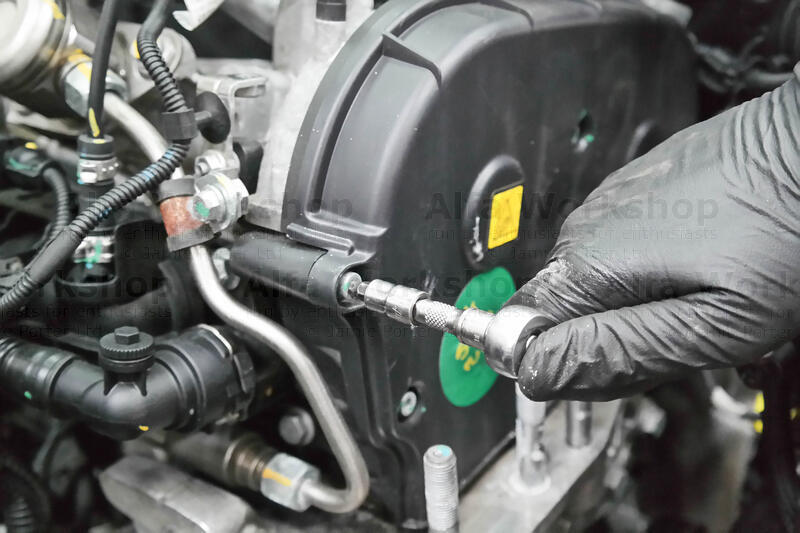 | The cam belt protective plastic covering has x5 5mm allen bolts. To the right of the side cover unclip the pipe and electric trunking so that the cover can be removed. |
|
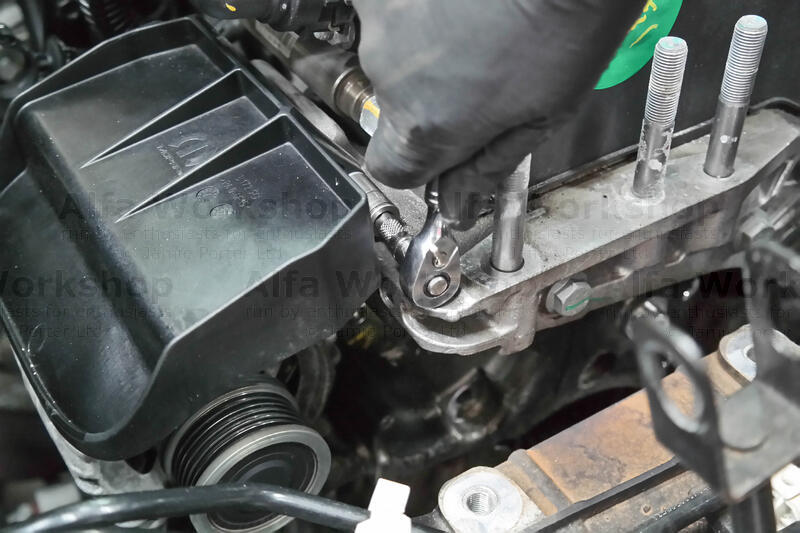
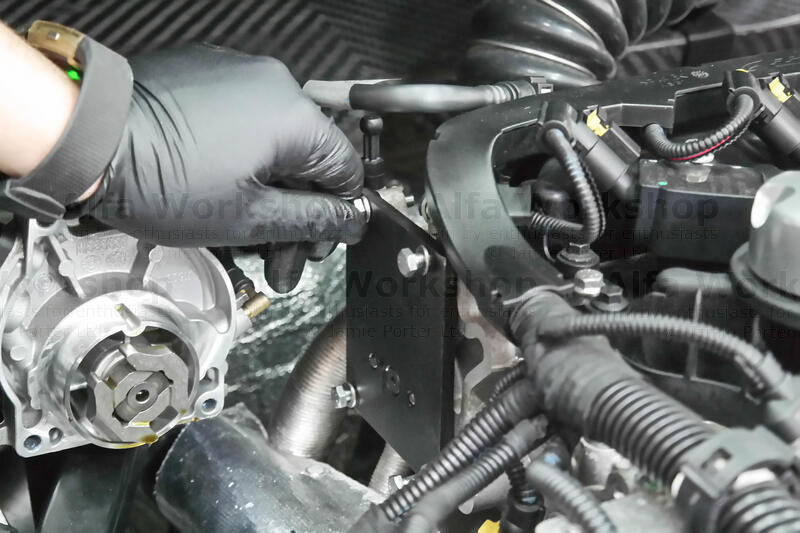
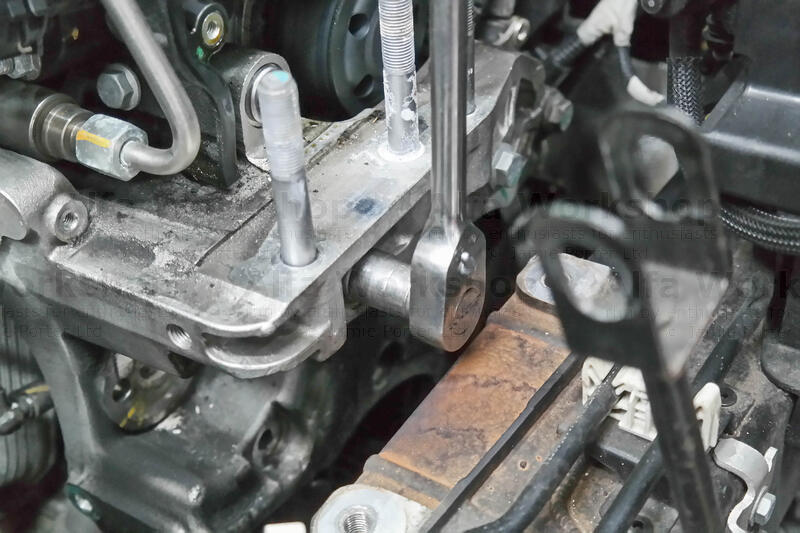 | The last bolts to the alloy side support are a 13mm... |
|
 | ....and x3 15mm. |
|
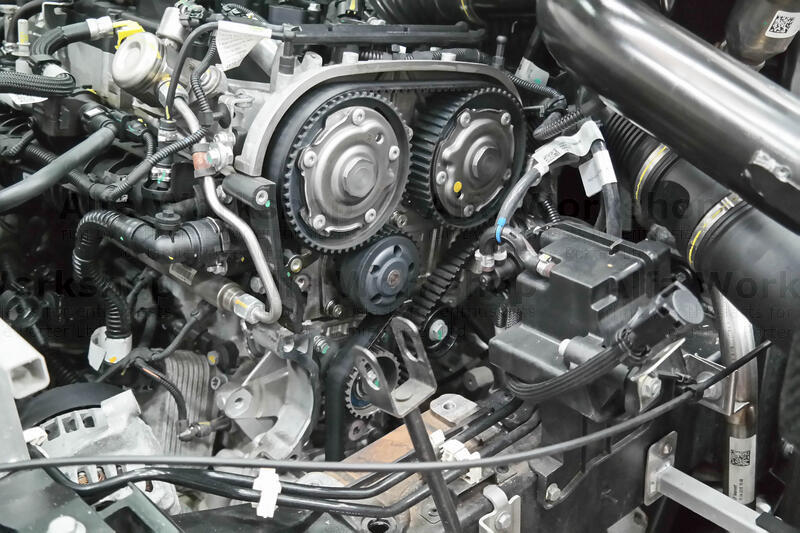
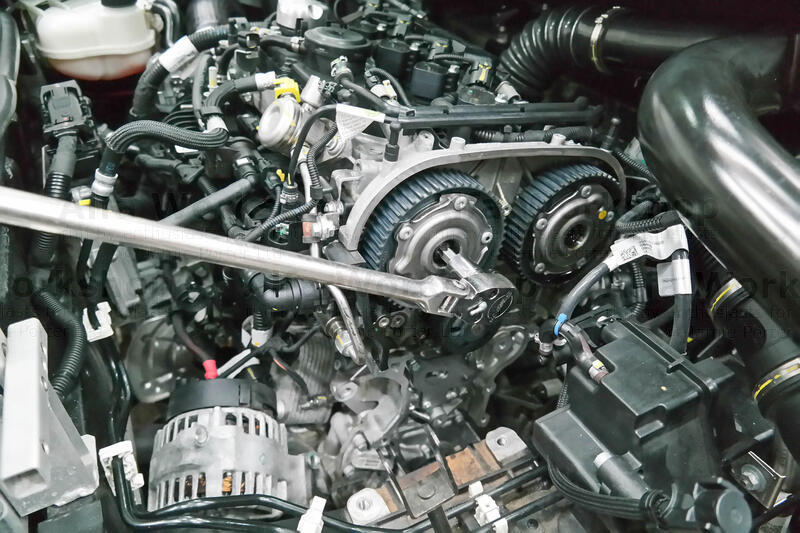
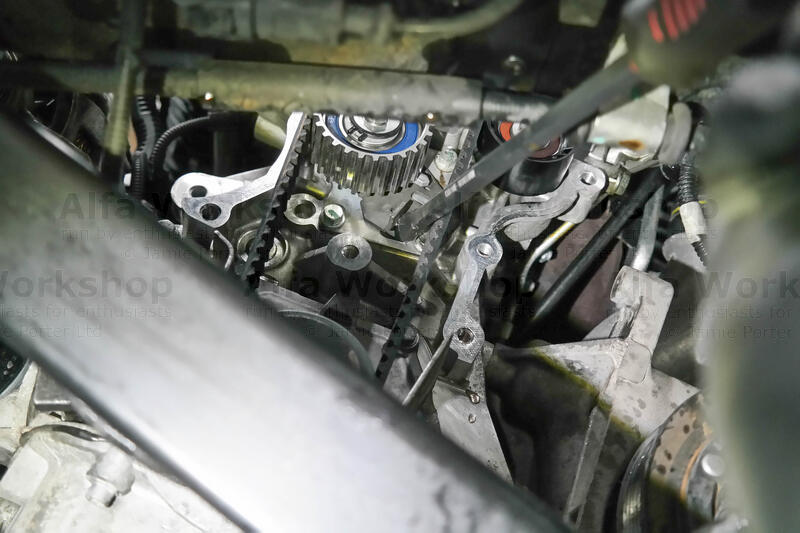
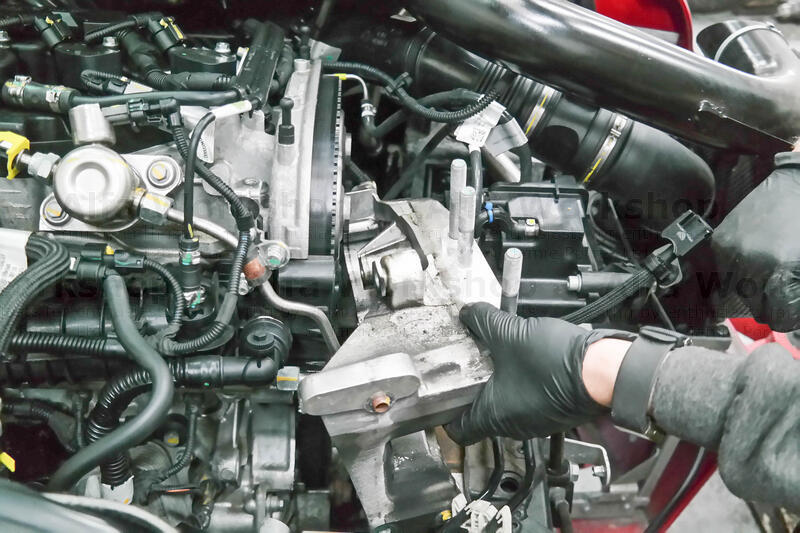 | You can now remove the alloy support. |
|
 | If the exhaust camshaft doesn't align with the cam locking tool, release the crank shaft locking tool and rotate the crank clockwise 180° then lock it back up. You should now be able to lock up the exhaust camshaft. |
|
 | Next lock up the inlet camshaft. |
|
 | Undo the 12mm bolt to the cam belt tensioner and remove. Take off the crank locking tool so you can remove the cam belt. |
|
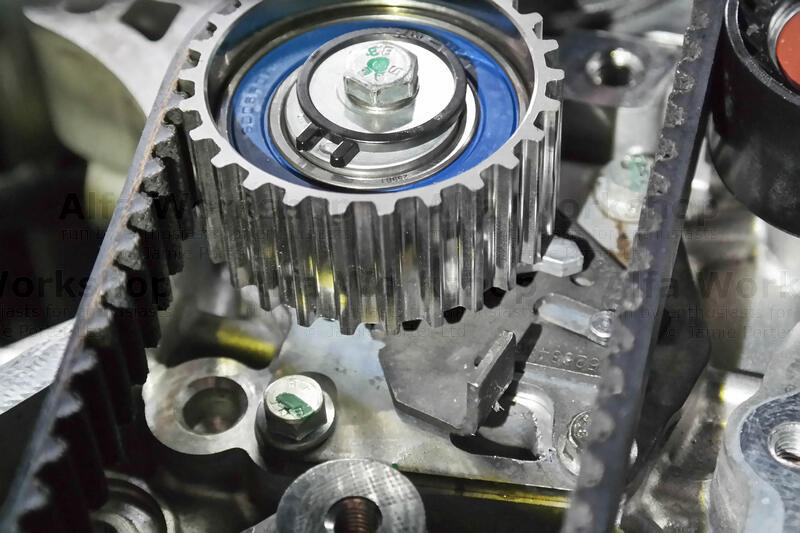
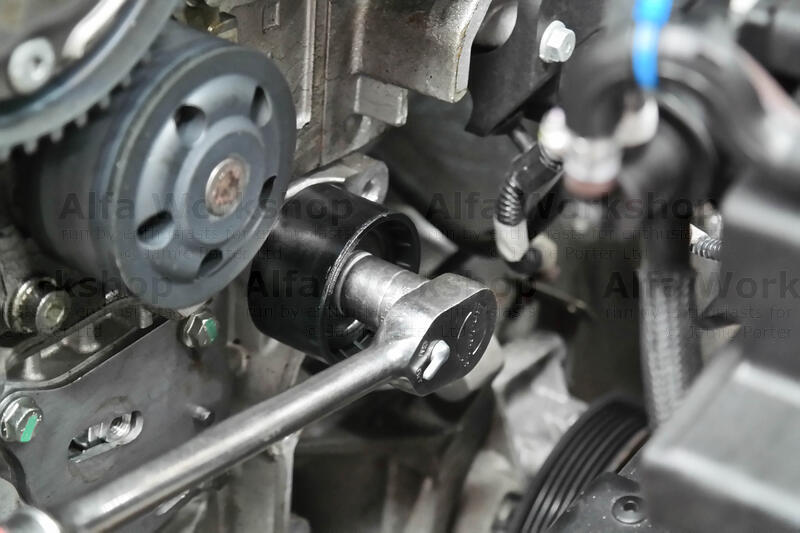 | The cam belt idler has a 15mm bolt. |
|
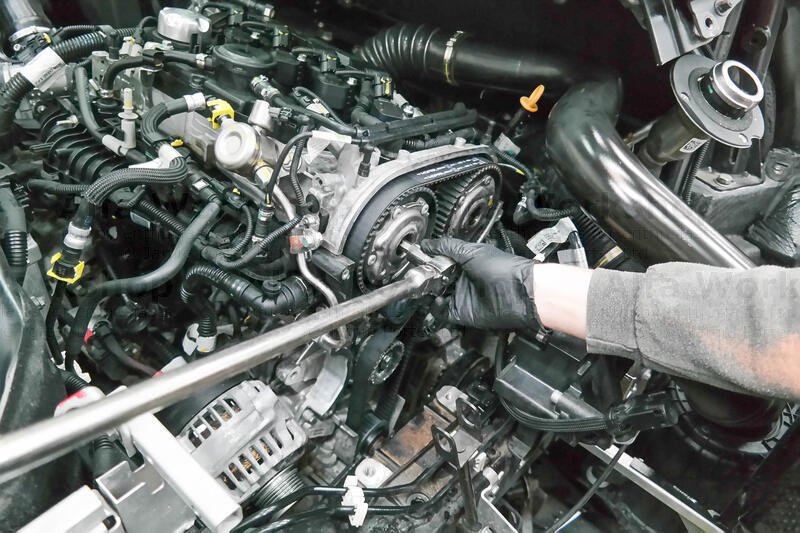
 | Undo the 30mm caps on the camshaft pulleys. |
|
 | Loosen the exhaust camshaft pulley so it can turn freely (T55 bolt) but take off the inlet pulley to gain access to the water pump. |
|
 | The water pump has x2 6mm allen bolts. |
|
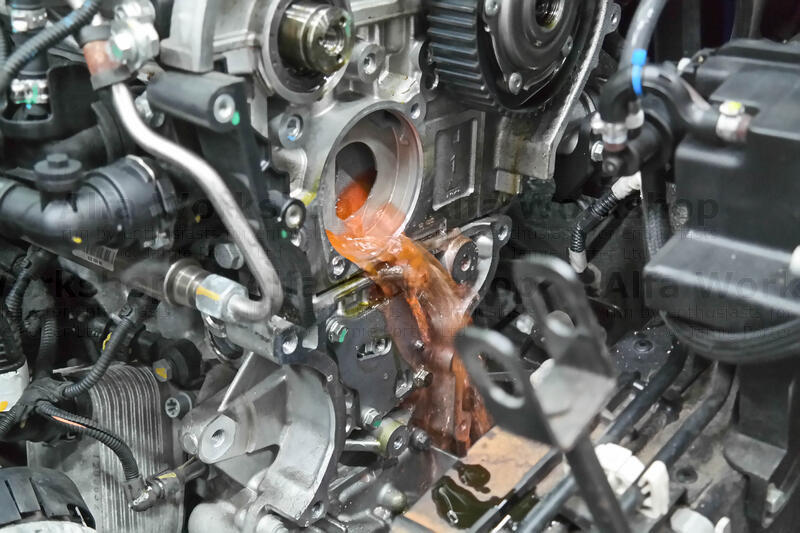 | Put a tray on the floor under the water pump to catch the coolant as you prise the pump off. |
|
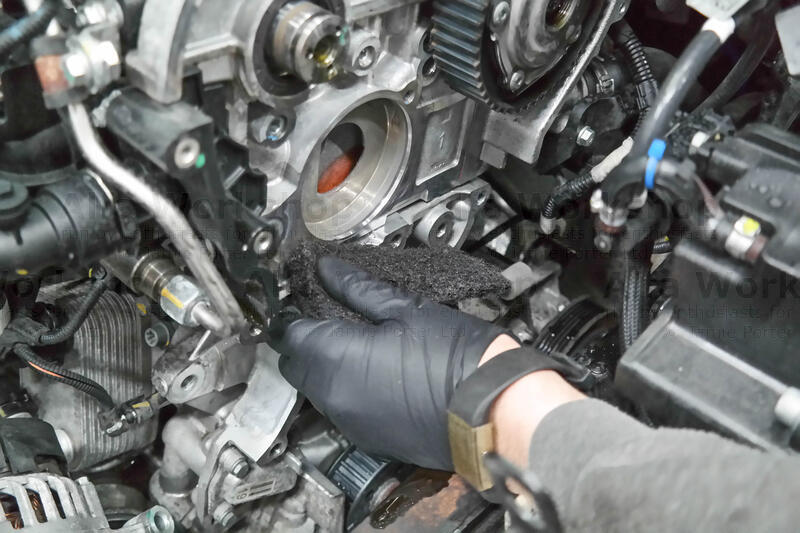 | Clean any residue and dry around the contact area where the pump has been lifted. |
|
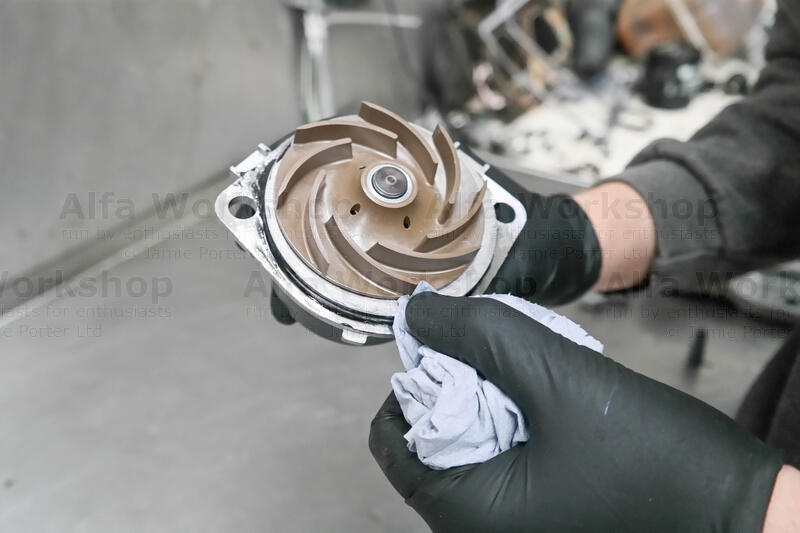 | We tend to apply a bead of gasket sealant around the 'O' ring of the new water pump. Bolt on the new water pump. |
|
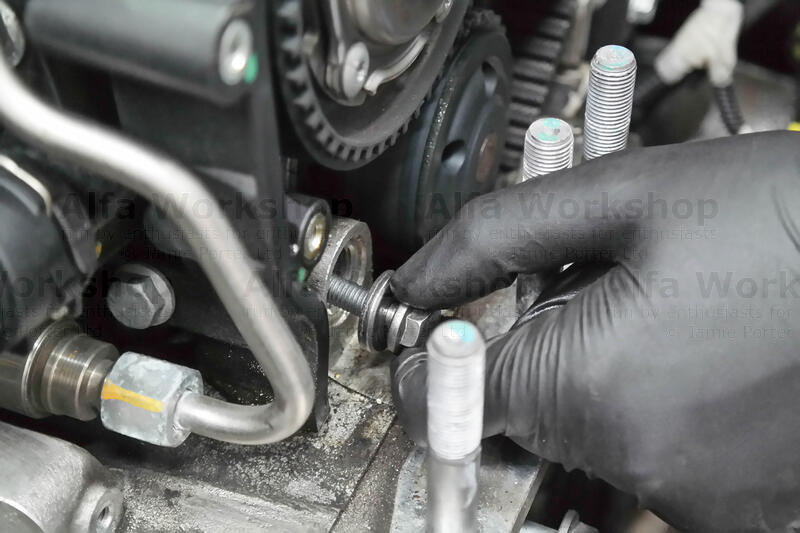
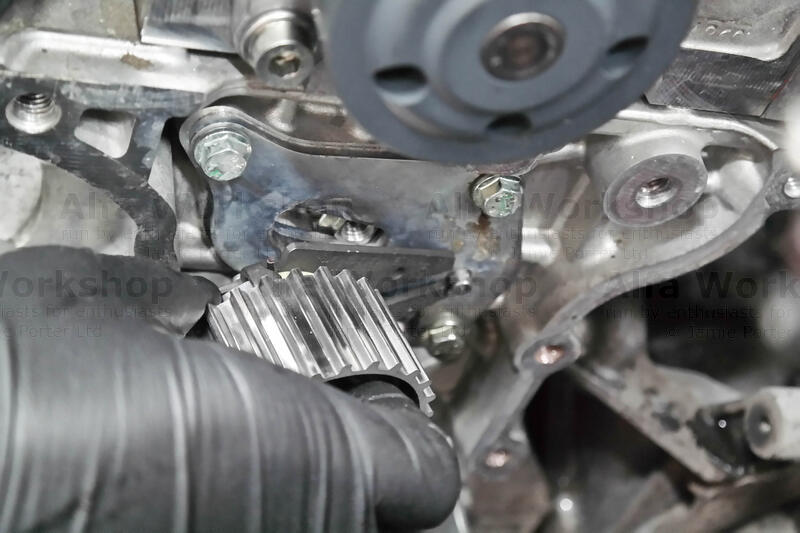 | When replacing the cam belt tensioner the lug on the support plate locates between the fork on the tensioner, the fixing nut slides so just TACK the tensioner on for now. |
|
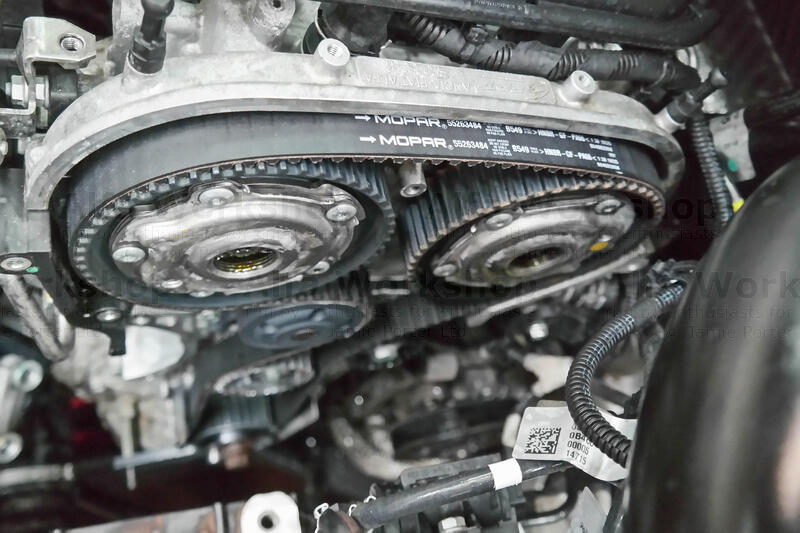 | Loop on the new cam belt noting the 'DIRECTIONAL' markings. |
|
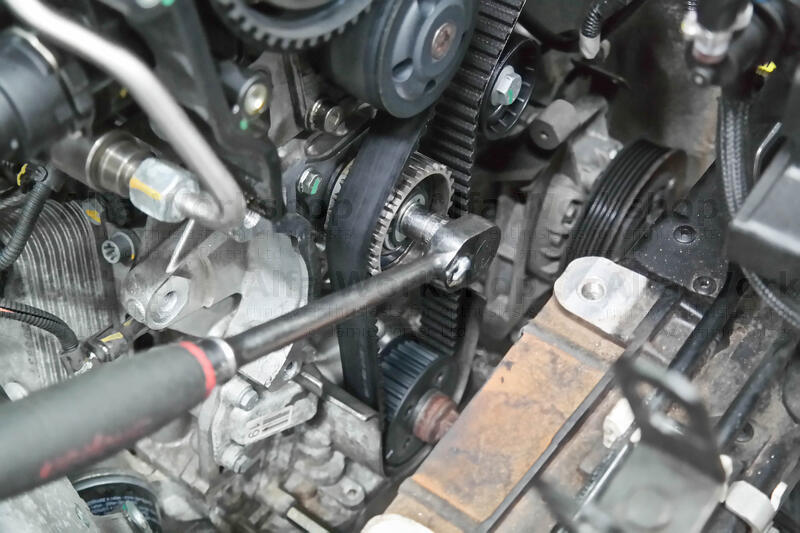
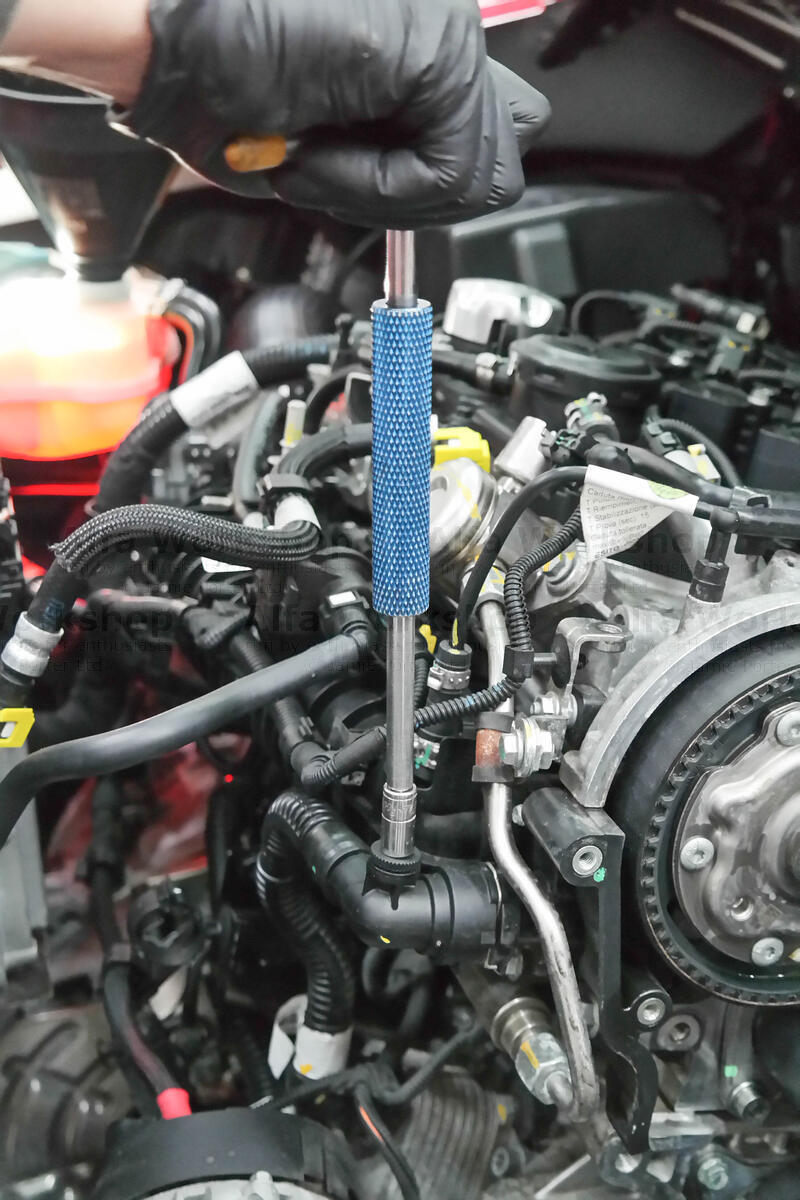
 | Using a long handled FLAT head screwdriver rotate the base of the tensioner so that the needle.... |
|
 | ....points to the hole on the tensioner fork, then tighten the mounting bolt. |
|
 | Tighten up both the cam shaft pulleys then take off all the locking tools. |
|
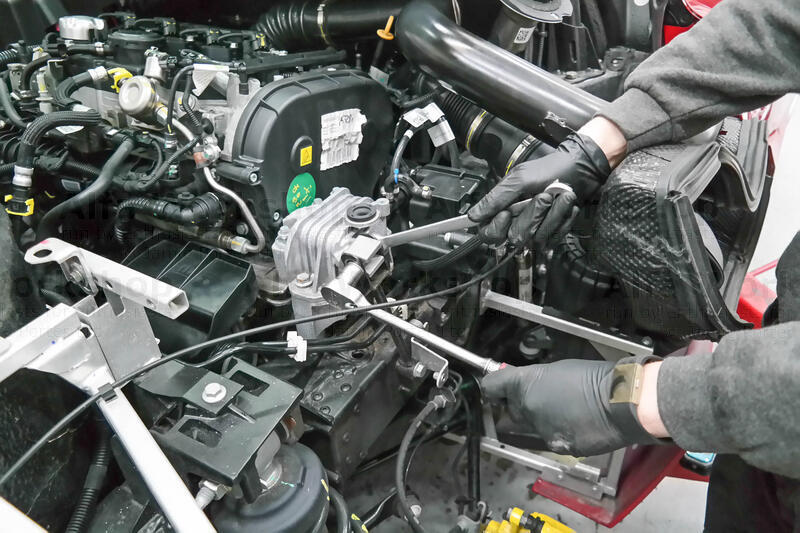
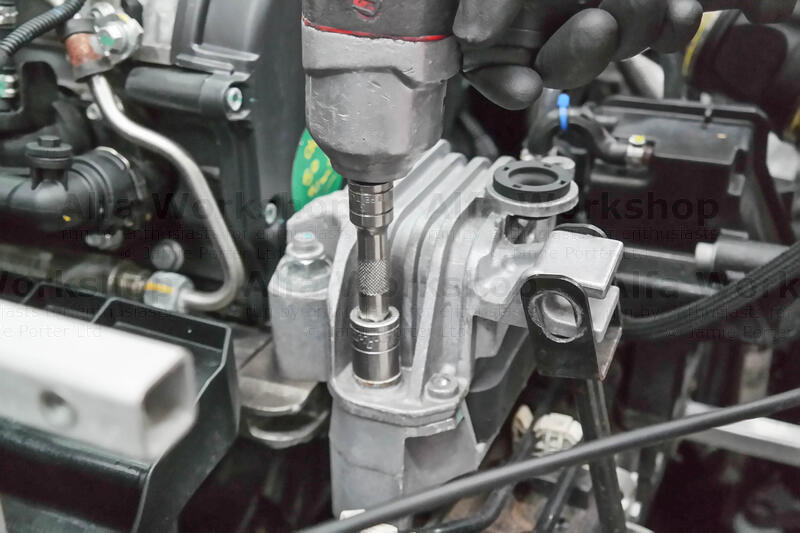
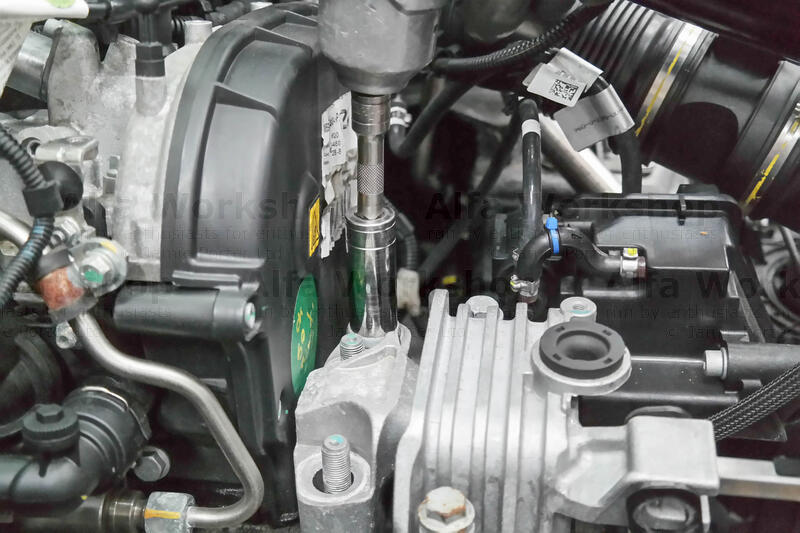
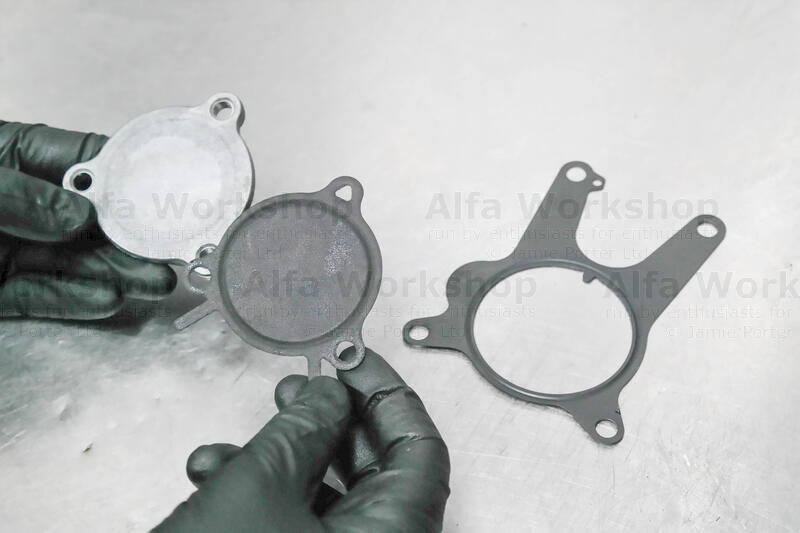 | Bolt back on the blanking plate and vacuum pump using new gaskets. |
|
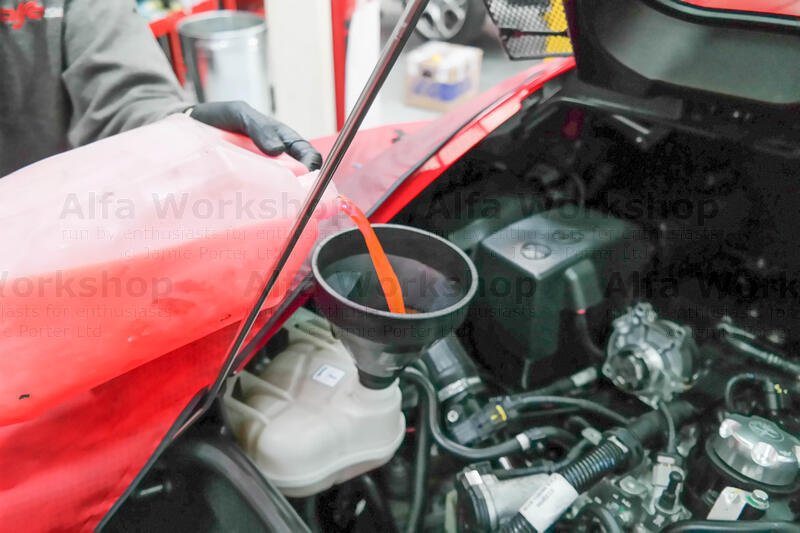 | Top up the coolant tank to the maximum level. |
|
 | You will need to bleed the system so undo the 8mm bleed screw... |
|
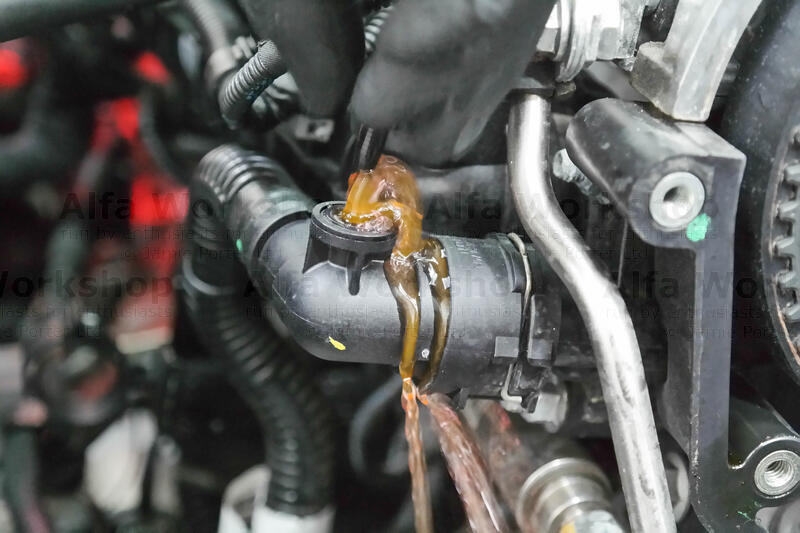 | ...until no air but just coolant escapes. |
|
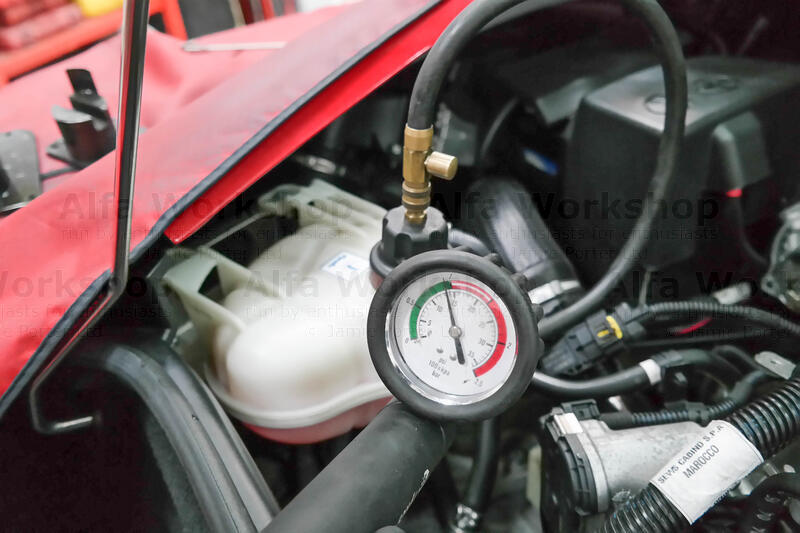 | At the Alfaworkshop we then pressure test the cooling system up to x1 BAR (14 psi) to check there's no leakage from the water pump. |
|
Related Links: Servicing | Jacking up a 4C | Front geometry set up