This page:

Replacing The Cam Belt And Water Pump On The Alfa 4C Coupe (Part 1)
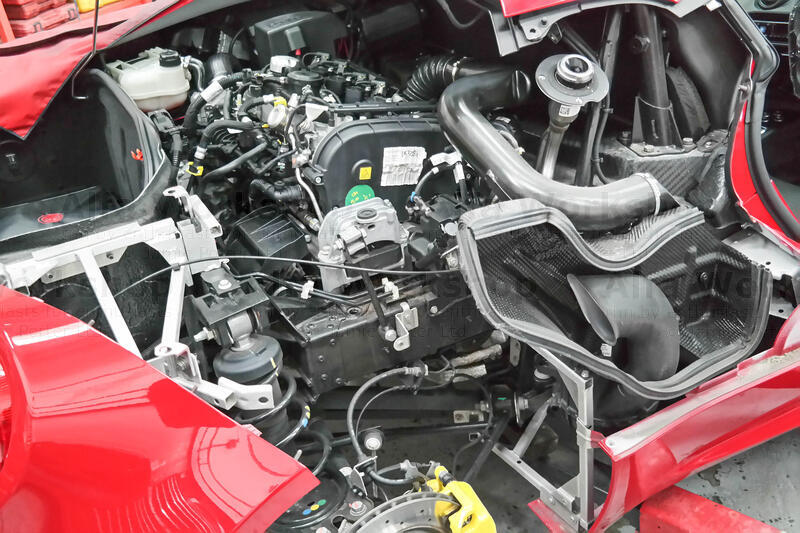
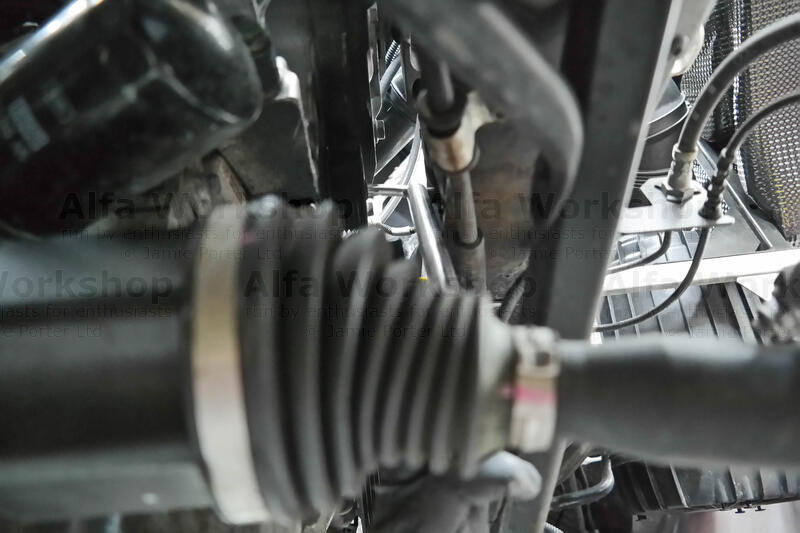
Replacing the cam belt can be done with all the body panels still in place but we've removed the rear, right side wing to make it easier to see.
Cam belt kit 6000629434, water pump 60586222
Gaskets 55213959 and 73504262
Workshop time: 6 hours
If you would like to book your 4C into the workshop for a cam belt replacement the price of this service is £885.24 (price of water pump NOT included).
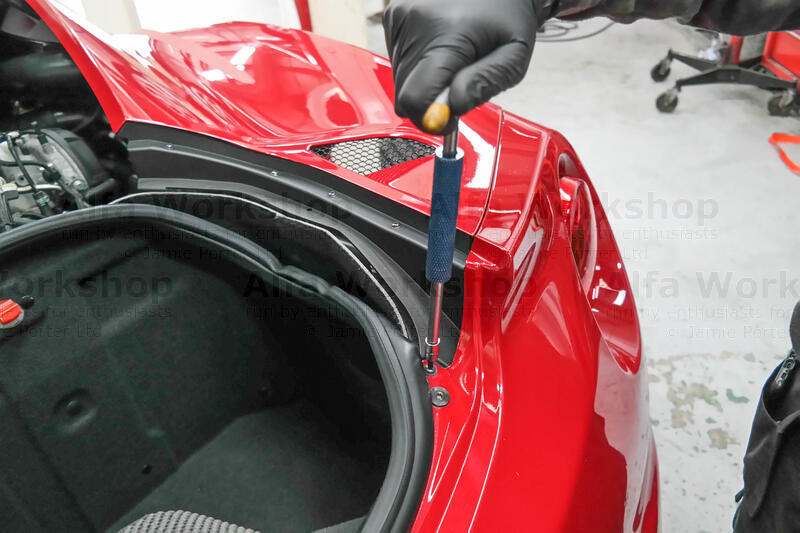
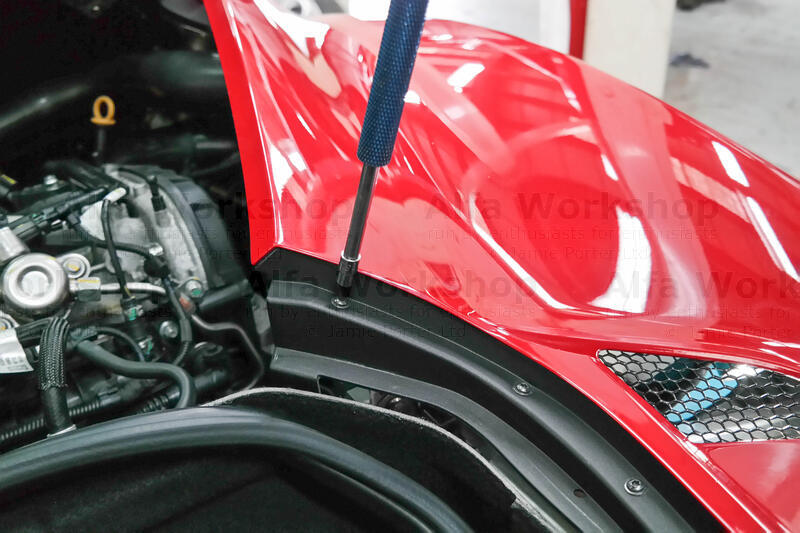
 | Prop up the boot and pull off the plastic engine cover. |
|
 | Undo the x3 10mm bolts to the breather pipe fixings... |
|
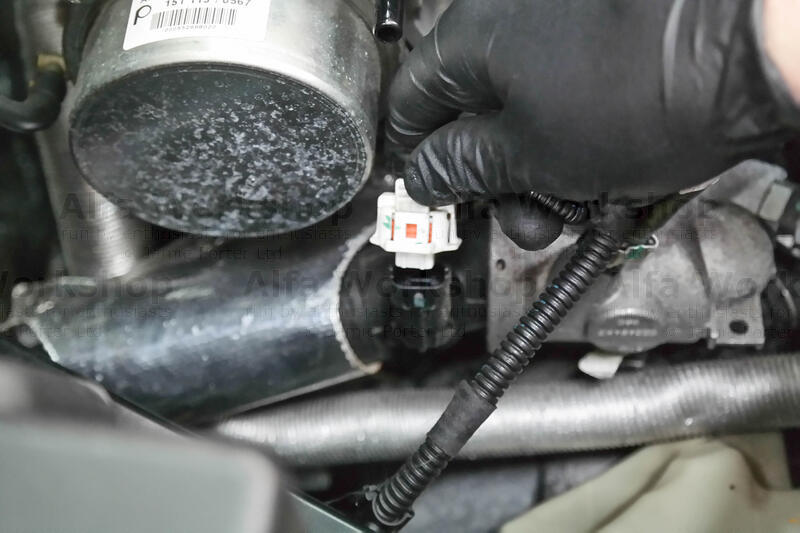
 | ...and unclip the connector at each end. |
|
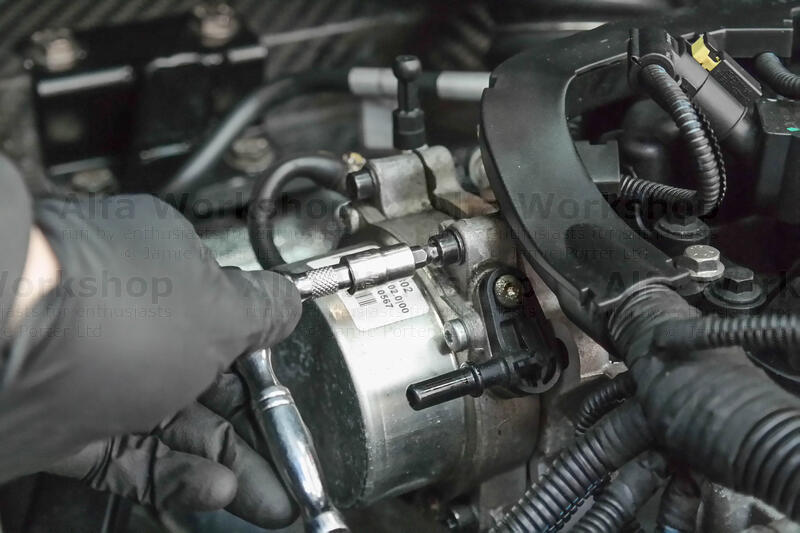
 | Unclip the vacuum pump hose. |
|
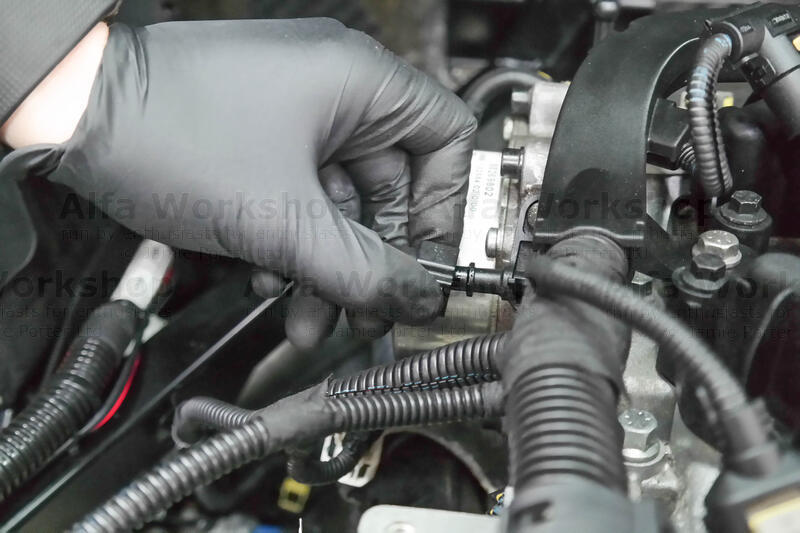
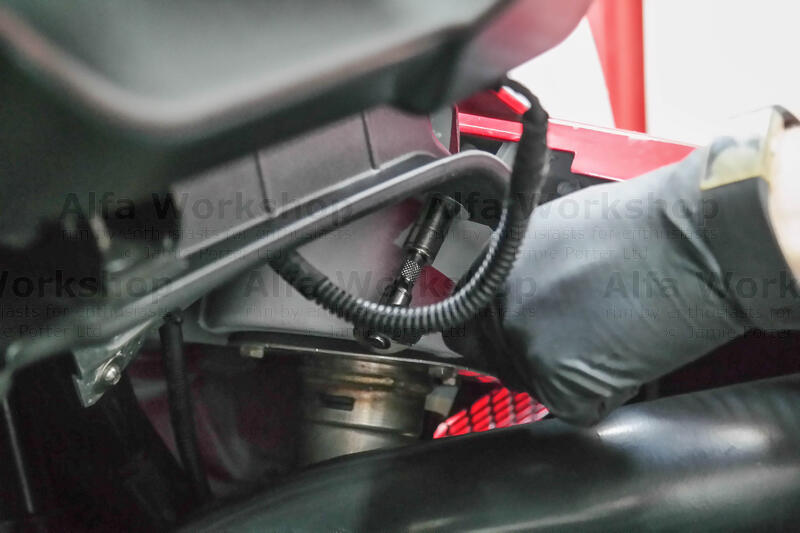
 | Unplug the thermostat temp sensor. |
|
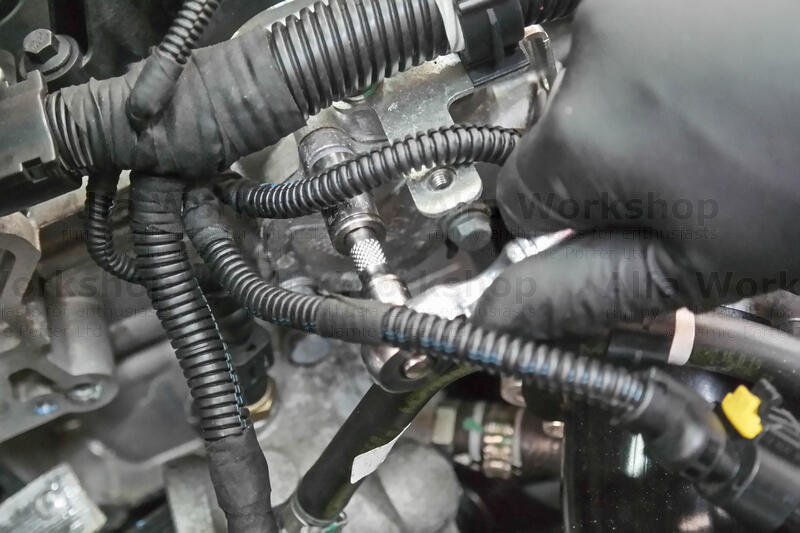
 | Undo the x4 5mm allen bolts to the vacuum pump and move the pump to one side. |
|
 | The inlet camshaft blanking plate has x3 10mm bolts. |
|
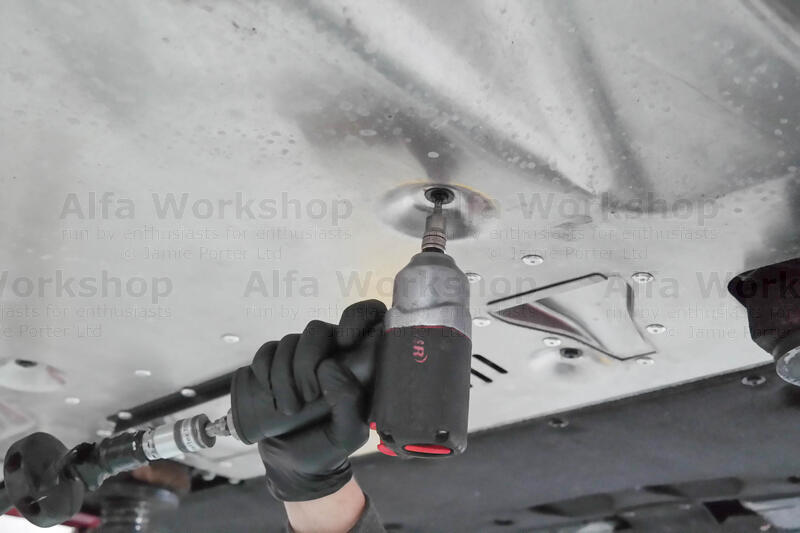 | The undertray is held by x14 T30 (Torx) screws. |
|
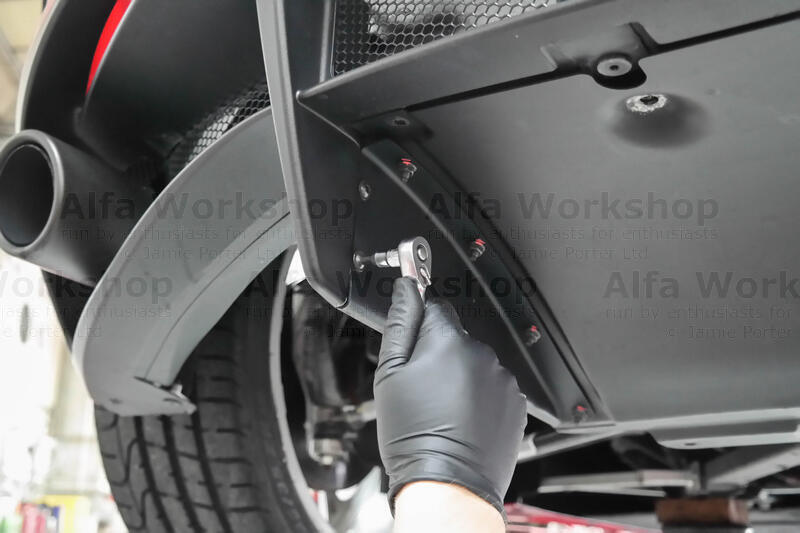 | The rear diffuser has x2 T30, x3 Phillips screws and x4 4mm allen bolts. |
|
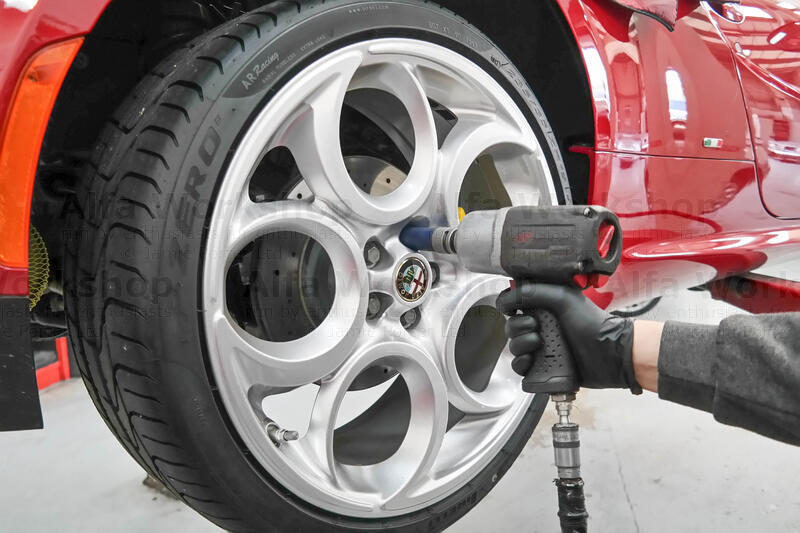 | Unbolt the rear RIGHT side wheel and remove. |
|
 | The rear RIGHT side wheel arch liner has x3 allen and x3 Phillips screws. |
|
 | Where the rear wing joins the bumper there are x5 10mm nuts, remove the first x4 (the last one is in a tight corner). |
|
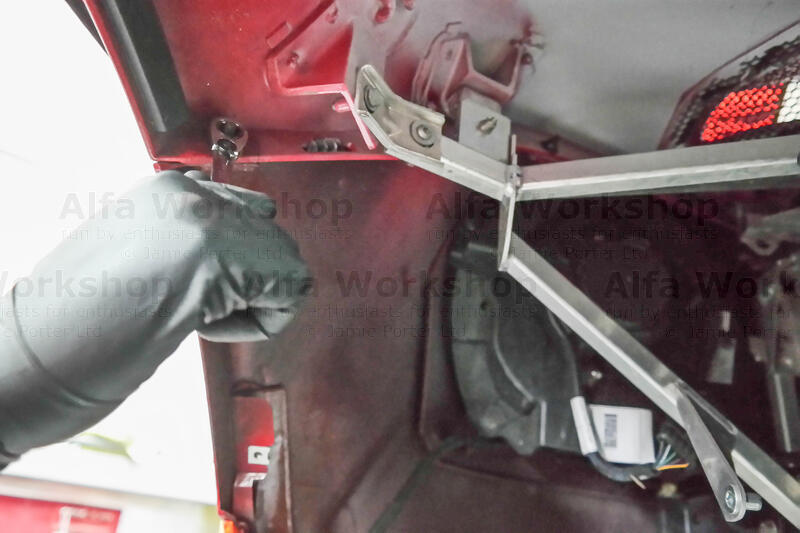
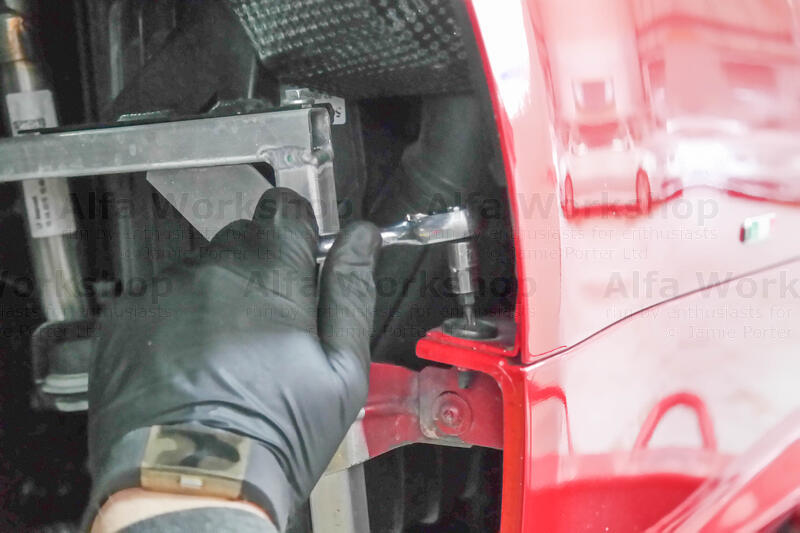
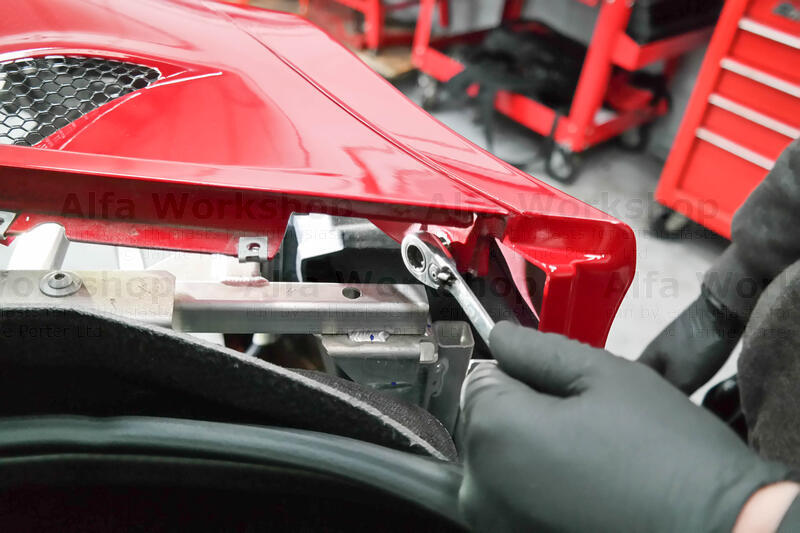
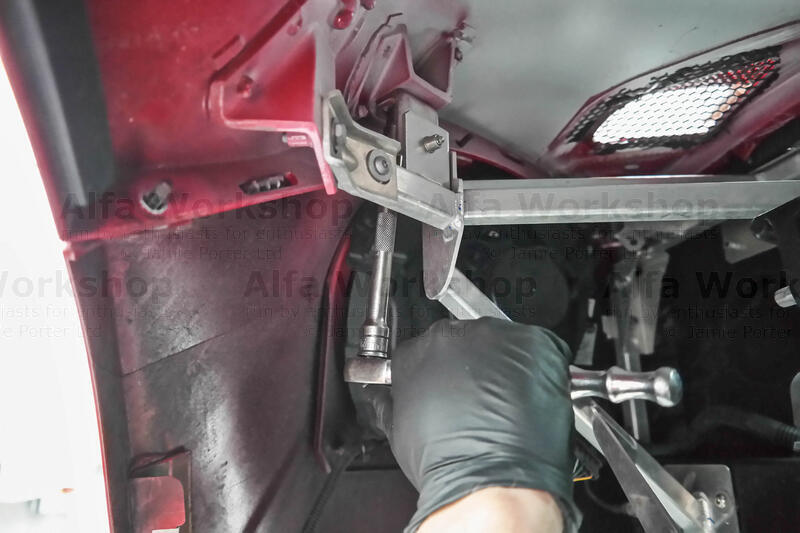 | The wings alloy support frame has x4 10mm bolts. |
|
 | There's a T30 screw at the front of the wheel arch joining the side skirt... |
|
 | ....and x4 more in the 'door shut'. |
|
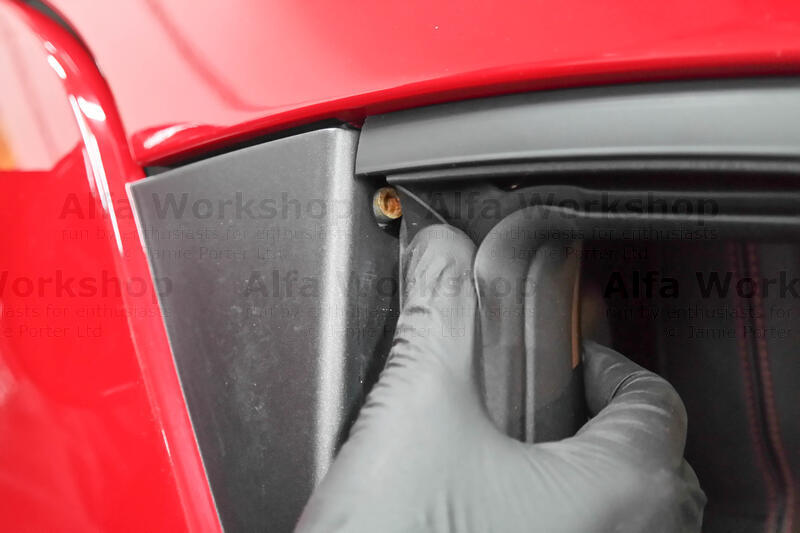 | In the top LEFT corner of the 'door shut' behind the weather seal is a 5mm allen bolt. |
|
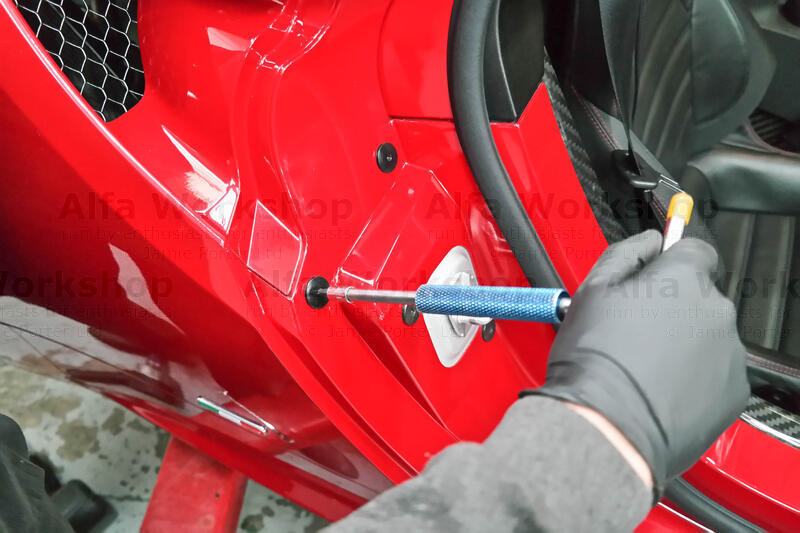
 | There's x2 T30 screws under the fuel filler flap to a plastic cover and one more underneath the cover. |
|
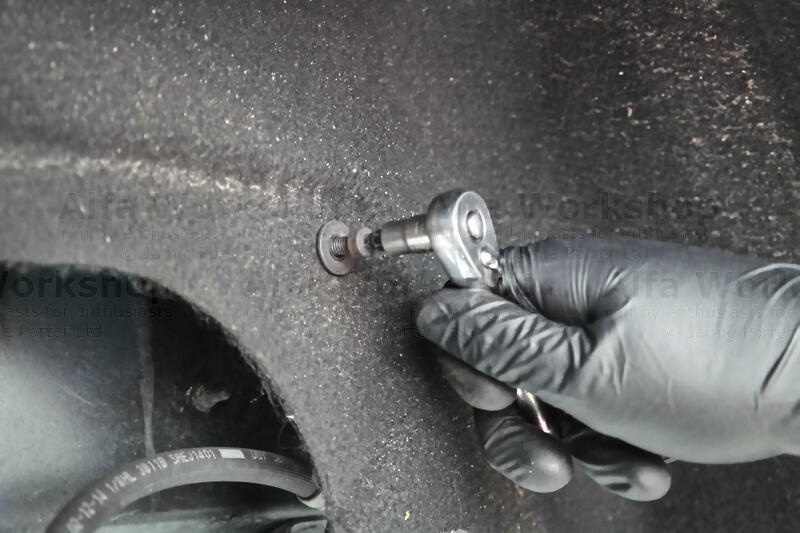
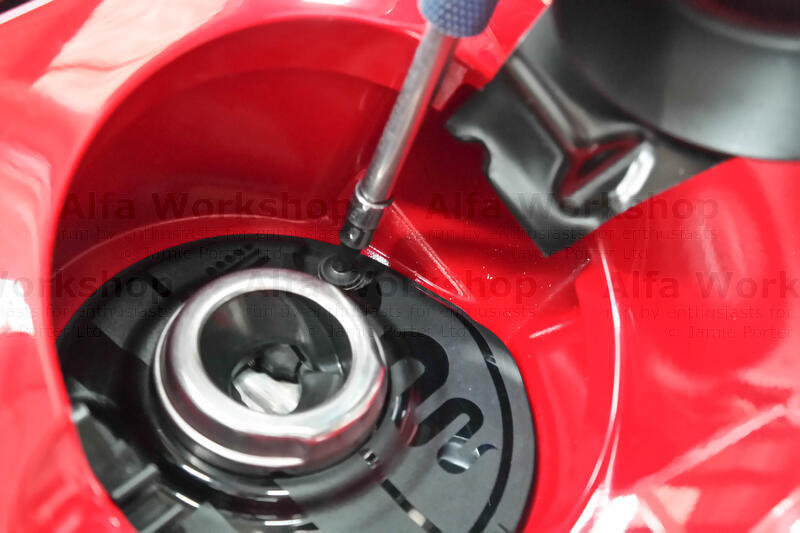
 | Behind the filler above the filler neck is a 10mm bolt. |
|
 | Lift the rubber weather seal around the right side of the boot and undo the T25 screw... |
|
 | ...and the other x4 along the edge of the black infill panel. |
|
 | You can now easily access the fifth 10mm nut joining the rear wing to the bumper. |
|
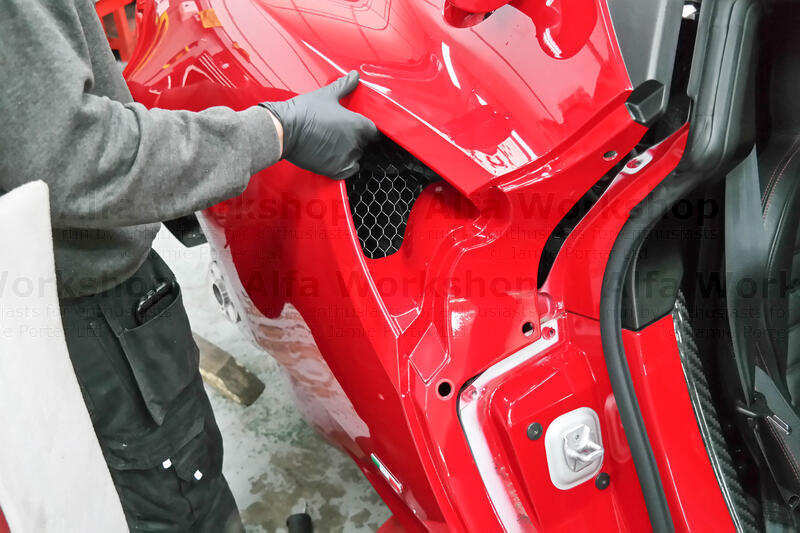 | Carefully lift the wing away from the car (noting the rear end is sitting on the x5 bumper studs). The drain pipe for the fuel overspill is still connected so this will pull out with the wing. |
|
 | With the wing out of the way you can now work on the engine. |
|
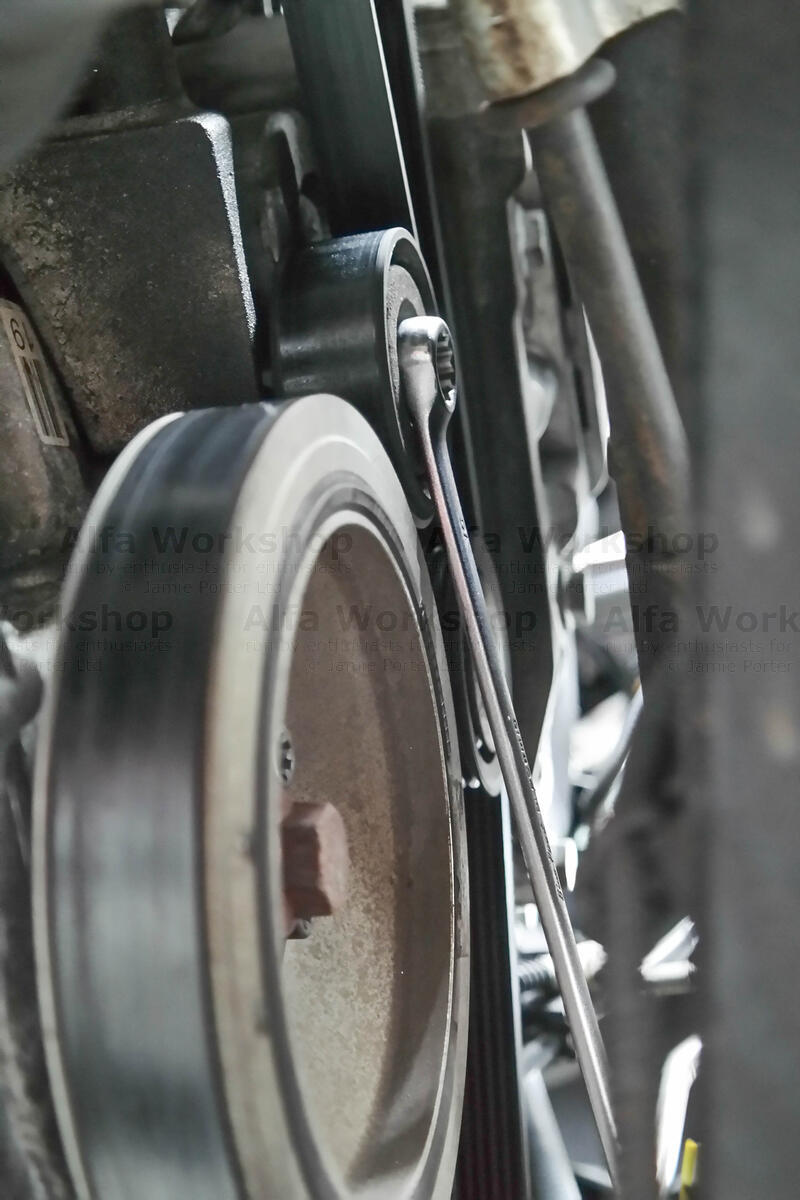
 | Undo the x4 T45 bolts to the auxiliary bottom pulley. |
|
 | The auxiliary tensioner mounting bolt is a T47. |
|
 | Using a T50 allen key with an extension bar undo the the auxiliary idler. |
|
 | At the bottom of the engine support (large alloy side casting) are x3 13mm bolts and x1 15mm. |
|
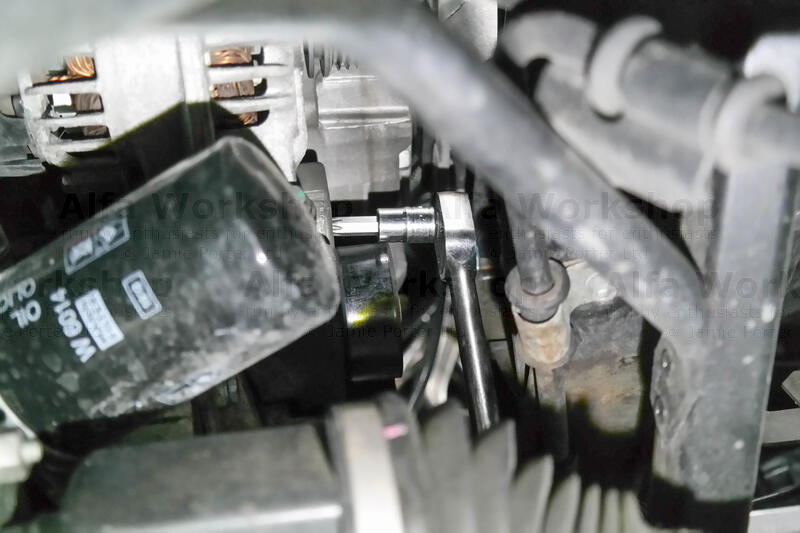
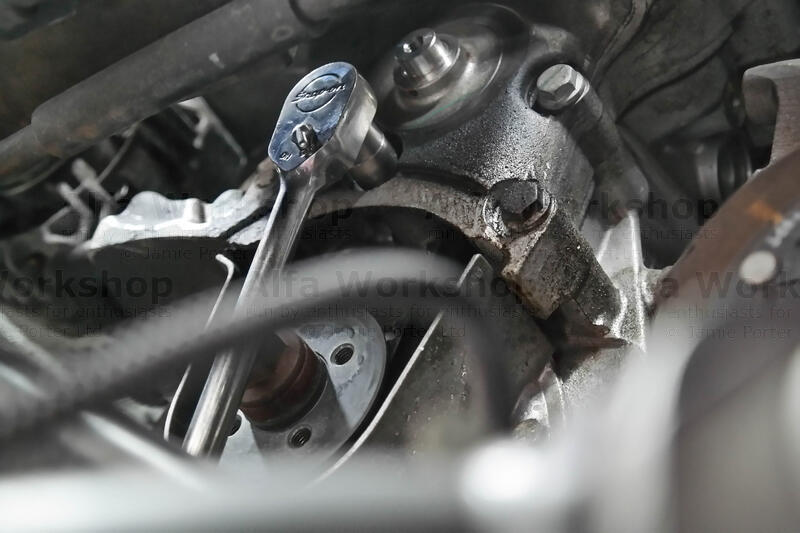
 | Undo the x2 lower 13mm bolts to the alternator (just above the oil filter). |
|
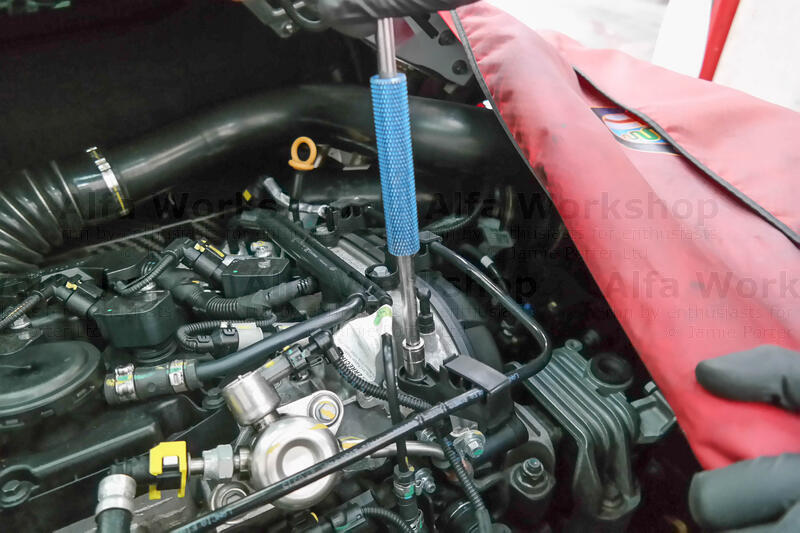
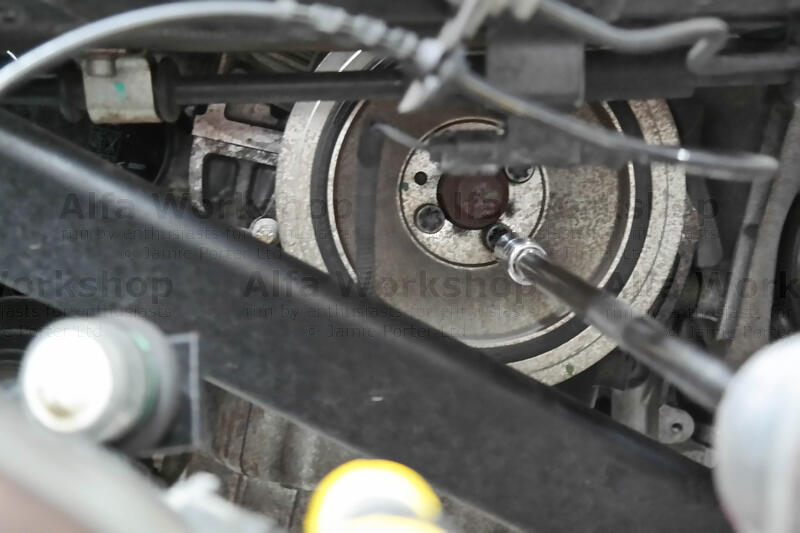
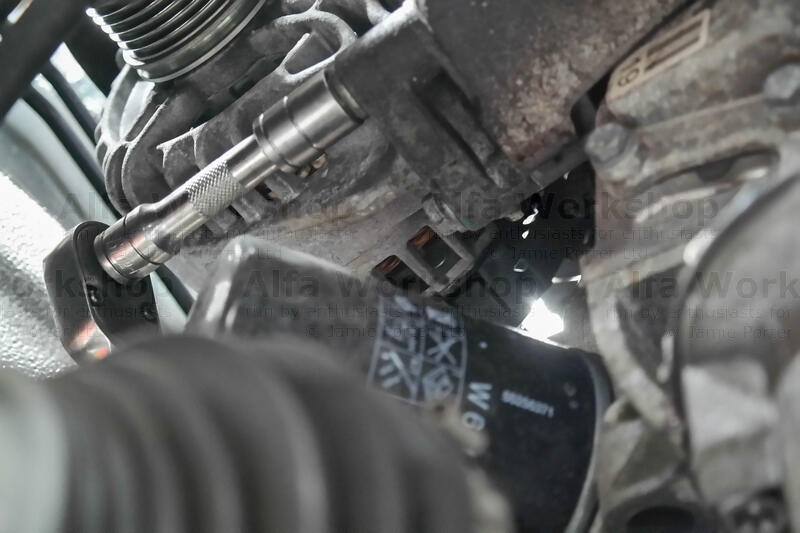
 | Take out the oil pumps 10mm bolt and replace it with the timing tool locating pin. |
|
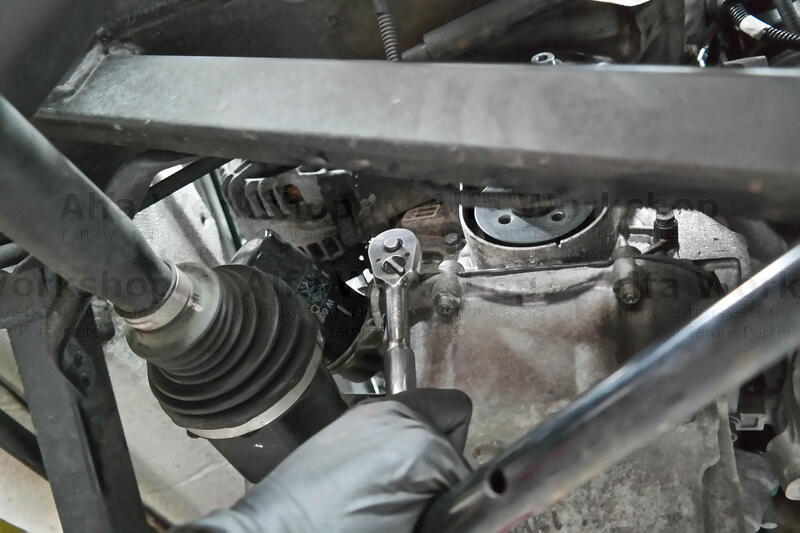
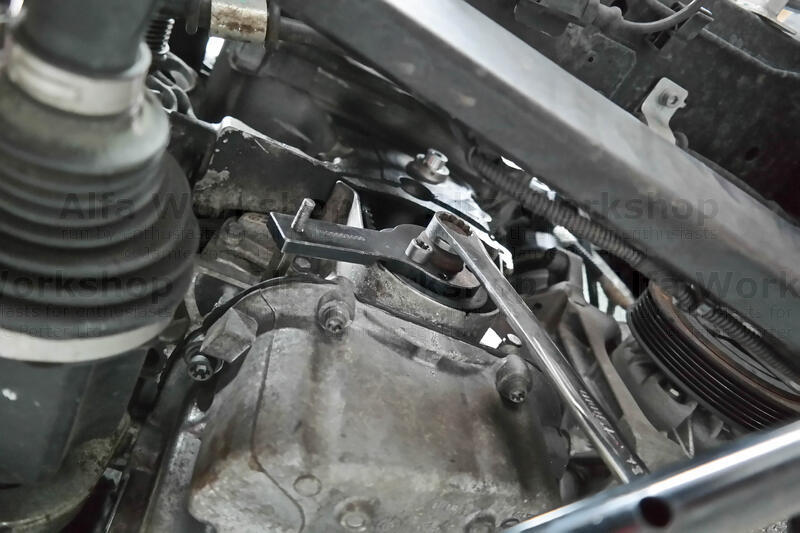 | Turn the crank clockwise with a 19mm spanner until it's align with the crank locking tool then secure with a T45 bolt.
|
|
Related Links: Servicing | Oil cooler kit | Front wishbone ball joints